

With Genshin Impact 7.0,"Everwinter Without Mercy,"officially launching on August 12, 2026, Travelers have finally set foot on the snowy lands of Snezhnaya. Alongside this new chapter comes the fifth iteration of the highly anticipated"To Temper Thyself and Journey Far"event — a recurring welfare event that grants a free 5-star Constellation.
This event round went live on August 10, carrying over the same rules while expanding the character roster with nine new Fontaine characters. For Travelers preparing for Snezhnaya's brand-new combat systems, this is a golden opportunity to fine-tune your teams.
So, how do you participate? Who's been added? And most importantly —which constellation should you choose? This guide breaks it all down, with a focus on the current meta and Snezhnaya's new mechanics.
Event Rules Refresher: How to Claim Your Free Constellation

Let's quickly recap the core rules of "To Temper Thyself and Journey Far":
·Adventurer Rank Requirement: AR 14 or above. Complete the Archon Quest Prologue: Act I "The Outlander Who Caught the Wind" to unlock Wishes, and complete the World Quest "Welcome to the Adventurers' Guild" to unlock the Adventurer Handbook.
·Daily Goal: Claim 4 daily commission rewards and consume 120 Original Resin on the same day.
·Weekly Goal: Achieve 5 Daily Temper Goals within the week.
·Redemption Condition: Accumulate 8 Weekly Temper Goals to redeem1 Constellation.
·Event Duration: The event runs for 12 weeks, but you only need to complete 8 weeks' worth of goals.
Three golden rules to remember:
·You must own the character— you cannot claim a Constellation for a character you don't have.
·One per character— if you've already claimed a Constellation for a character in a previous "To Temper Thyself and Journey Far" event, you cannot claim it again.
·Use it or lose it— claimed but unredeemed Constellation rewards expire at the end of the current event and cannot be carried over.
In short, this is a veteran player's reward — complete your daily resin spending and claim a free constellation for a character you already own.
Roster Update: Nine Fontaine Characters Join the Fray
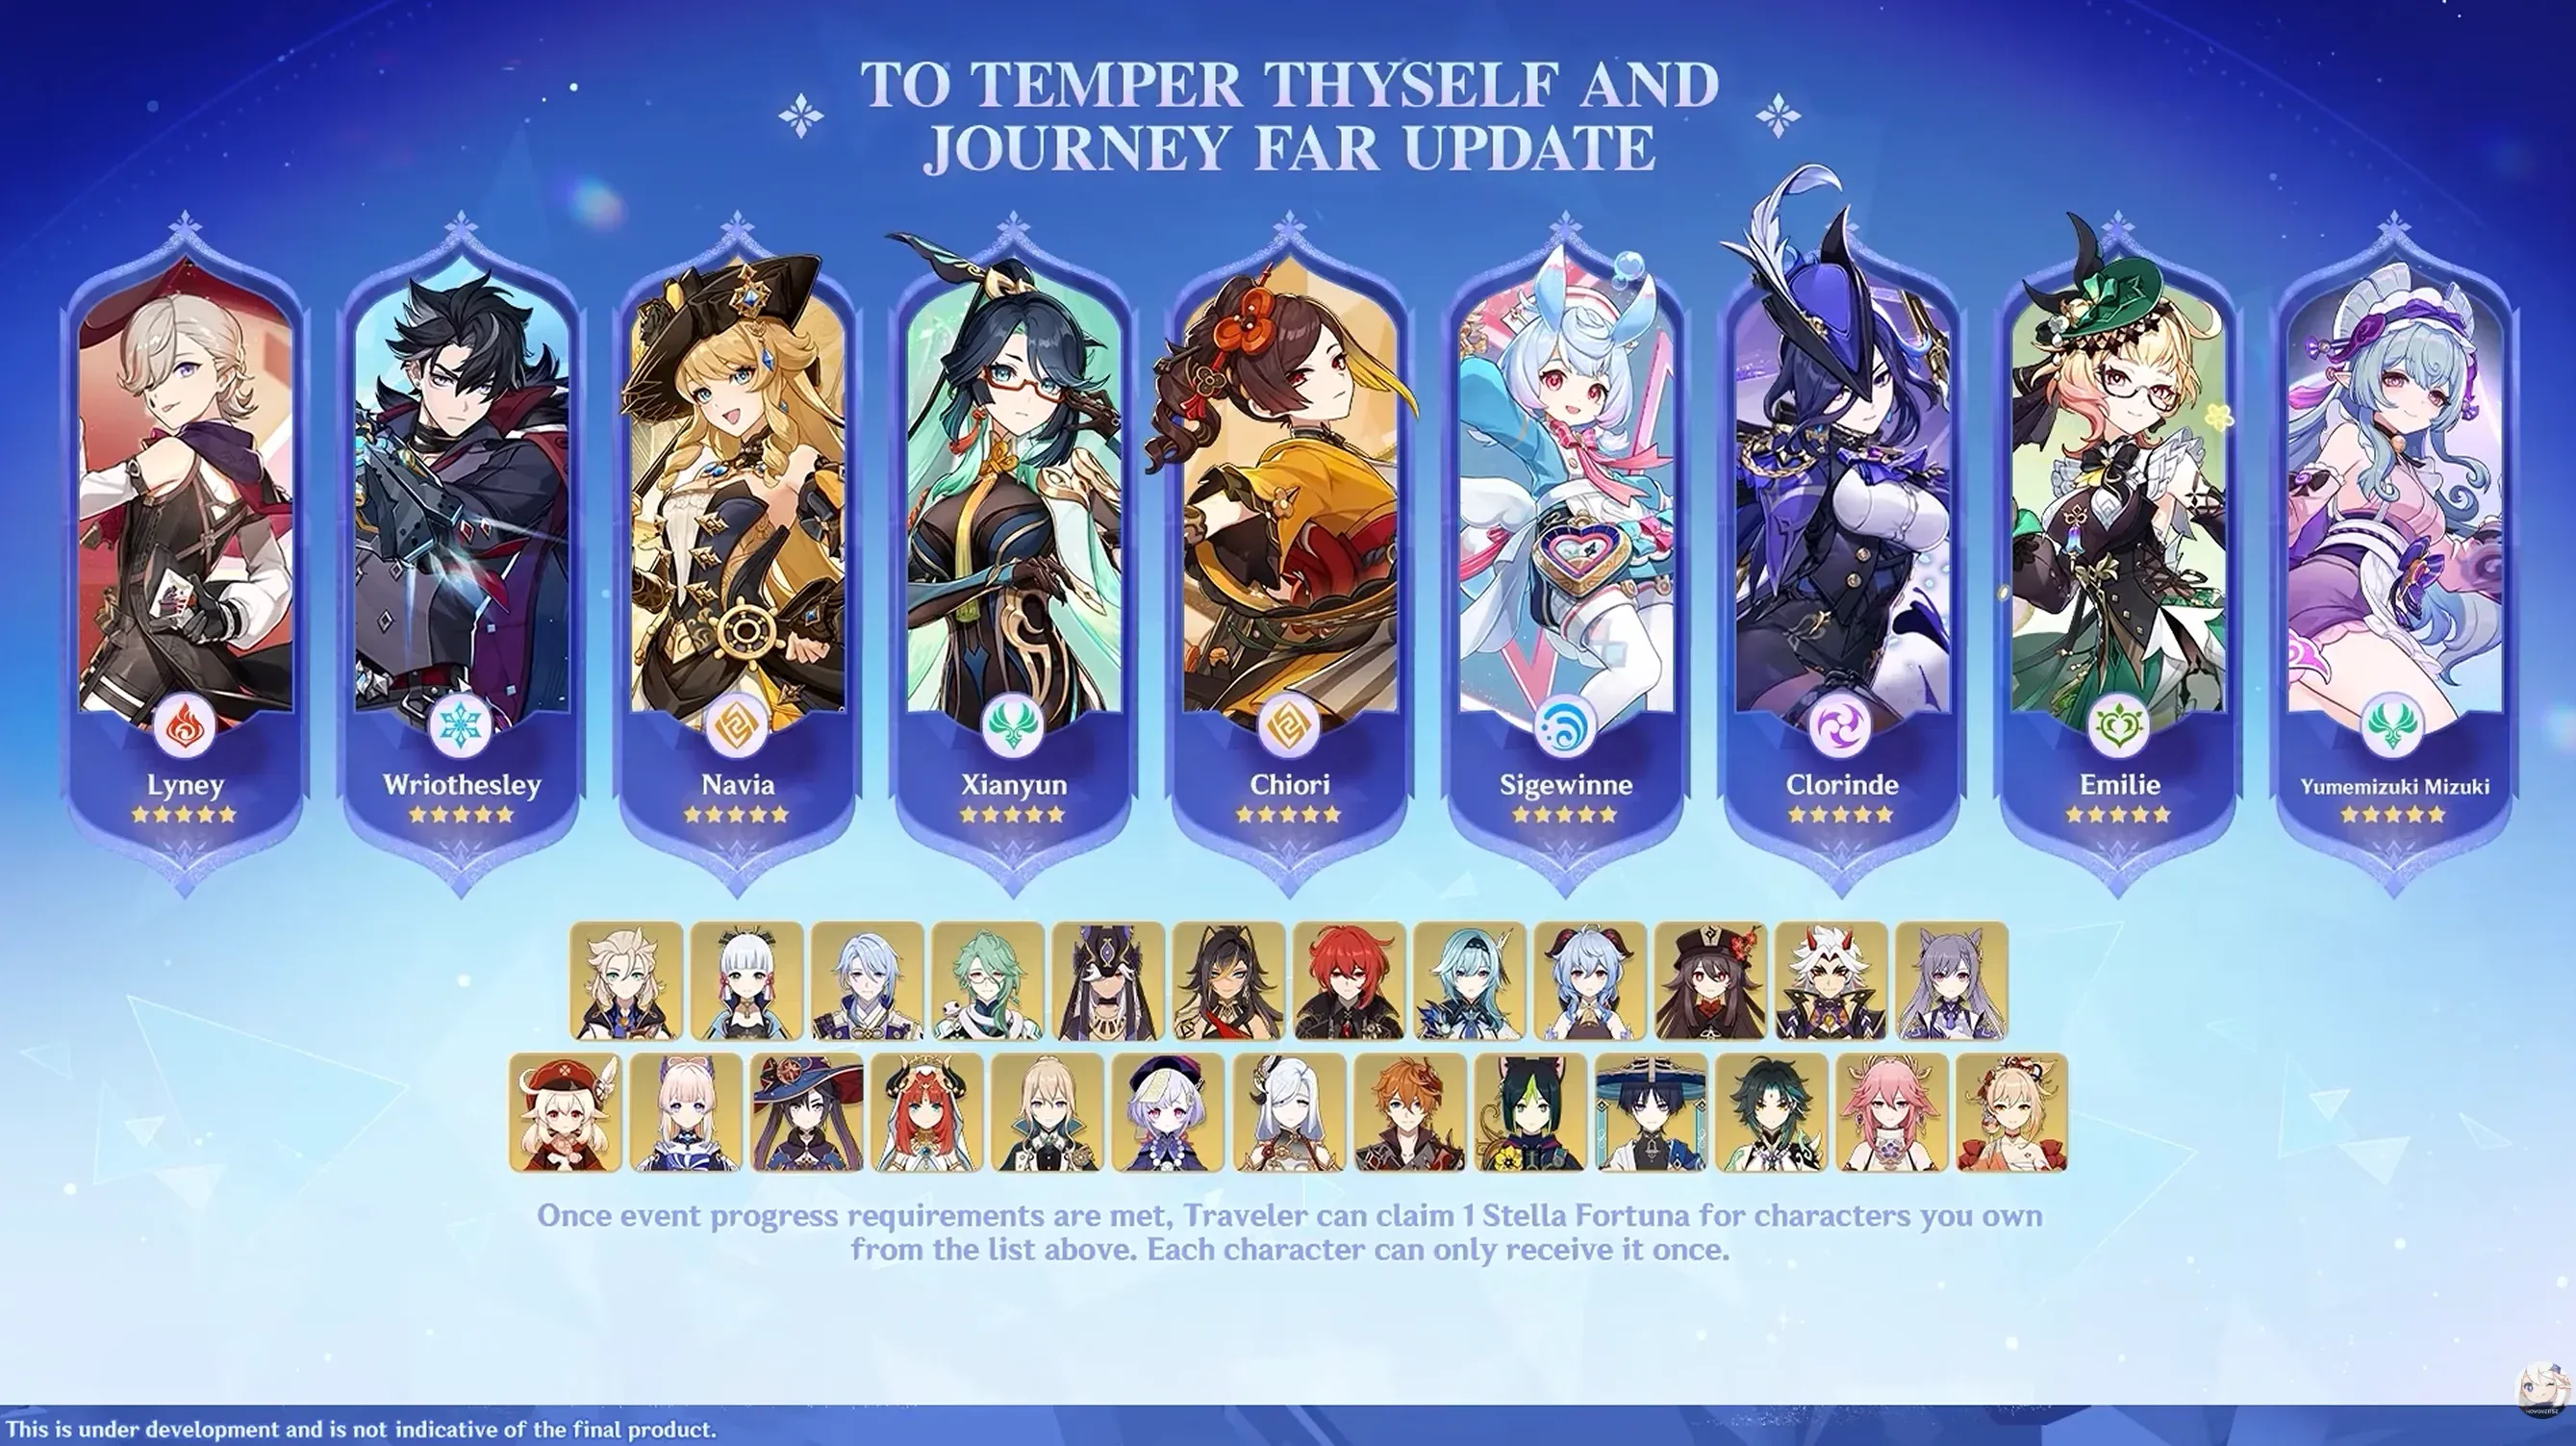
The biggest headline for this round of "To Temper Thyself and Journey Far" is the expanded character roster.
Earlier community speculation suggested 11 new characters might be added, including fan-favorites like Kaedehara Kazuha, Yelan, and Alhaitham. However, the final confirmed lineup consists of nine Fontaine characters:
Lyney, Wriothesley, Navia, Xianyun, Chiori, Sigewinne, Clorinde, Emilie, and Yumemizuki Mizuki
Notably,Kaedehara Kazuha, Yelan, and Alhaitham did not make the cut. From a design perspective, these universally powerful units will likely be reserved for future milestone events or major version celebrations.
With the original 25 characters from the first batch, the current "To Temper Thyself and Journey Far" roster now stands at34 characters. It's worth noting that Furina and Neuvillette have never appeared on the list.
Understanding Snezhnaya's New Systems: Why Meta Context Matters
Before diving into constellation recommendations, it's essential to understand the core combat mechanic introduced in Version 7.0 — the Stellar Reaction system.
Version 7.0 introduces two new reactions built around the Stellar Linchpin mechanic: Stellar Superconduct and Stellar Swirl. The new 5-star character Odette (Cryo, off-field sub-DPS/support) serves as the linchpin of this system. She can continuously apply off-field Cryo, converting standard Superconduct and Swirl reactions into Stellar Superconduct and Stellar Swirl, while providing the entire team with significant Stellar Reaction damage bonuses.
What does this mean for you? Many older characters have received massive indirect buffs by plugging into the new Stellar Reaction framework. And several of the newly added Fontaine characters are primary beneficiaries of these systems.
Choosing a constellation, at its core, is about choosing who fits best into Snezhnaya's new meta.
Constellation Priority Breakdown: Which Ones Are Worth It?
Below is a tiered breakdown of the constellations worth considering in this round.
T0 — Meta-Defining, Top Priority
Yae Miko (C1)
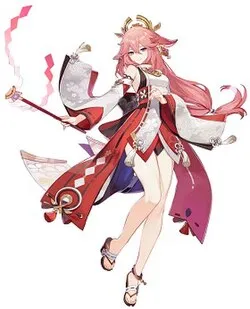
Yae Miko's C1 is arguably the single best choice in this round. Under Stellar Superconduct, her C1 transforms her kit entirely: upon triggering Superconduct or Stellar Superconduct, she grants the entire party a massive 50% Electro DMG Bonus and 50% Stellar Superconduct DMG Bonus for 10 seconds — one of the highest team-wide damage buffs in the game.
For players committed to building a Stellar Superconduct team, Yae Miko C1 is the undeniable top pick. Her C2 and C6 are also significant, but C1 offers the best value for a single constellation.
Wriothesley (C1, C2)
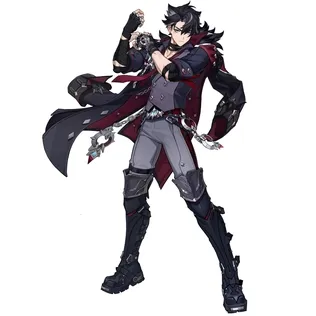
Wriothesley has received one of the biggest indirect buffs of any character. With Stellar Superconduct in the picture, his performance now rivals top-tier Snezhnayan main DPS units.
·C1 — "Terror for the Evildoers": Provides a solo damage bonus, translating to roughly a13% team DPS increasein optimized compositions.
·C2 — "Shackles for the Arrogant": A straightforward50% multiplier increase, translating to nearly40% team DPS improvement.
After his buffs, Wriothesley's Charged Attacks in the Stellar field have received a massive quality-of-life upgrade —zero cooldown on enhanced Charged Attacks, with a 2-second self-heal on hit. C1 is a great pickup; C2 is a game-changer. If you're playing Stellar Superconduct, Wriothesley's constellations deserve serious consideration.
Yumemizuki Mizuki (C2)

As a standard-banner 5-star,Yumemizuki Mizukiappearing near the top of any recommendation list says a lot. She is thefirst dedicated Stellar Swirl main DPSin Version 7.0.
·C1: While in her Floating Dream state, triggering Swirl increases enemy damage taken based on her Elemental Mastery.
·C2: While in her Floating Dream state, increases Swirl DMG based on EM andreduces the RES of the corresponding swirled element by 20%.
C2 unlocks her complete endgame potential.For players building a Stellar Swirl team, Yumemizuki Mizuki's C2 is an excellent investment.
Cyno (C1, C2)
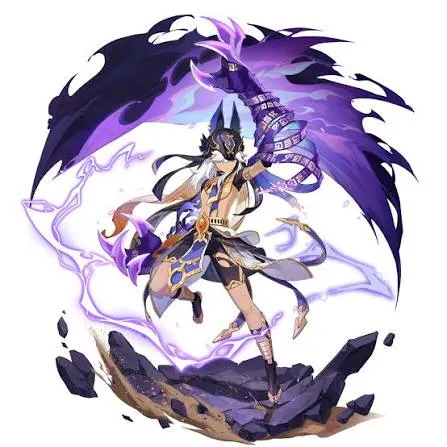
Cyno has also benefited significantly from the Stellar Superconduct buffs. C1 grants +200 Elemental Mastery, while C2 provides +80% Stellar Superconduct DMG Bonus. For existing Cyno owners, these constellations offer excellent value.
T1 — Team-Specific, Pick According to Your Box
Nilou (C2)
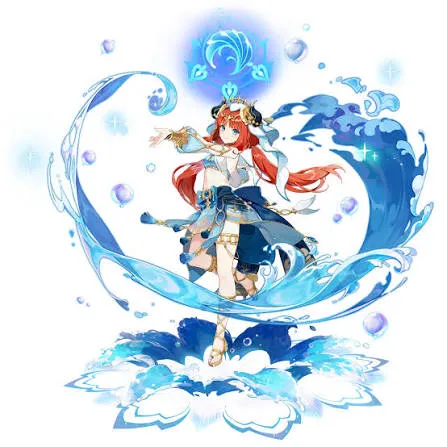
Nilou's C2 unlocks 35% Hydro and Dendro RES shred for her Bloom teams. In high-investment Nilou Bloom compositions, this constellation is invaluable. If you're running Nilou Bloom and already have C1, C2 is a worthwhile pickup.
Klee (C2)

Post-buff Klee has seen a resurgence in certain team compositions. Her C2 causes her mines to reduce enemy DEF by 23%. Whether played as a main DPS or as a DEF-shredding support, this constellation offers solid value.
Clorinde (C2)
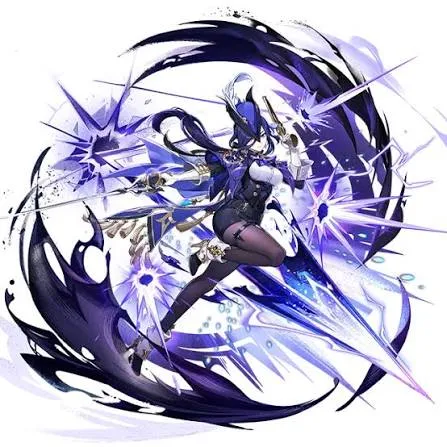
Clorinde has found a comfortable niche in the current meta thanks to new team compositions. Her C1 and C2 each offer roughly 15-20% DPS increases. If you're committed to playing Clorinde, C2 is a solid target.
T2 — Niche Use Cases, Proceed with Caution
·Xianyun (C1, C2): C1 significantly alleviates her Energy Recharge needs; C2 doubles her Plunging Attack buff values. However, her skill ceiling is high — best for players willing to invest in practice.
·Navia (C2): Provides a 14-25% solo damage increase. Consider this if you already own Navia and lack a strong Geo DPS.
·Emilie (C2): Her constellation gains are impressive (C1 alone is nearly 30%), but she consistently lacks a truly synergistic team composition. Wait and see.
·Lyney (C1–C4): Has seen improved performance with new supports. His early constellations offer smooth, incremental gains. Fire-team players may want to consider him.
·Sigewinne (C2): Only worth considering if you can reach C2.
·Albedo (C1): Gains value with certain artifact sets.
·Hu Tao (C1): Charged Attacks no longer consume stamina — smoother gameplay.
·Shenhe (C1): Improves her energy rotation.
Core Selection Logic: Three Approaches
Based on the analysis above, here are three ways to approach your selection:
Approach 1: C5 → C6
If you already have a character at C5, picking their C6 is the most value-driven choice — the mechanical transformation that comes with a full constellation set almost always outweighs a single key constellation on another character.
Approach 2: Build Around Your Chosen System
Choose based on the Snezhnayan endgame system you plan to main:
·Stellar Superconduct→ Yae Miko C1, Wriothesley C1/C2, Cyno C1/C2
·Stellar Swirl→ Yumemizuki Mizuki C2
Approach 3: Follow Your Heart (Favorites First)
If neither of the above applies —just pick your favorite. After all, every character on the "To Temper Thyself and Journey Far" roster requires you to already own them, which means you already have a connection to them. Investing in a character you love is its own reward.
Conclusion: Preparing for Snezhnaya Starts with the Right Constellation
"To Temper Thyself and Journey Far" offers only four opportunities per year. This round runs from August 10 to November 2— a 12-week window. Take the time to assess your roster, evaluate your Snezhnaya game plan, and choose the constellation that best serves your journey.
One final reminder: stay consistent.Missing a weekly goal here or there might not seem like a big deal, but slipping on your weekly targets could cost you a constellation. Plan ahead and stay on track.
The snows of Snezhnaya have arrived, and the Stellar Reaction system is rewriting the combat meta. May every Traveler choose wisely — and carve their own path through the frozen wilds!