

The Spiral Abyss has entered Version 7.0, and Snezhnaya has apparently decided that simply beating enemies is no longer enough. Now they also want you to understand their shields, roots, wards, orbs, and whatever else they throw at you. Very considerate. If your team is already getting bullied in Floor 12, don't worry. You're definitely not alone.
This Genshin Impact Spiral Abyss 7.0 guide breaks down Floors 11 and 12, with the main focus on the tougher Floor 12 encounters. We'll cover the enemy lineup, important mechanics, recommended elements, Stellar reactions, and practical tips for each chamber. You can also clear the Abyss without owning every current banner character, so let's get into it before another boss starts charging a shield.
Spiral Abyss 7.0 Overview
Version 7.0 gives the Spiral Abyss a noticeable preference for Cryo, Stellar reactions, and Pyro.
|
Floor |
First Half Buff |
Second Half Buff |
|
Floor 11 |
60% Cryo DMG Bonus |
60% Pyro DMG Bonus |
|
Floor 12 |
Superconduct DMG +200%, Stellar Conduct DMG +75% |
Normal Attack Pyro DMG +75% |
The Abyss blessing also encourages Stellar reactions. Cryo Traveler is particularly useful because it gives players access to the reaction without requiring a limited character.
That said, the buffs are recommendations rather than strict requirements. Strongly built teams can still clear the content without perfectly matching every bonus.
How to Unlock Spiral Abyss
Reach Adventure Rank 20
Before you can enter Spiral Abyss you will need to be AR 20 so it's best to aim for that first. That said, the steps to unlocking the island can be done at any time.
Floor 11 Guide
Floor 11 is more forgiving than Floor 12, but its Ley Line Disorders make the preferred elements fairly obvious.
Floor 11 Enemy Overview
|
Chamber |
First Half |
Second Half |
Recommended Focus |
|
11-1 |
Chimeric Beasts, Mirror Maiden |
Veteran Tainted Water Splitting Phantasm |
Cryo first half, Pyro second half |
|
11-2 |
Voywolf Hunter, Fanged Zealot, Suppression Specialist Mek |
Cryo, Electro, and Geo Lawachurls |
Cryo first half, Pyro second half |
|
11-3 |
Chimeric Horned Bear, Thundering Wayob Manifestation |
Construction Specialist Mek, Biting Cold Wayob Manifestation |
Cryo first half, Pyro second half |
Chamber 1
First Half: Chimeric Beasts + Mirror Maiden
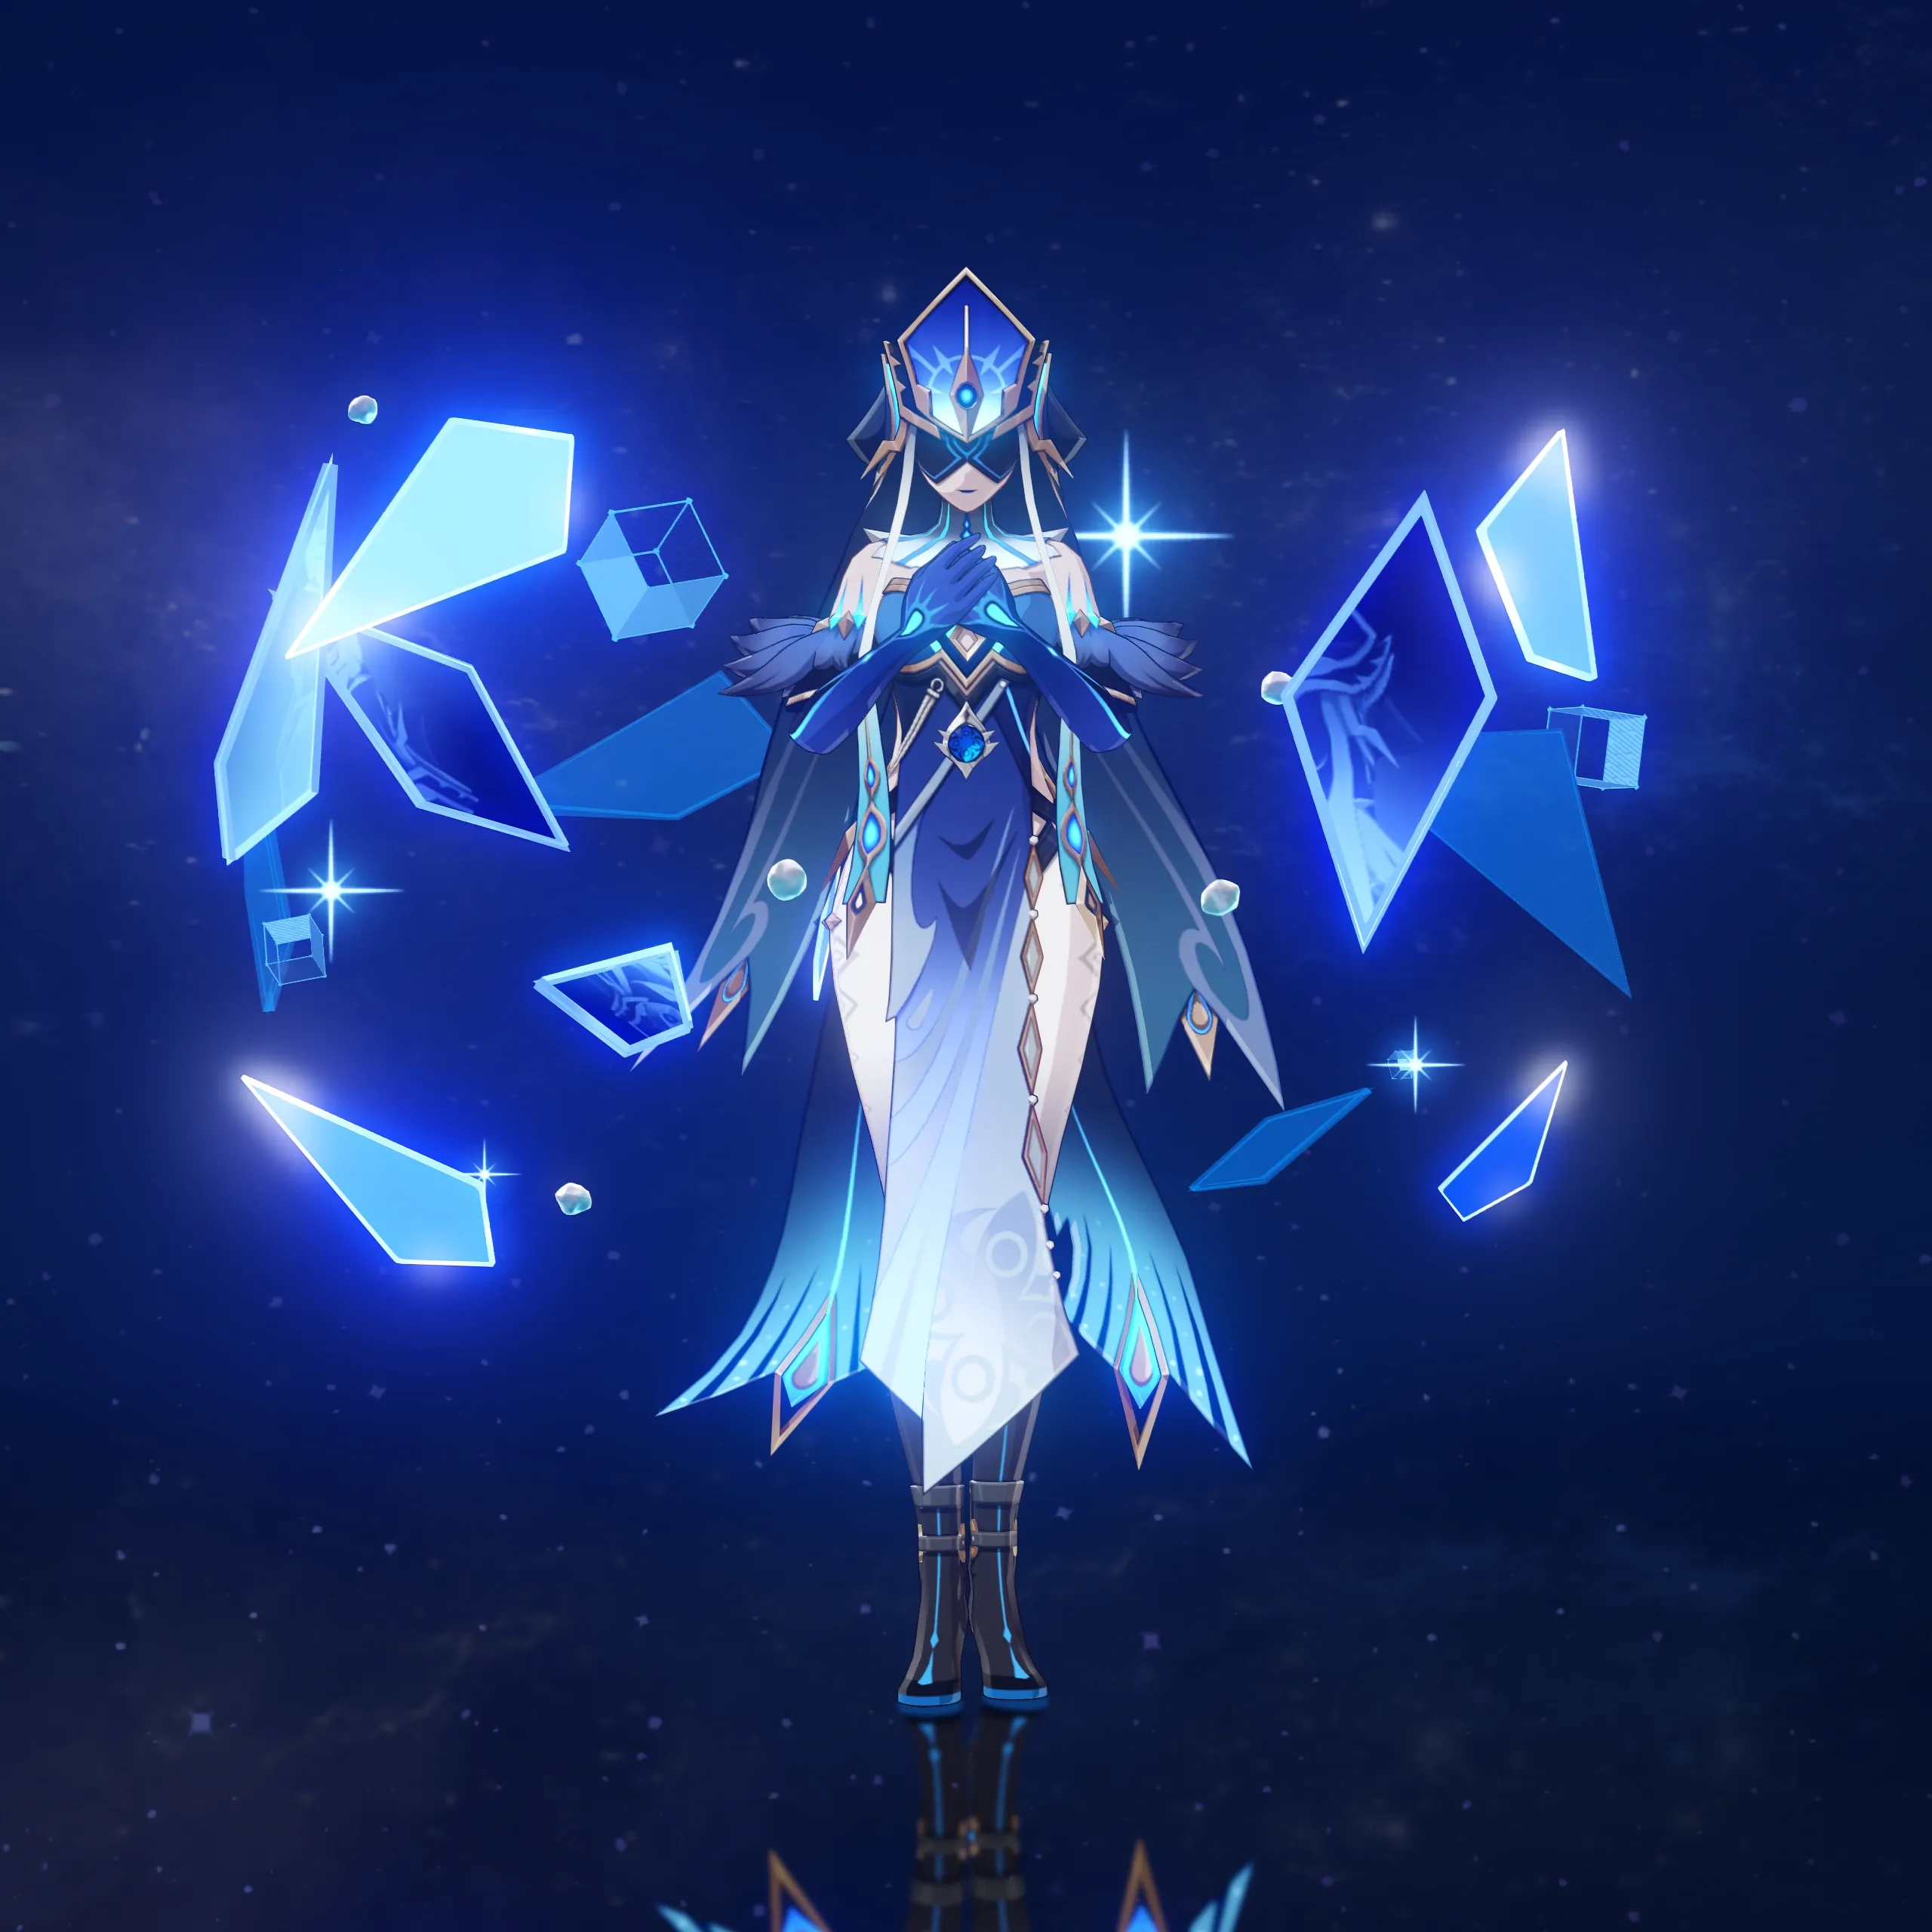
The Chimeric Beasts are not especially tanky, so most well built teams should be able to handle them. Mirror Maiden is the more important matchup.
|
Enemy |
Important Detail |
Recommended Approach |
|
Chimeric Beasts |
New enemies with manageable HP |
Focus them down while avoiding unnecessary damage |
|
Mirror Maiden |
50% Hydro RES and can apply a mirror mark |
Avoid relying on Hydro damage and use Cryo based teams |
A Stellar Conduct team is a strong option here. Freeze and Melt teams can also work.
Second Half: Veteran Tainted Water Splitting Phantasm

This enemy has a permanent Hydro aura, which makes Pyro particularly effective.
|
Recommended Option |
Why |
|
Vaporize team |
Takes advantage of the permanent Hydro aura |
|
Pyro main DPS |
Directly benefits from the matchup |
|
Xiangling |
Provides strong off field Pyro damage |
You do not need a dedicated Pyro main DPS to clear this enemy. An off field Pyro character can already do a lot of work.
Chamber 2
First Half: Voywolf Hunter + Fanged Zealot + Suppression Specialist Mek
|
|
|
|
|
Voywolf Hunter |
Fanged Zealot |
Suppression Specialist Mek |

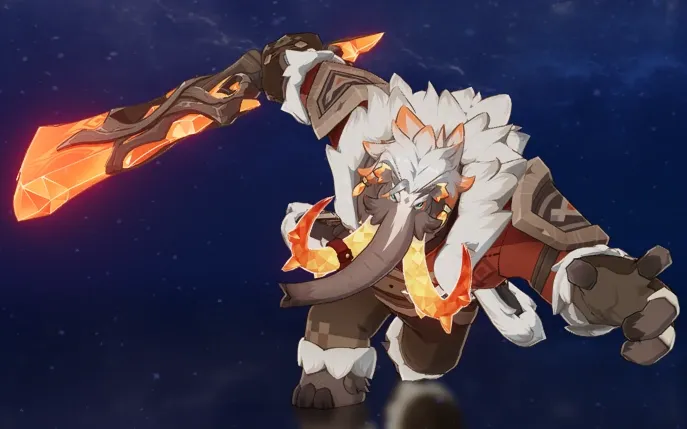
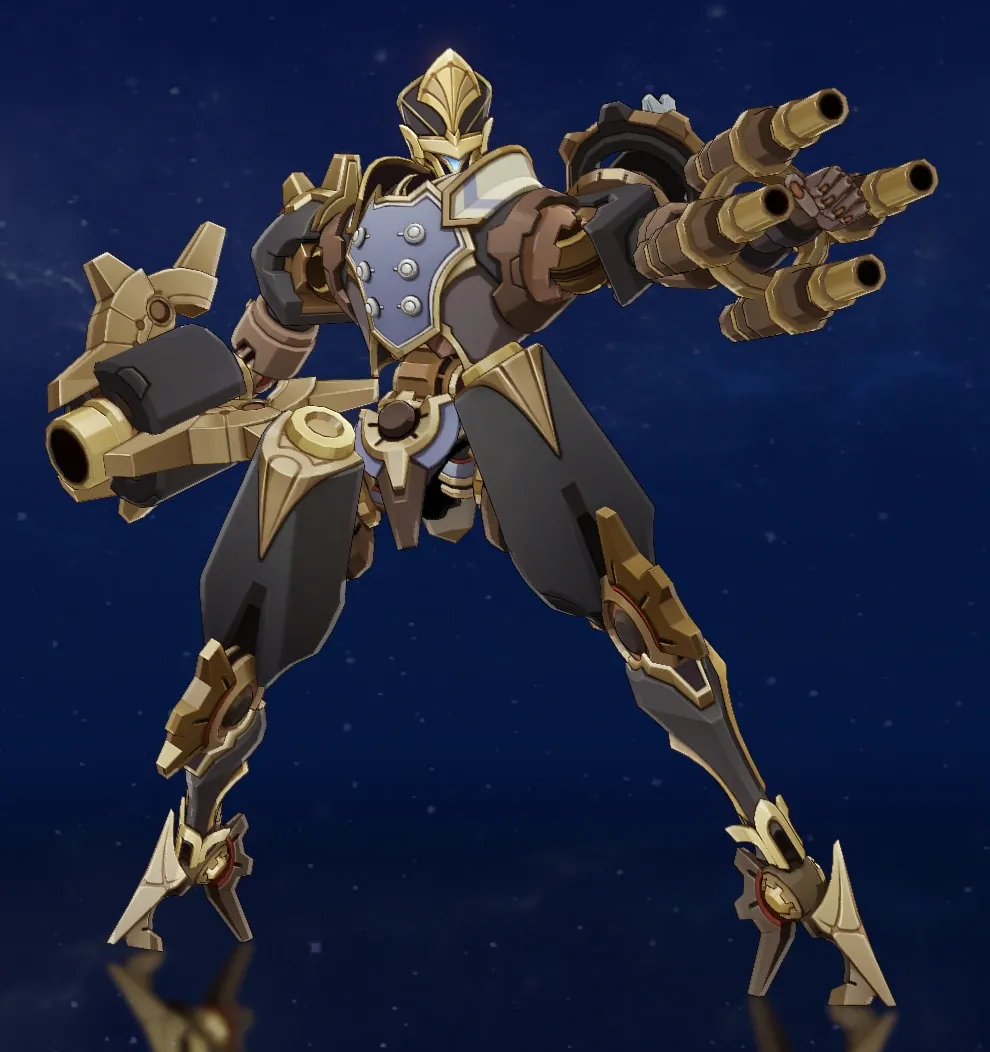
These enemies have somewhat higher Elemental RES, but their HP should remain manageable.
The basic strategy does not change much from Chamber 1. However, their attacks can hit harder, so avoiding unnecessary damage becomes more important.
A shield can also make the chamber more comfortable by preventing your rotation from being interrupted.
Second Half: Cryo, Electro, and Geo Lawachurls
Each Lawachurl has 70% RES to its corresponding element.
|
Enemy |
Resistance |
Recommended Response |
|
Cryo Lawachurl |
70% Cryo RES |
Pyro is a strong option |
|
Electro Lawachurl |
70% Electro RES |
Pyro can work well |
|
Geo Lawachurl |
70% Geo RES |
Use a strong reaction based team |
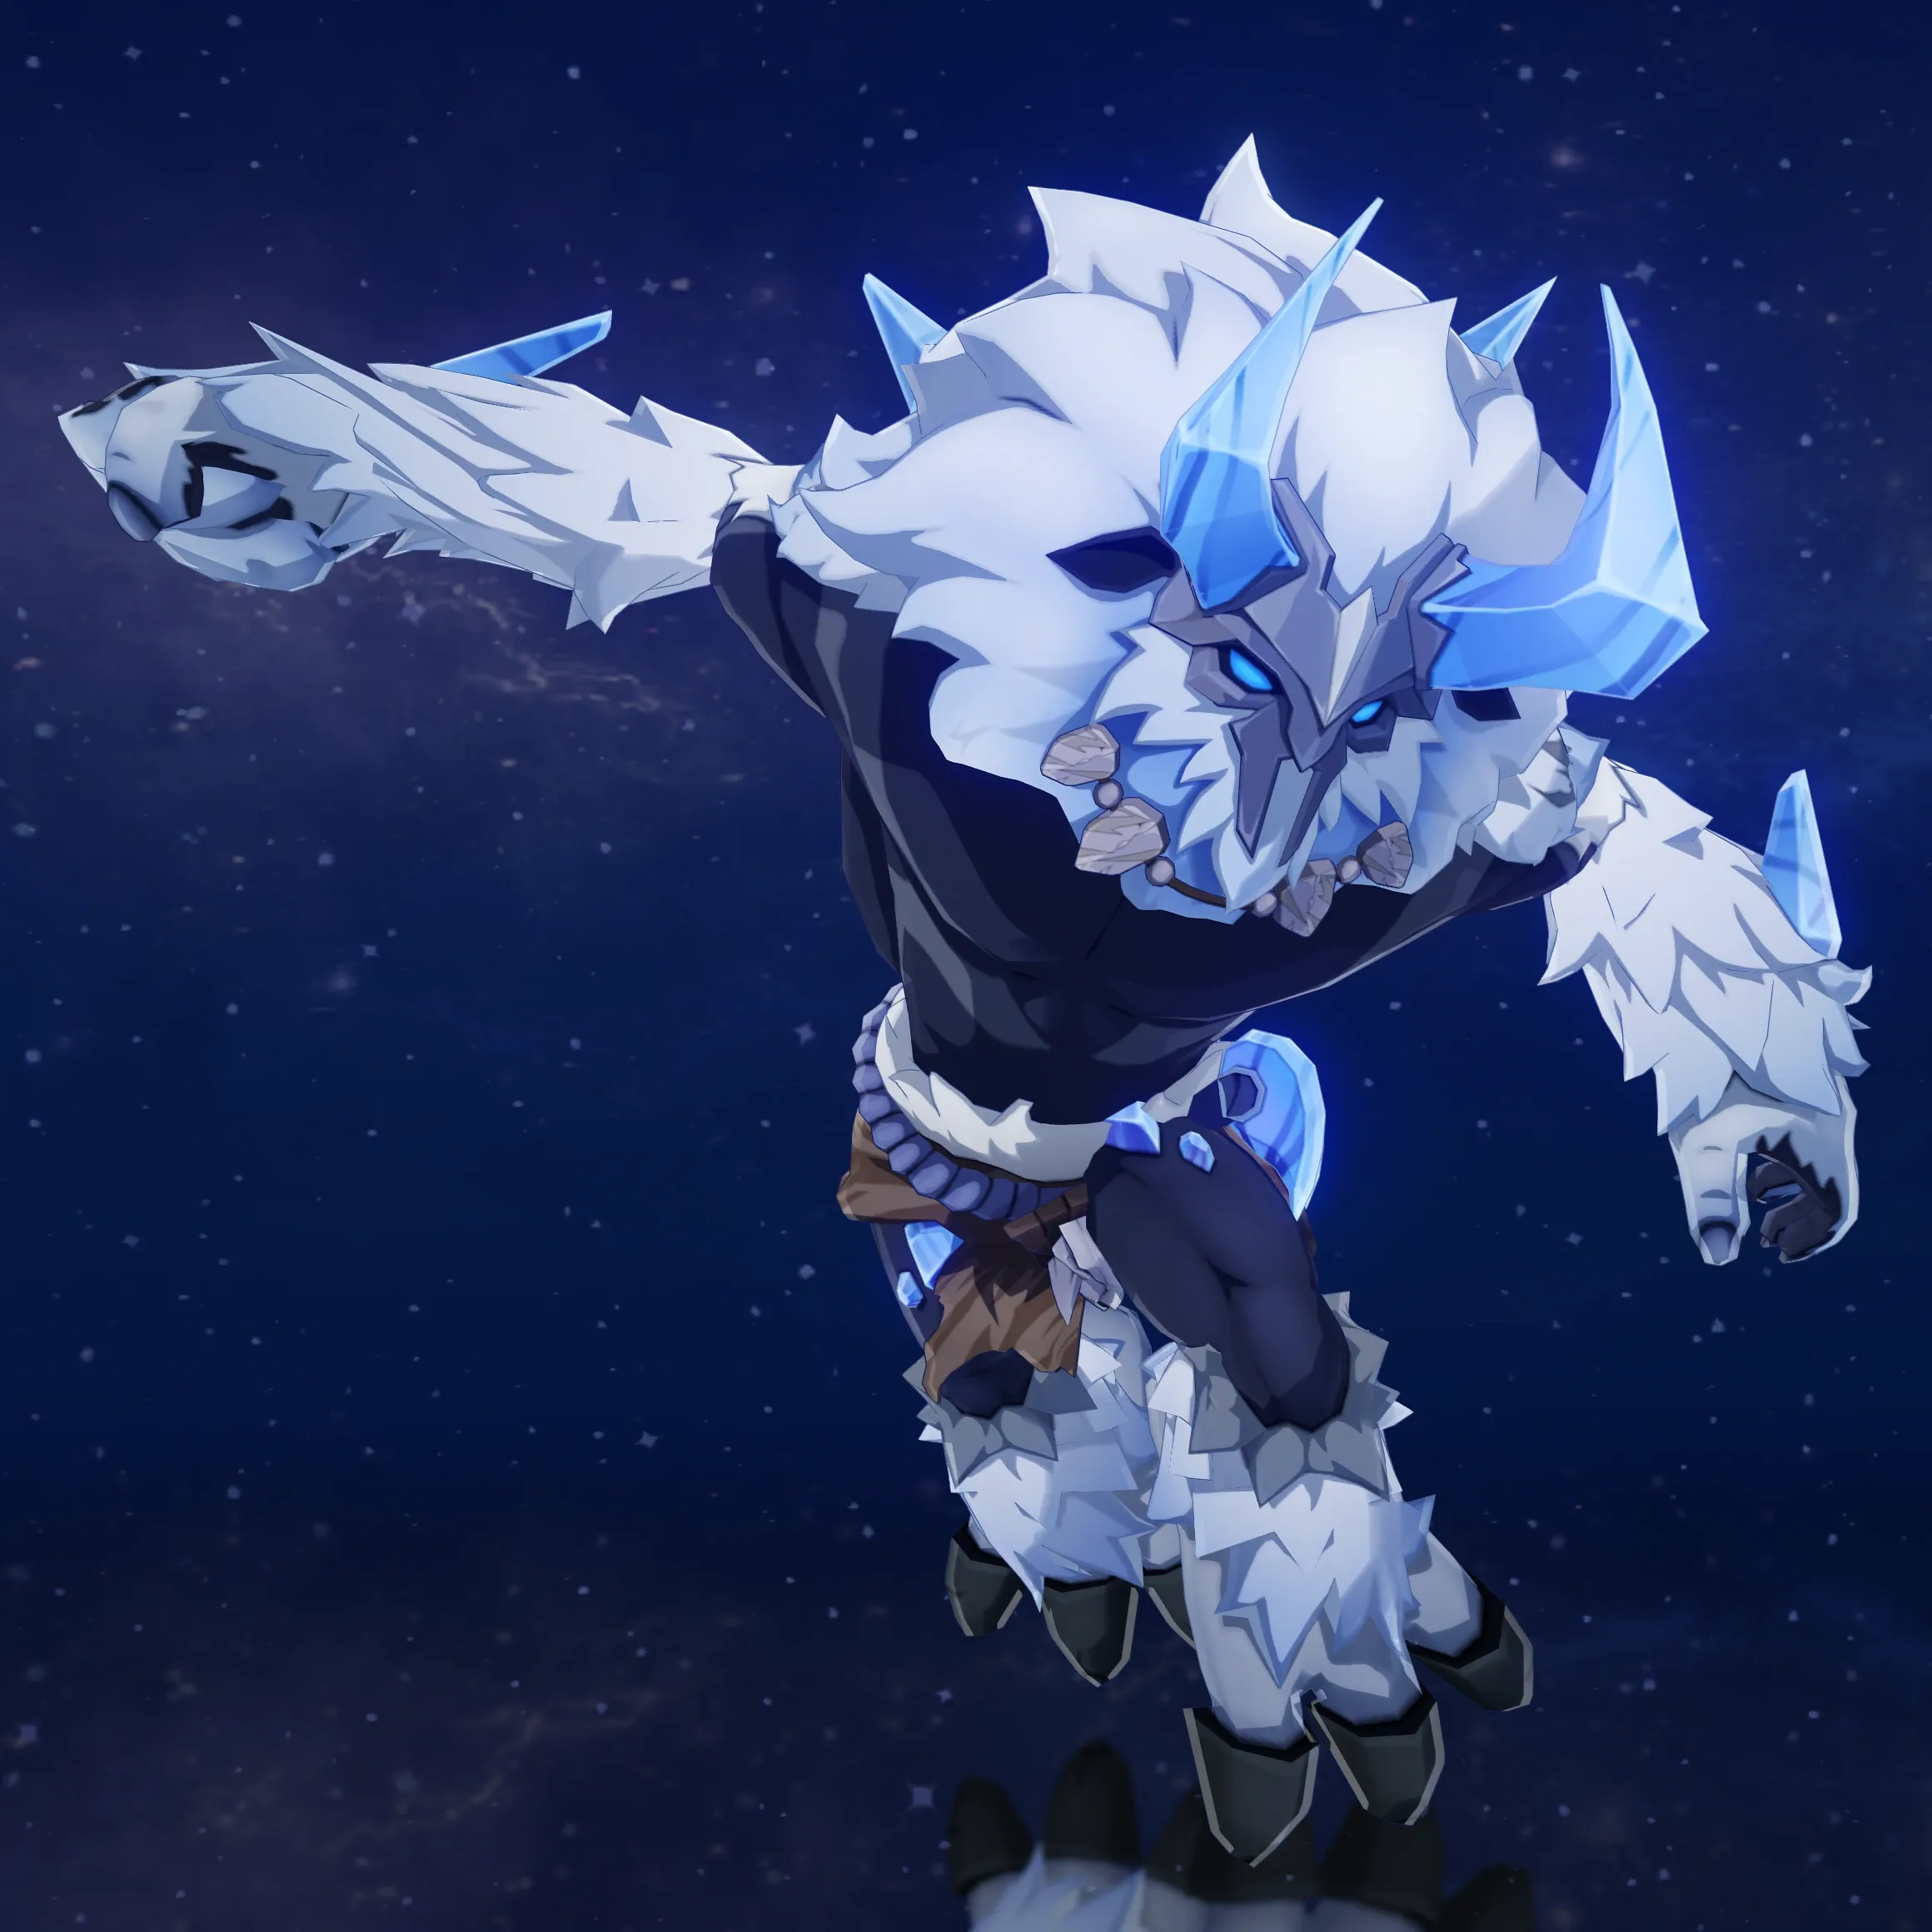
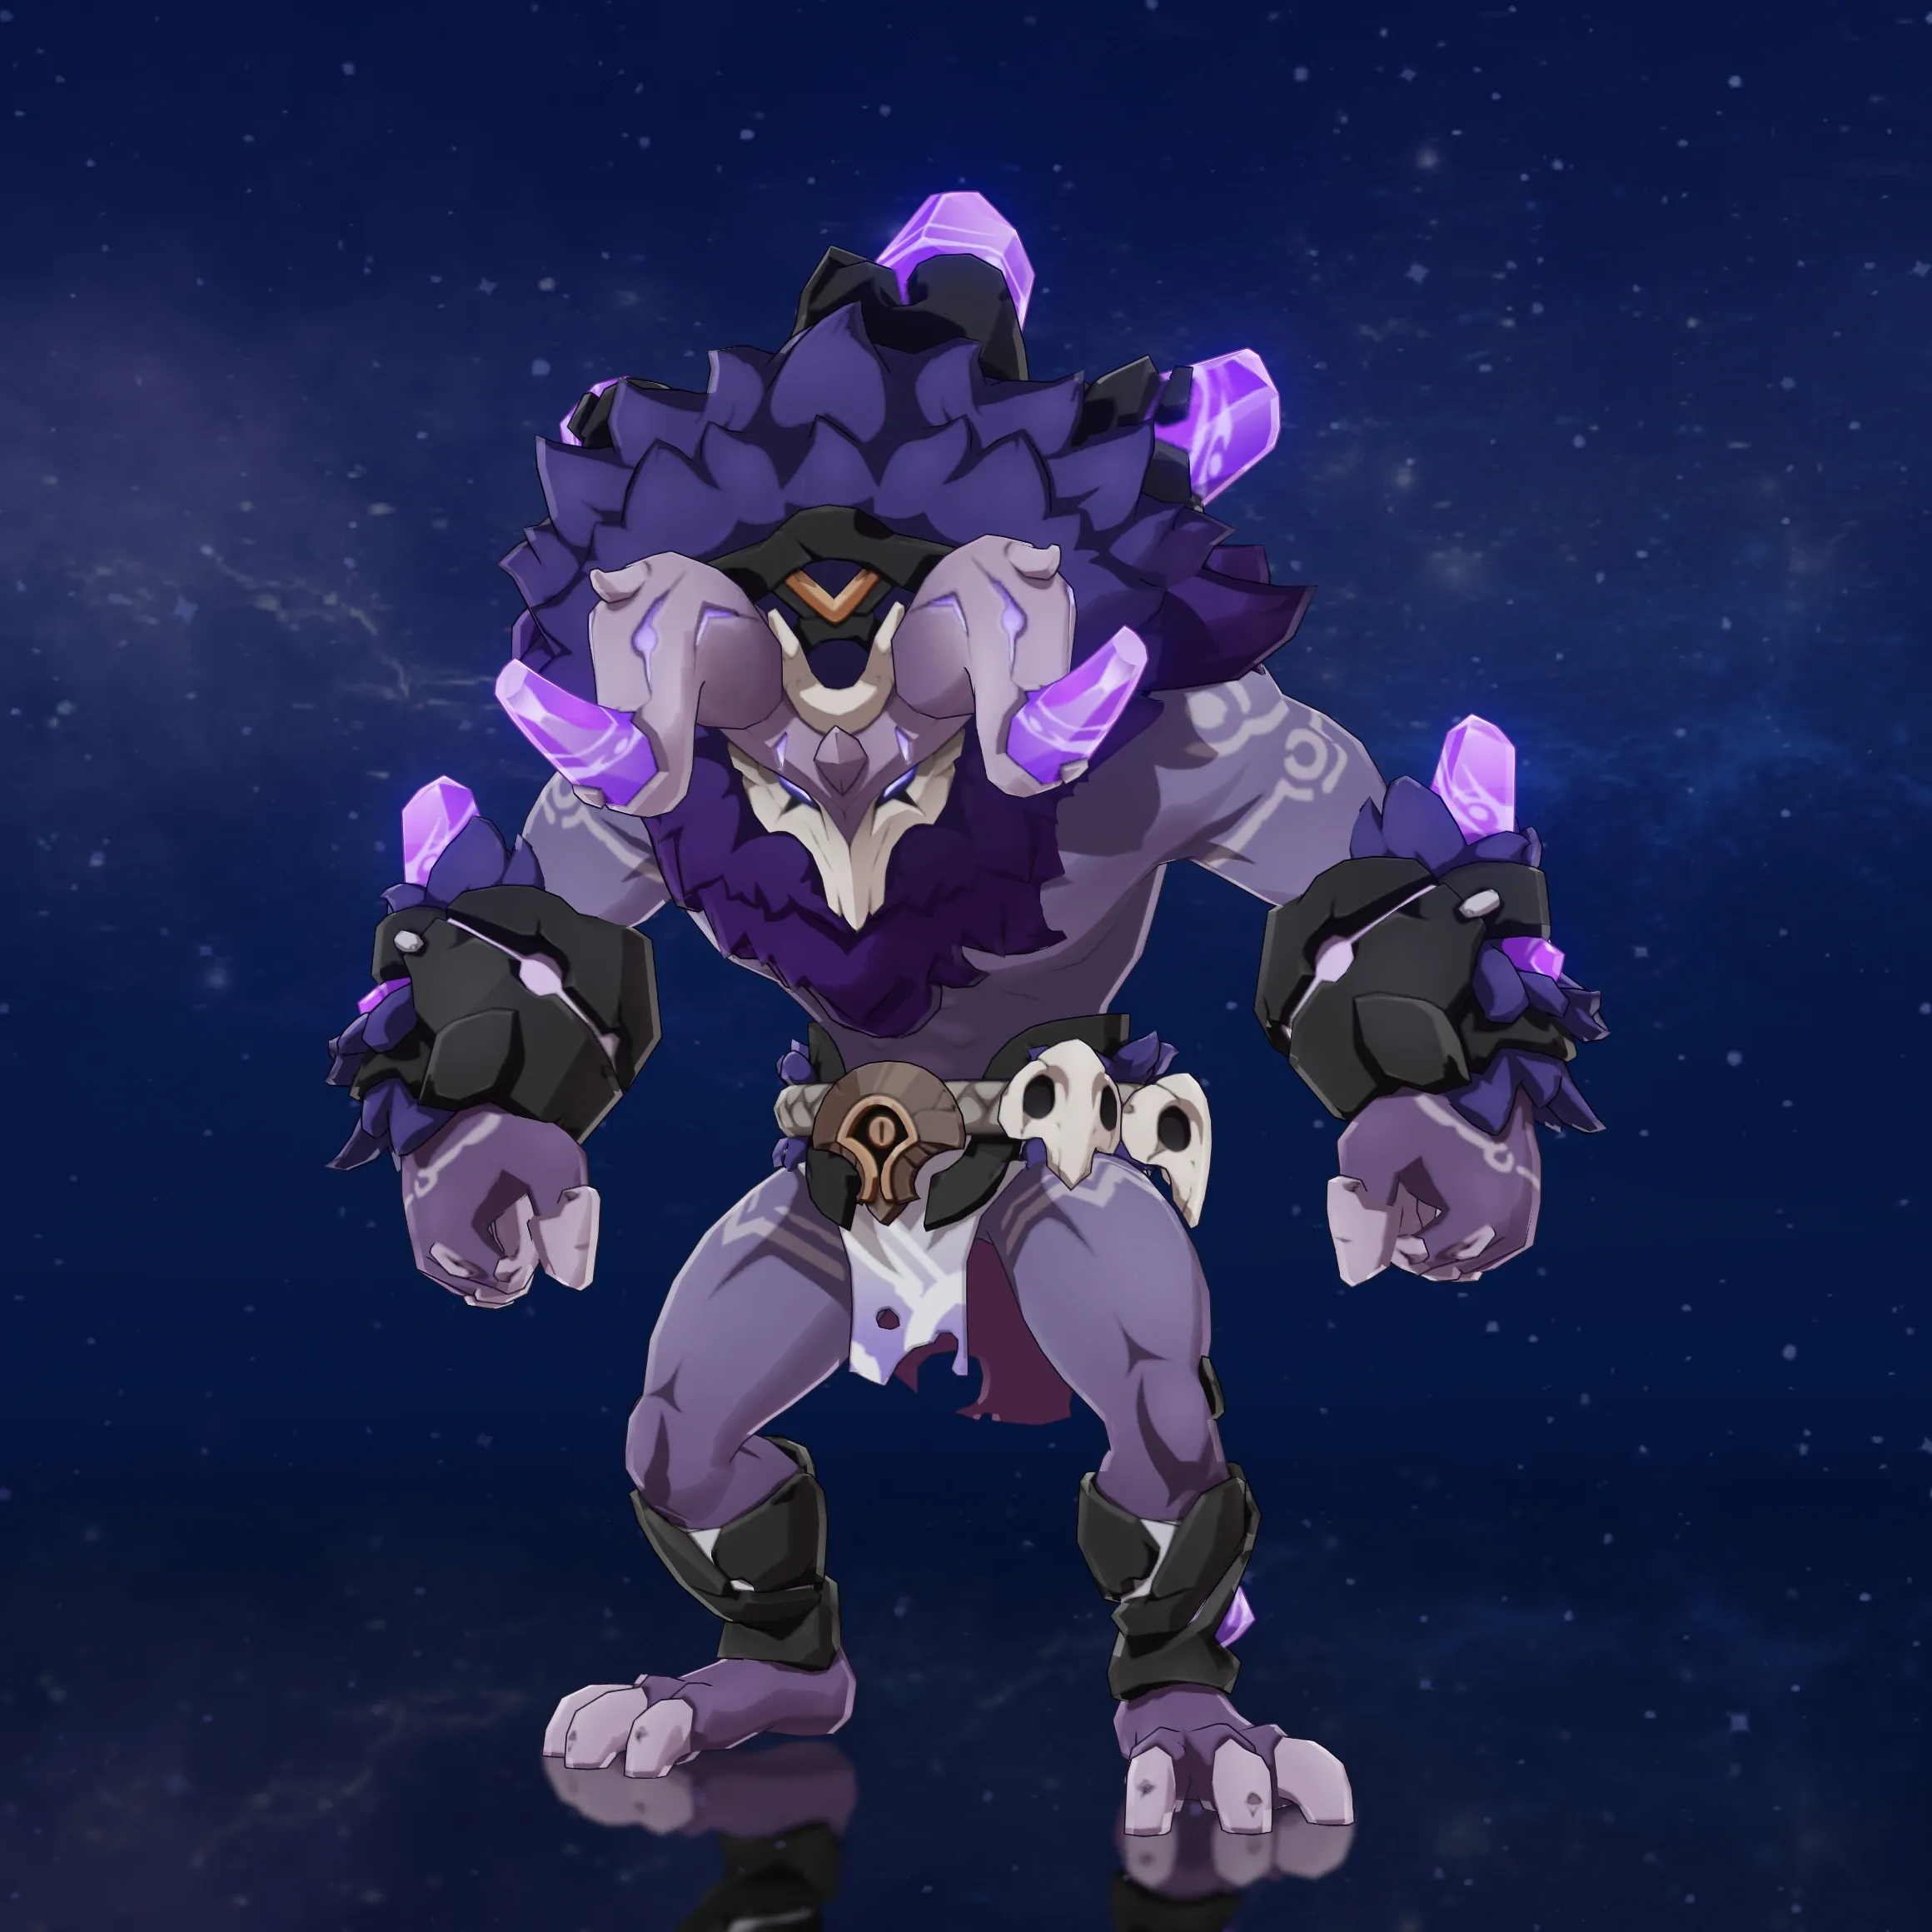
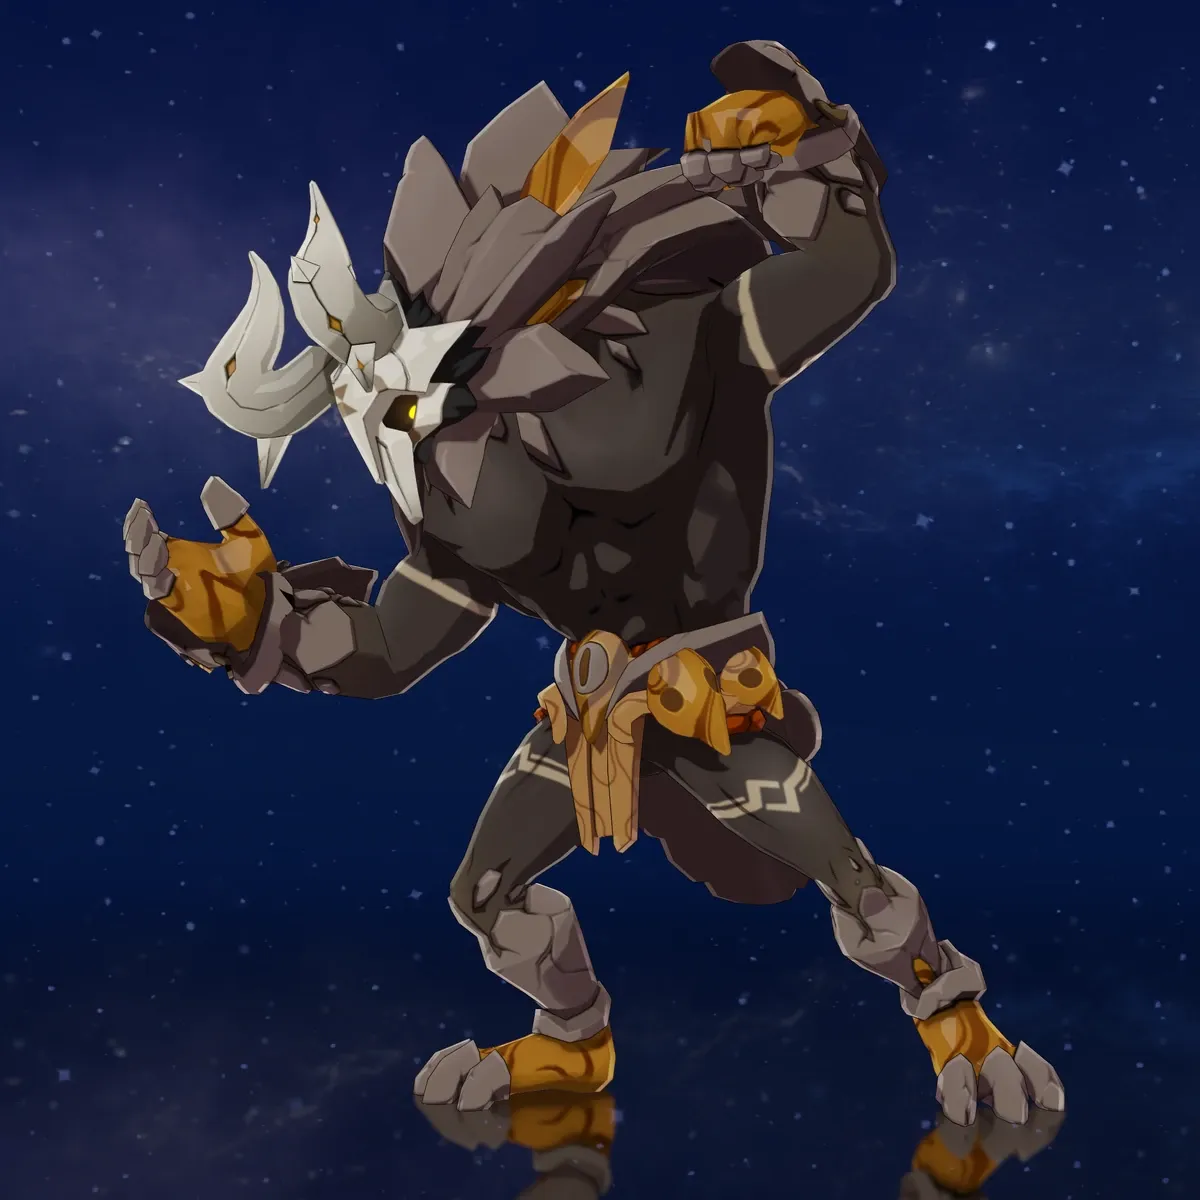
A Pyro focused team fits the chamber particularly well because it also works against the earlier enemies in the Second Half.
The Lawachurls can stagger your characters with their heavy attacks, so avoid greedily standing in front of them while waiting for your next Burst.
Chamber 3
First Half: Chimeric Horned Bear + Thundering Wayob Manifestation
These are both Elite enemies with more than 700,000 HP.
|
Enemy |
Resistance |
Important Mechanic |
|
Chimeric Horned Bear |
30% Pyro RES |
High HP and strong attacks |
|
Thundering Wayob Manifestation |
50% Electro RES |
Can create an Electro shield |
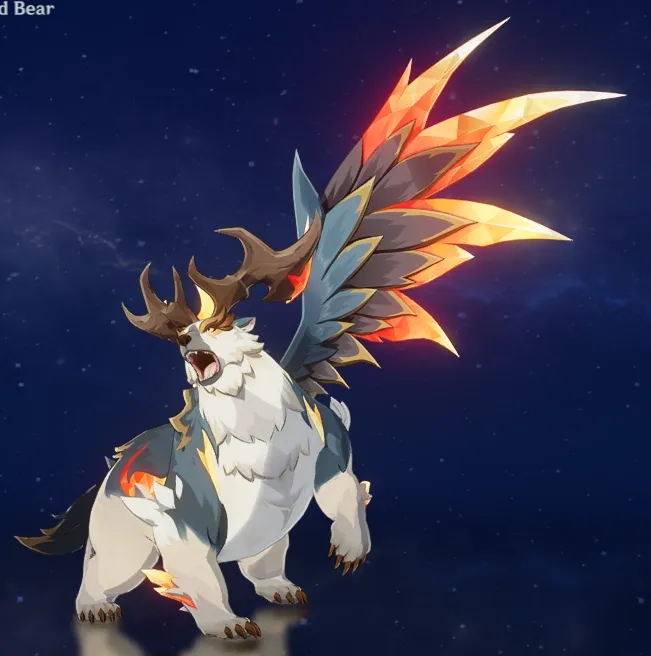
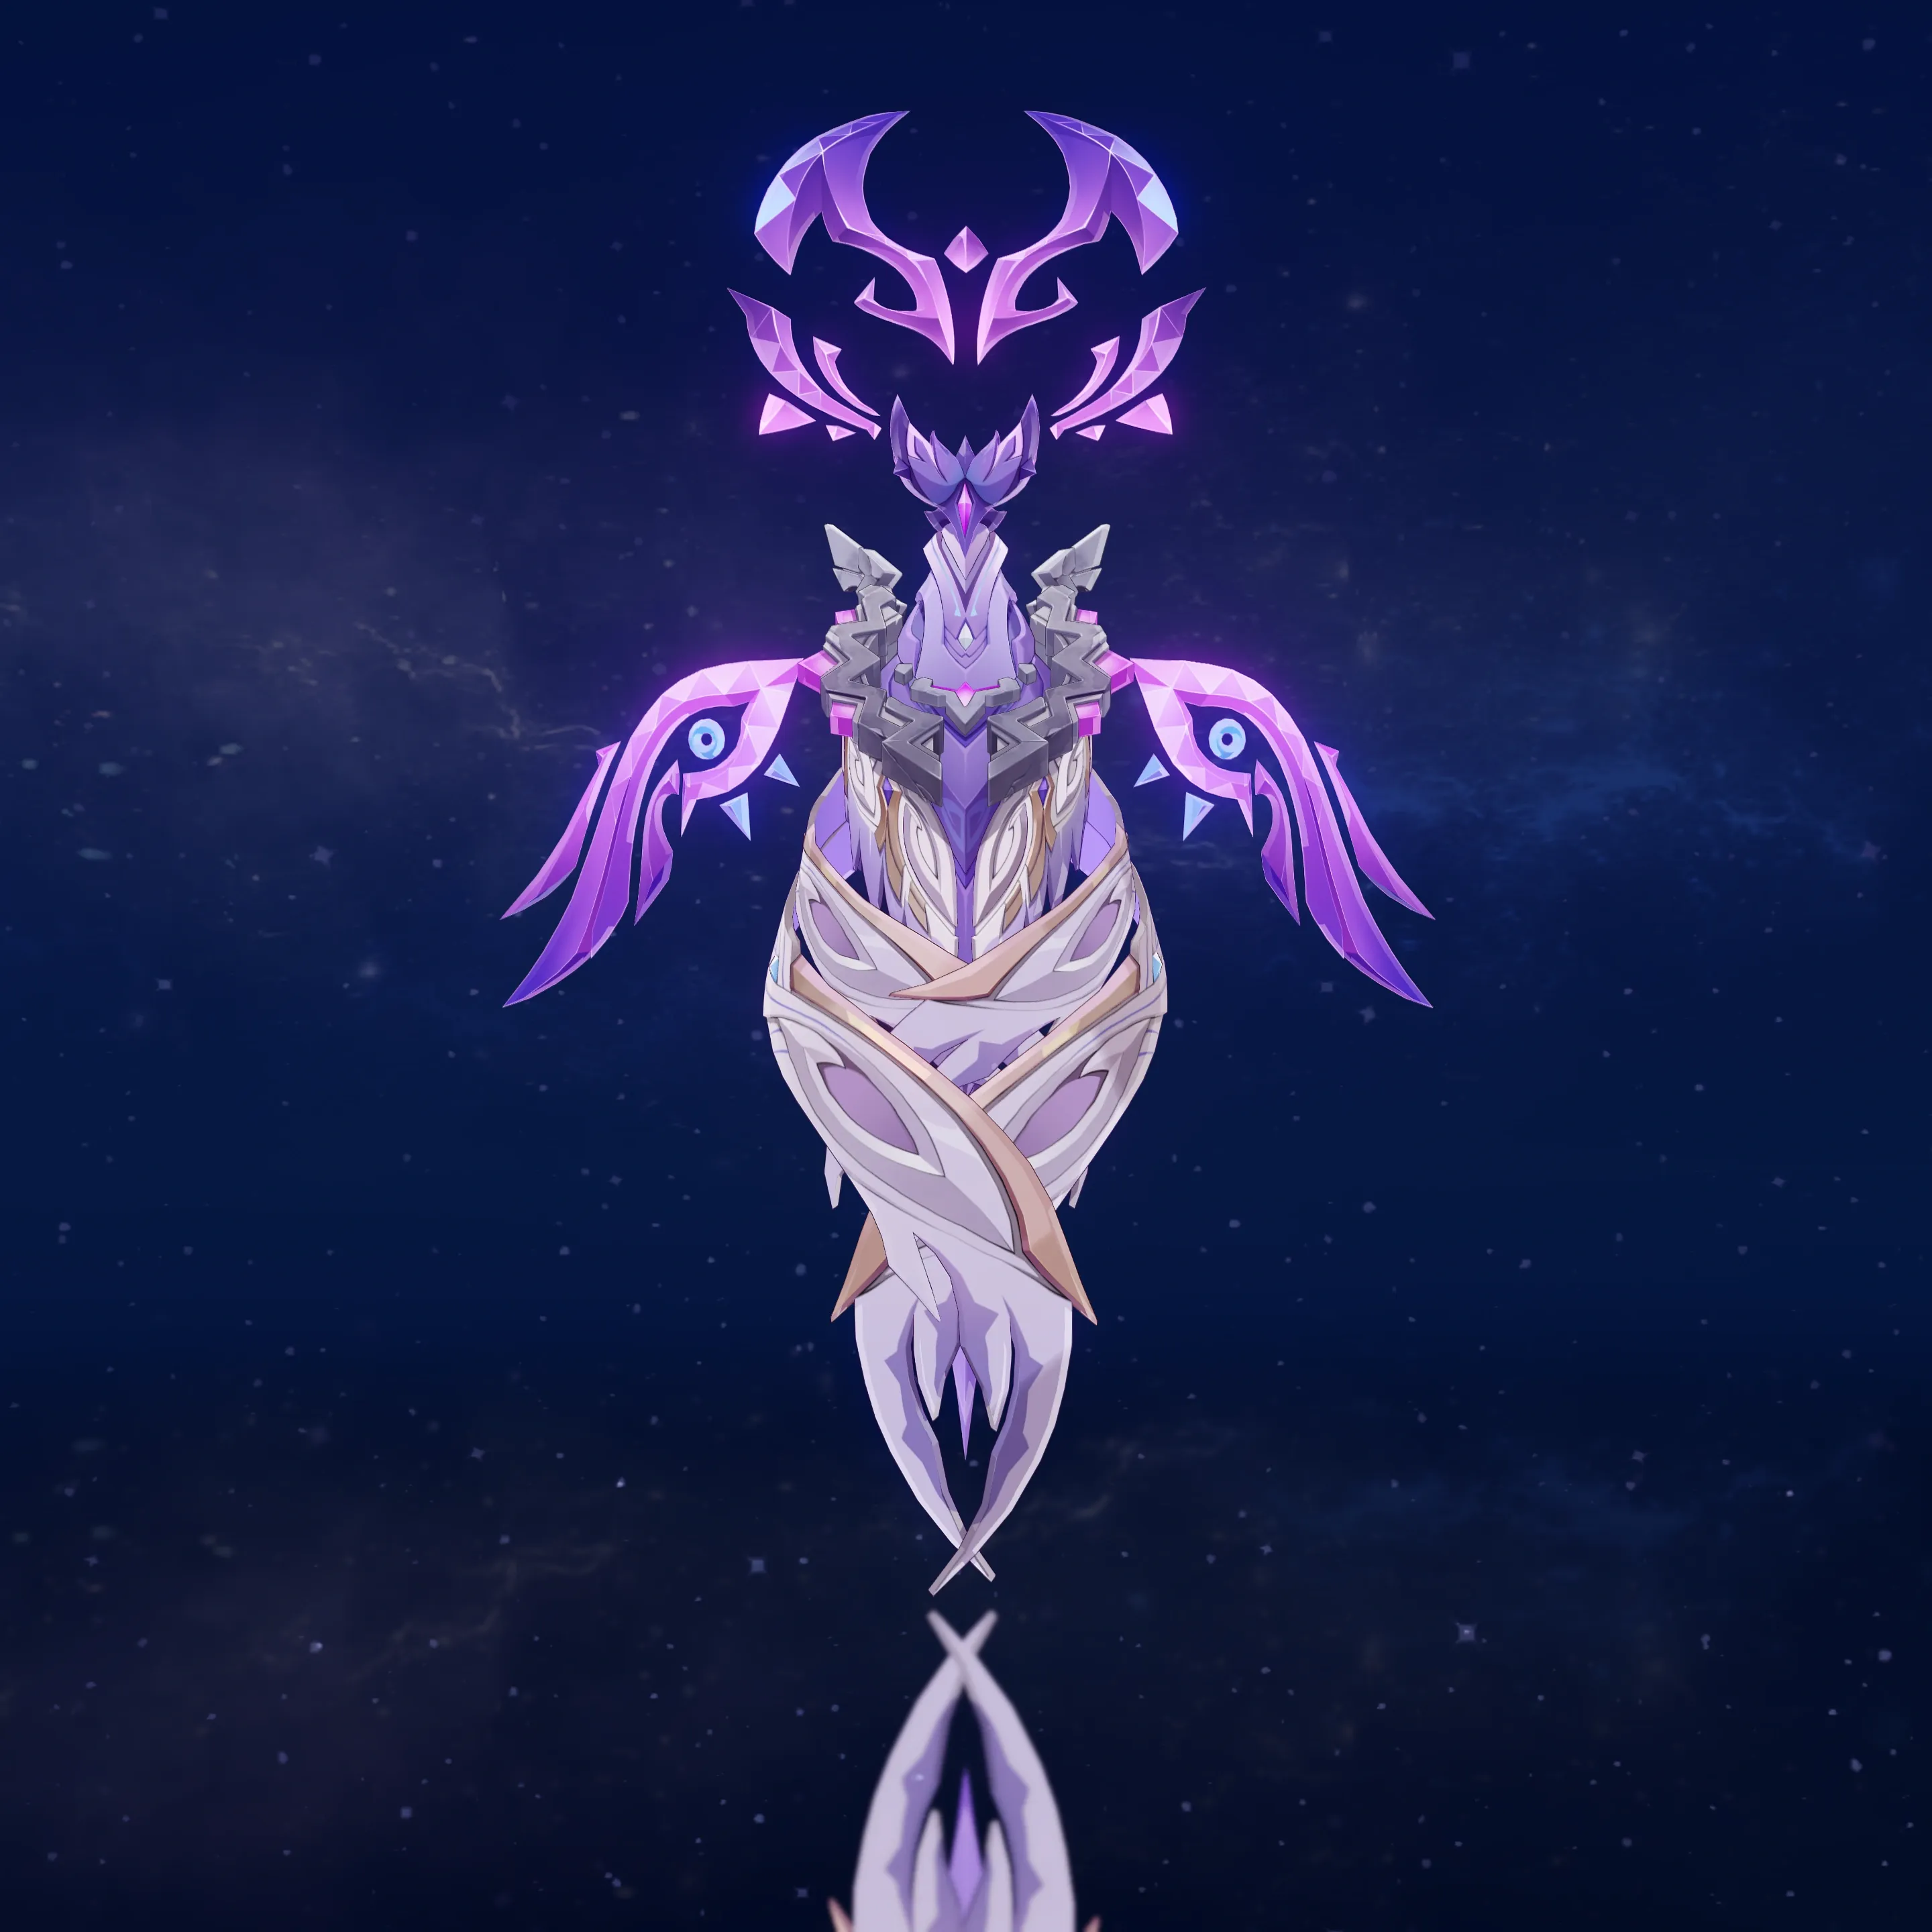
Cryo is a strong choice for this side.
Stellar Conduct teams can also work well. Even if your Electro support does not contribute huge direct damage, the main carry can provide most of the team's output.
Cryo is especially useful for dealing with the Wayob's Electro shield.
Second Half: Construction Specialist Mek + Biting Cold Wayob Manifestation
The Biting Cold Wayob has 50% Cryo RES and can create a Cryo shield.
|
Enemy |
Important Detail |
Recommended Response |
|
Construction Specialist Mek |
Deals Pyro and Cryo damage |
Avoid unnecessary Melt damage taken |
|
Biting Cold Wayob |
50% Cryo RES and Cryo shield |
Pyro is highly useful |
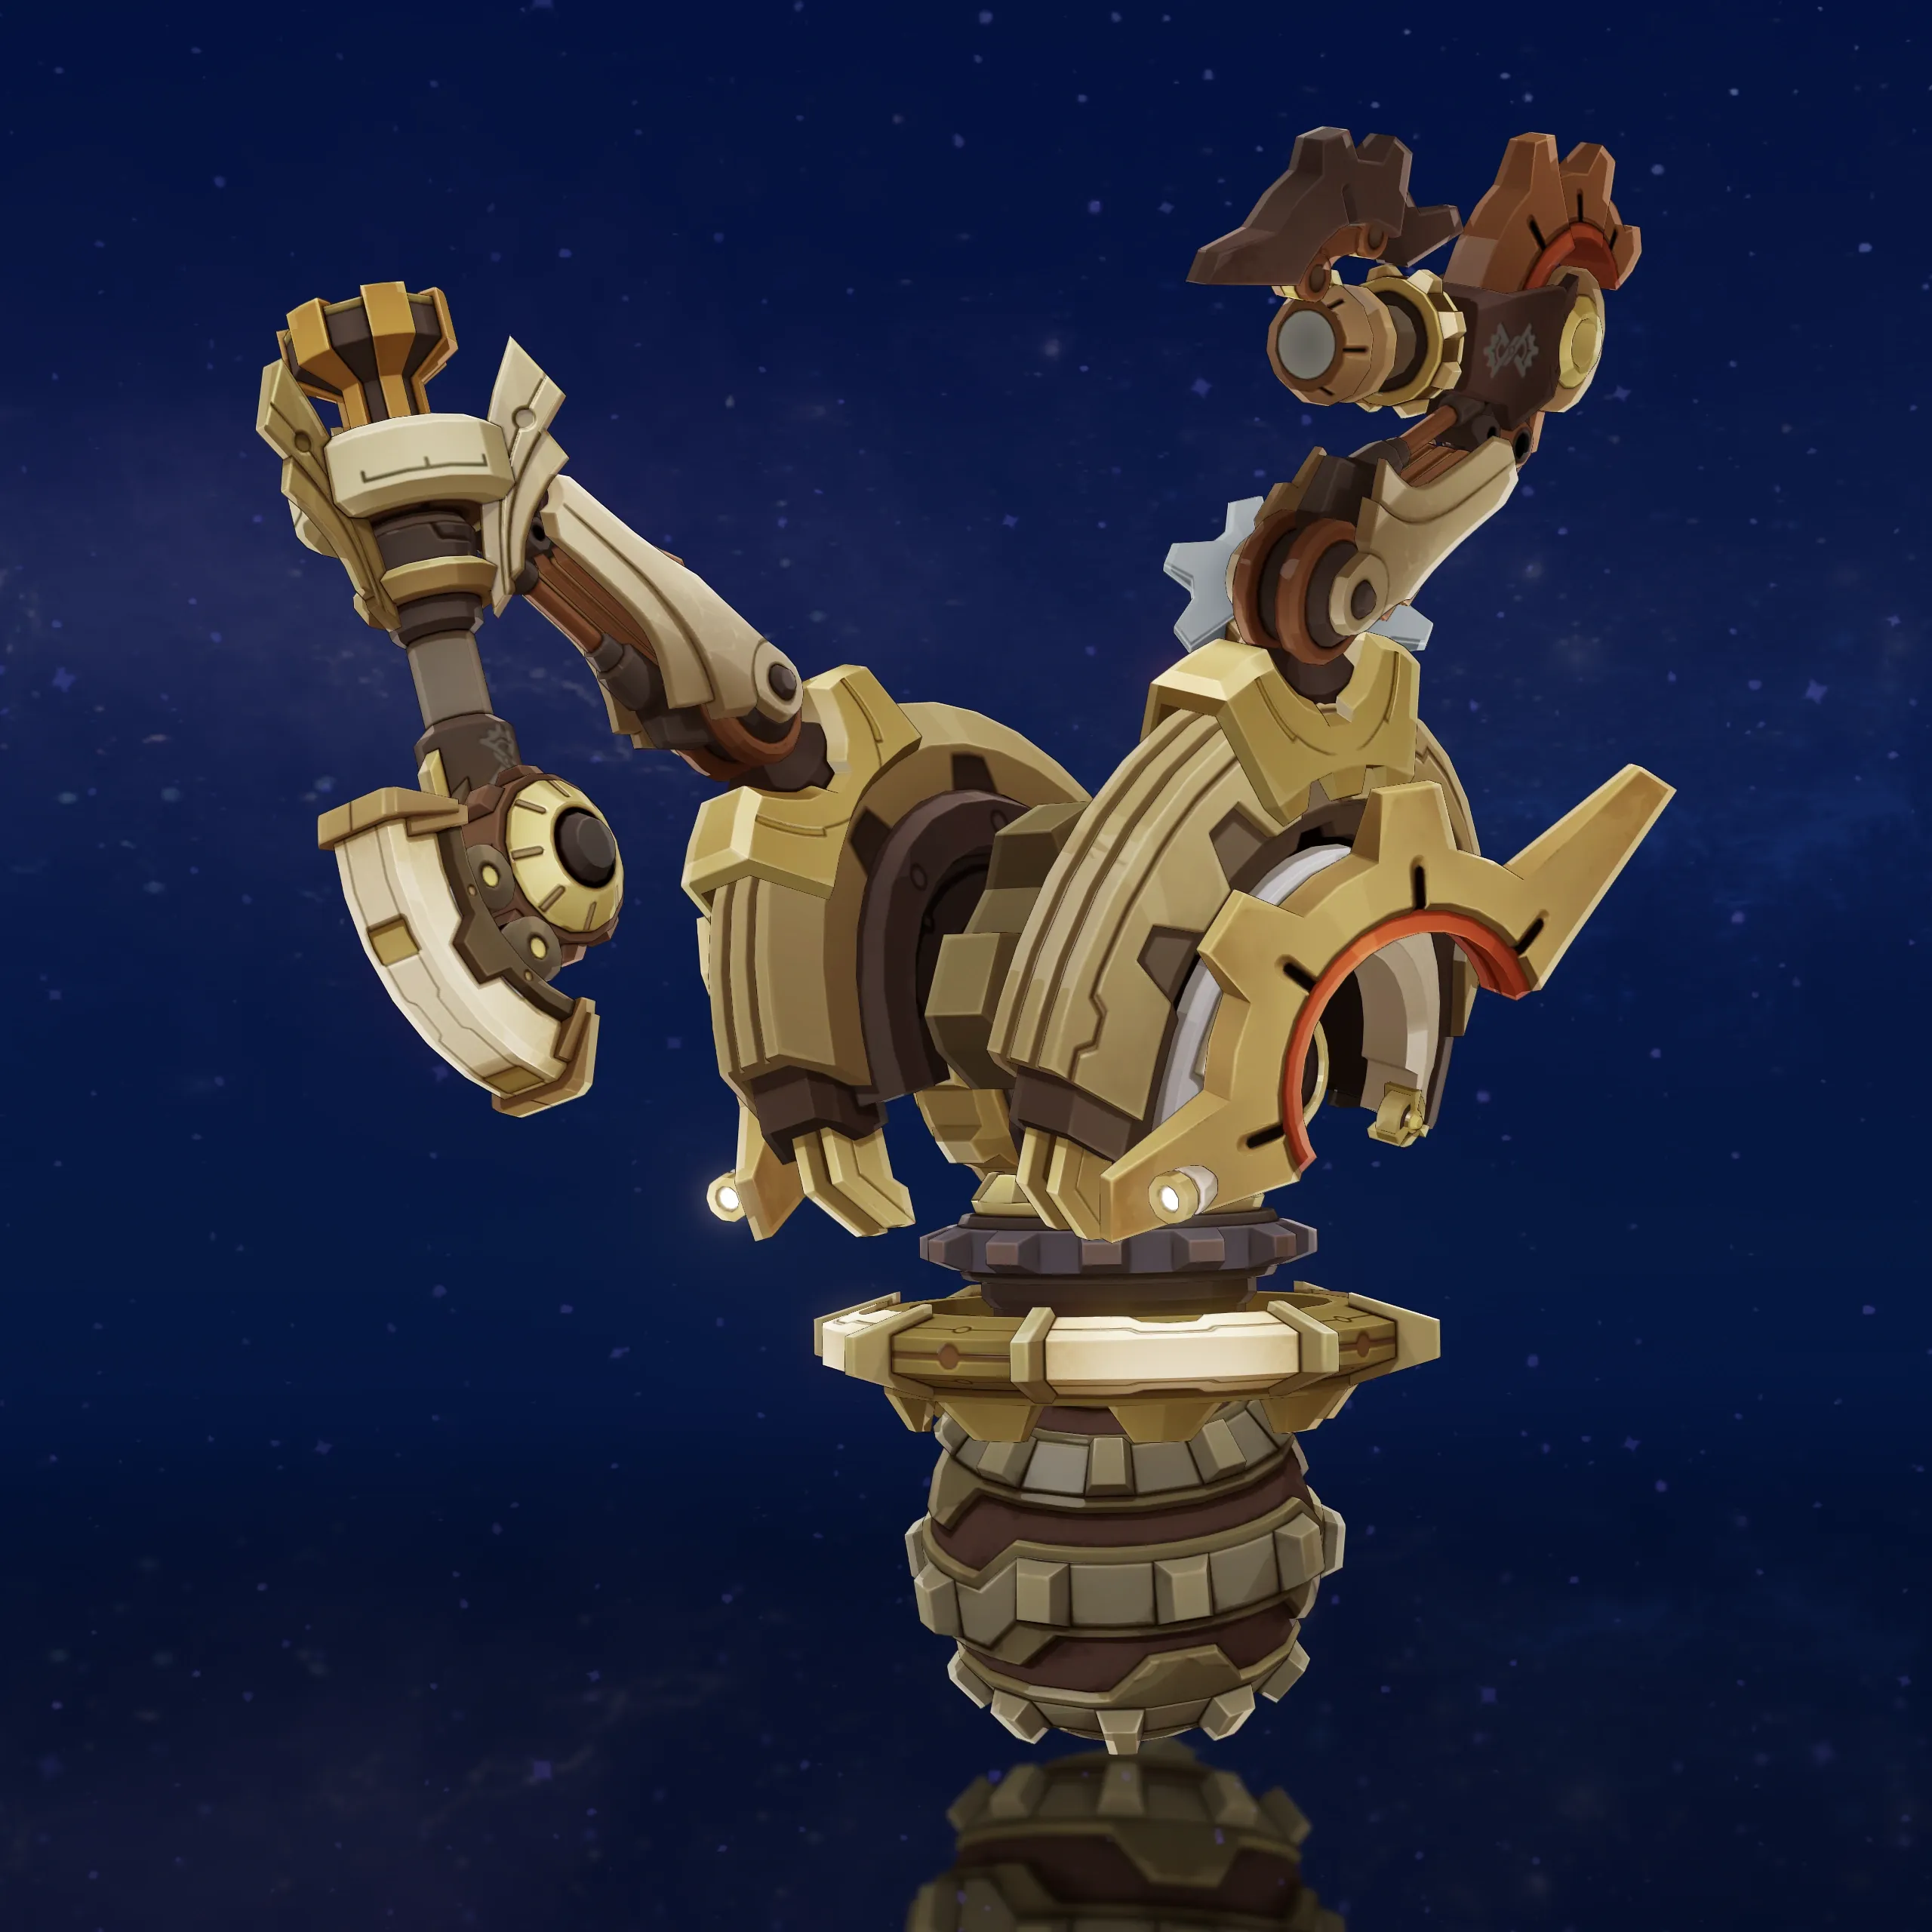
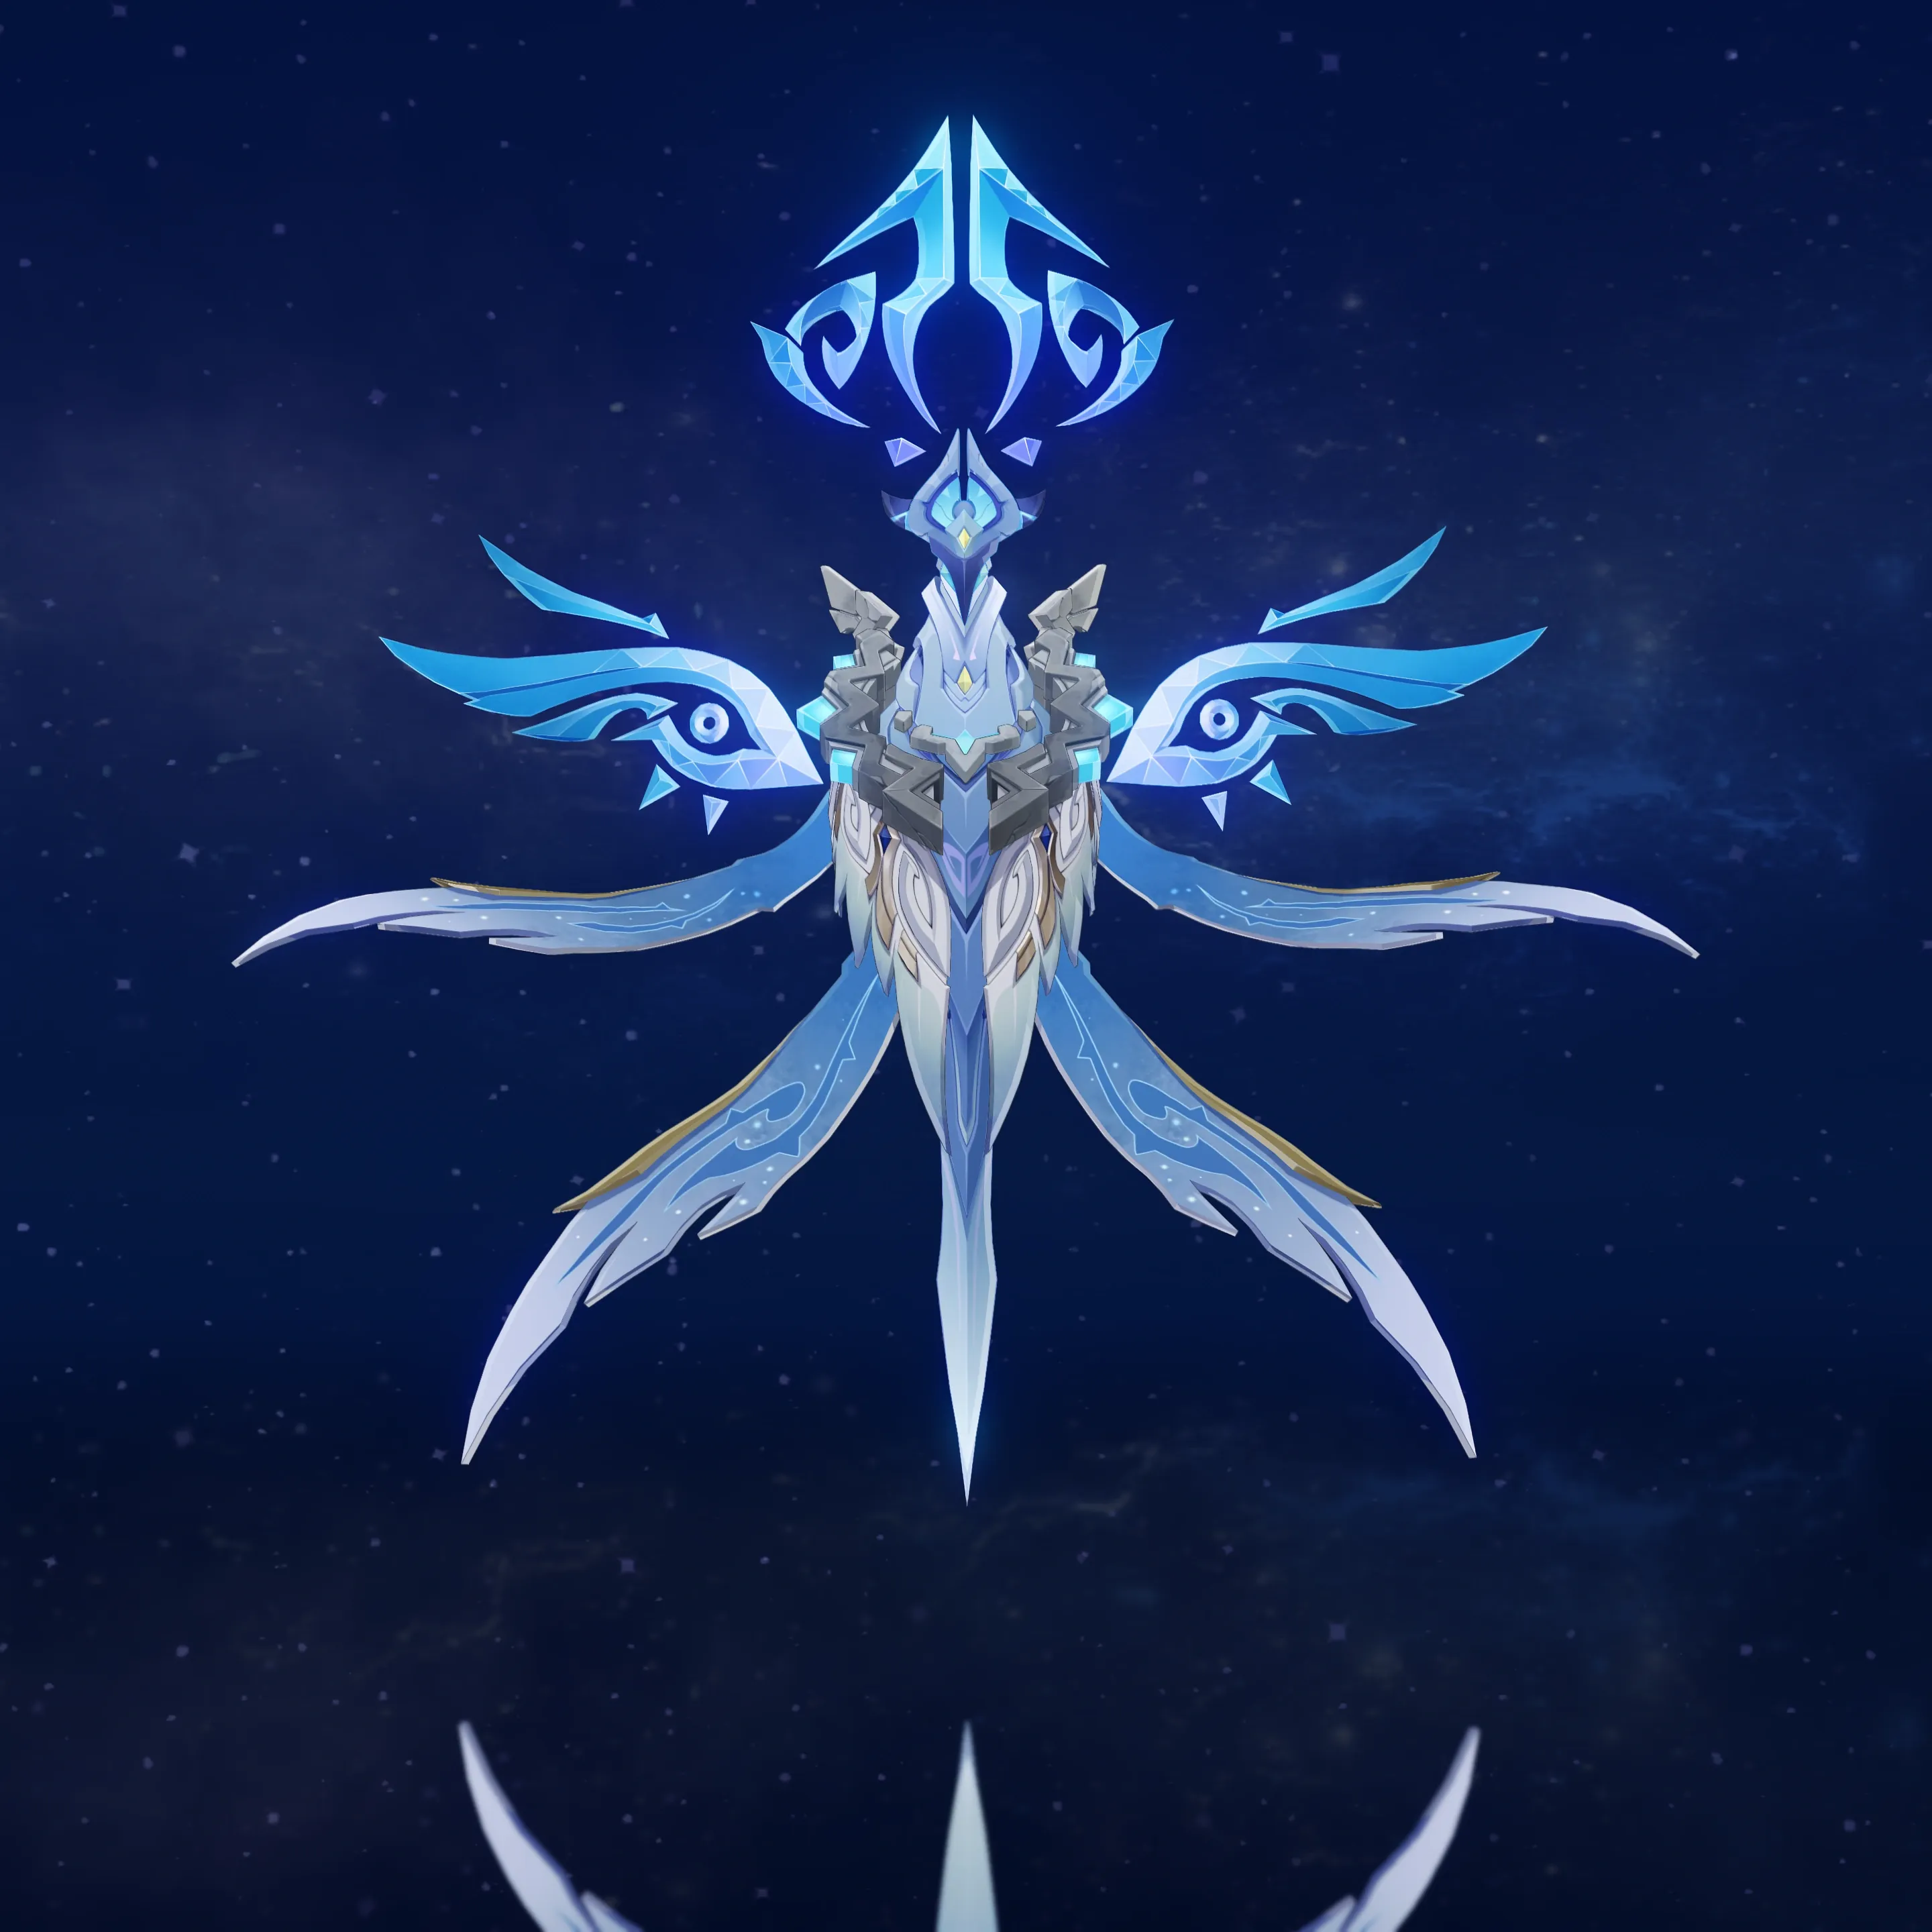
The Mek is Ousia aligned, so Pneuma attacks can interact with it. However, this interaction is not mandatory for clearing the chamber.
A Pyro reaction team should perform well here.
Floor 12 Guide
Floor 12 is where the game stops asking nicely.
- The First Half gets a 200% Superconduct DMG increase and a 75% Stellar Conduct DMG increase.
- The Second Half gets a 75% Normal Attack Pyro DMG increase.
The buffs clearly favor specific team archetypes, but they are not mandatory.
Floor 12 Chamber 1 Guide
The First Half strongly encourages Stellar Conduct and Superconduct. The Second Half favors Normal Attack Pyro damage and requires good elemental coverage for several shield mechanics.
Floor 12 Enemy Overview
|
Chamber |
First Half |
Second Half |
Main Challenge |
|
12-1 |
Ruin enemies, Perpetual Mechanical Array |
Construction Specialist Mek, Icewind Suite |
AoE damage, Cryo ward |
|
12-2 |
Chimeric Horned Bear, Chimeric Winged Lion |
Iniquitous Baptist, Cryo Abyss Mage |
Electro ward, multiple elemental shields |
|
12-3 |
Furiosa |
Hunter Seeker, Gluttonous Yumkasaur Mountain King |
Roots, Flamegrantes, high HP |
First Half: Ruin Enemies + Perpetual Mechanical Array
The chamber begins with multiple waves of Ruin enemies.
|
Enemy |
Role in the Chamber |
Key Advice |
|
Ruin Scout |
Part of the opening waves |
Use AoE to clear waves efficiently |
|
Ruin Cruiser |
Can move away quickly |
Keep track of them so they do not waste your time |
|
Perpetual Mechanical Array |
Main boss |
Prepare for its Sentinel mechanic |
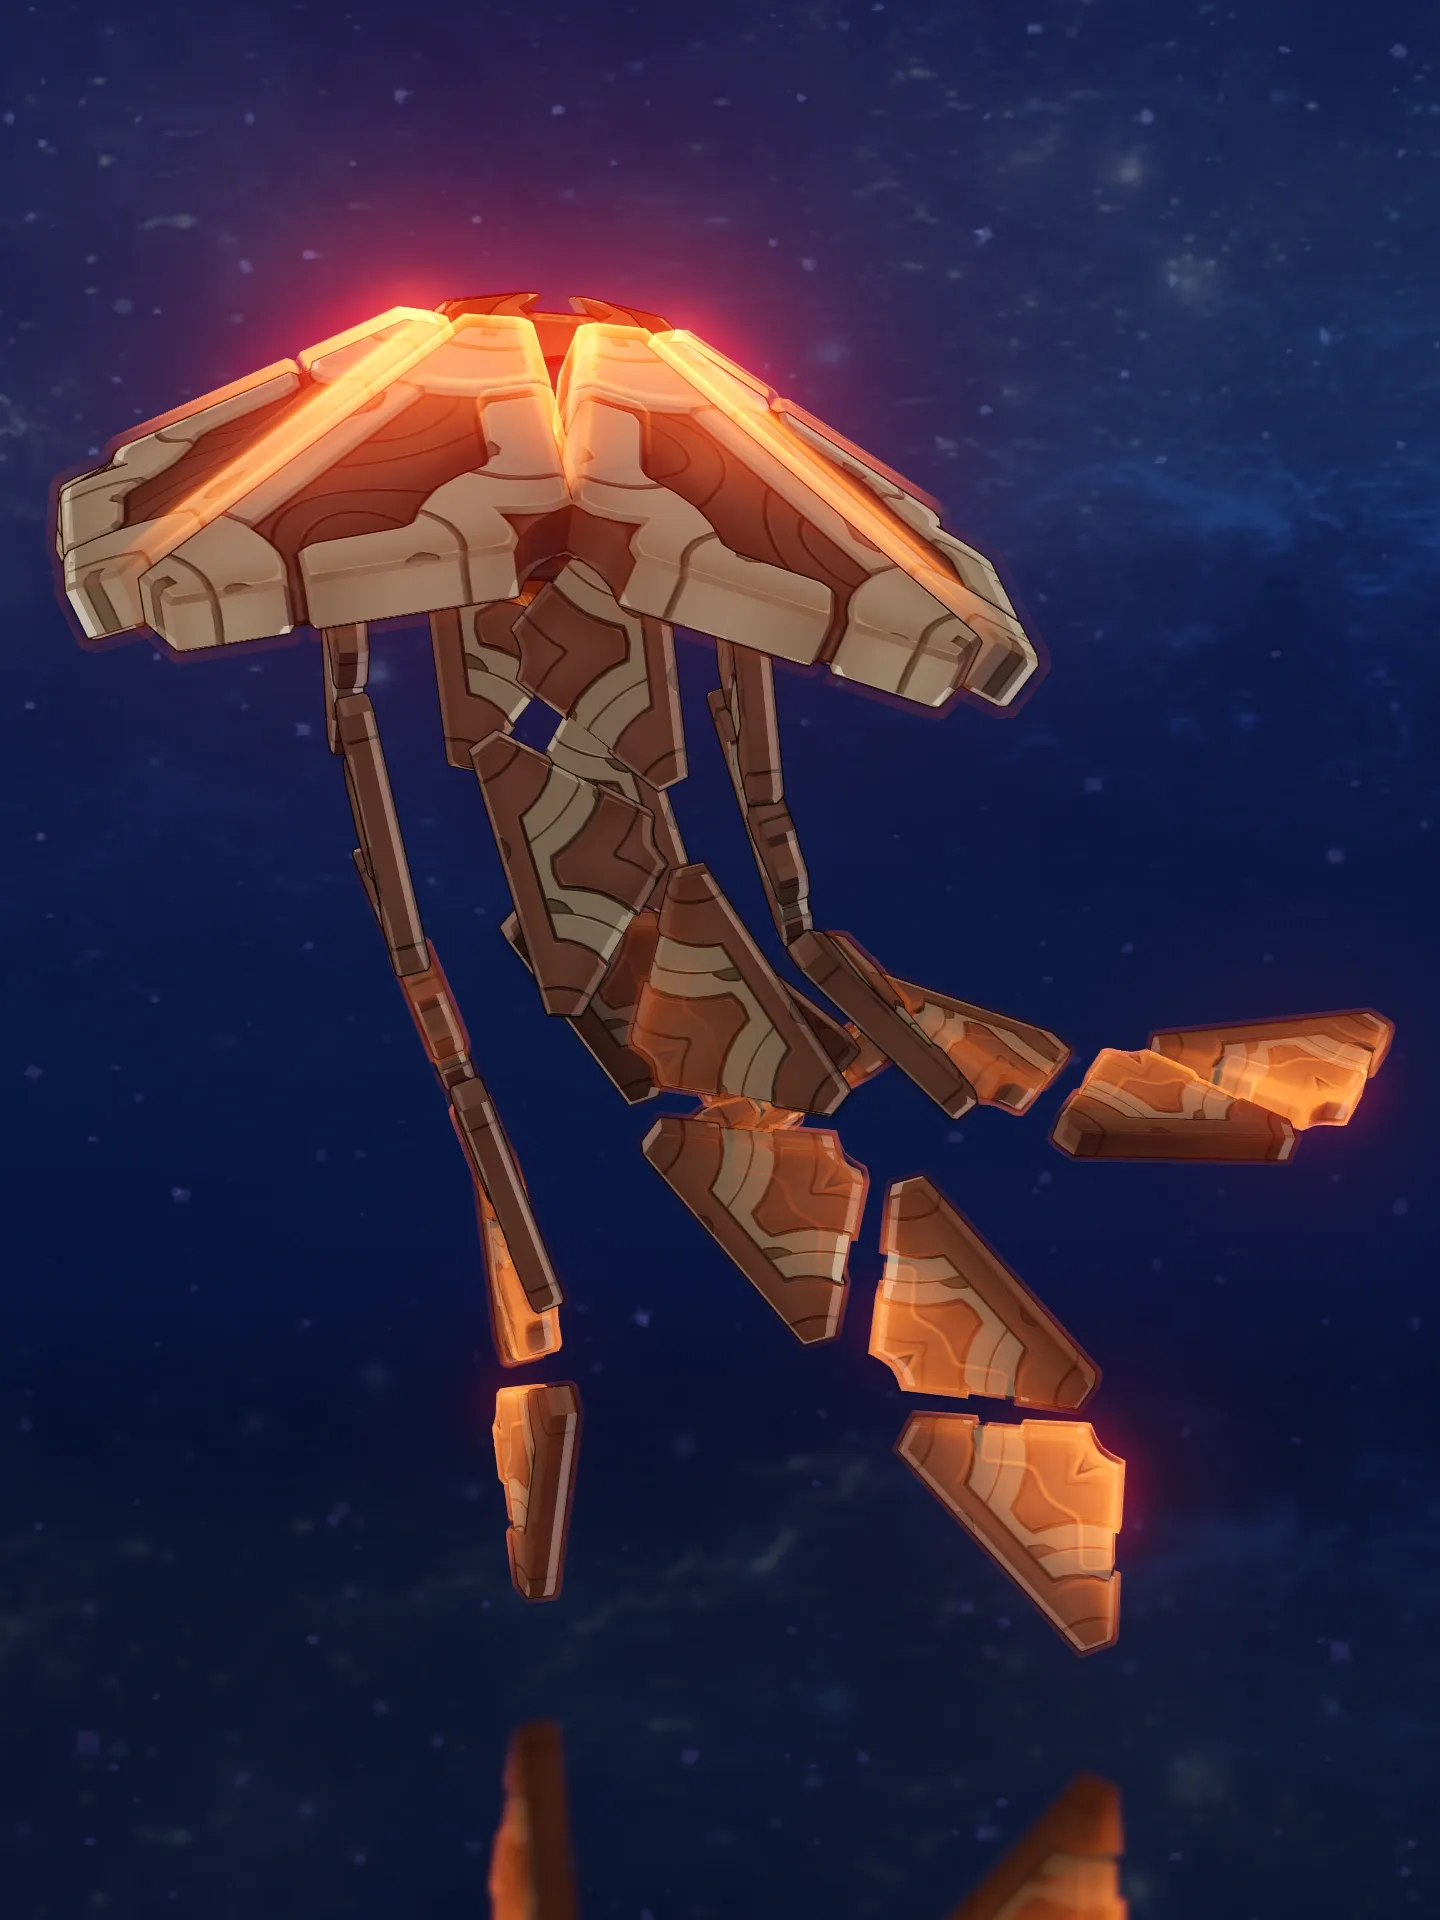
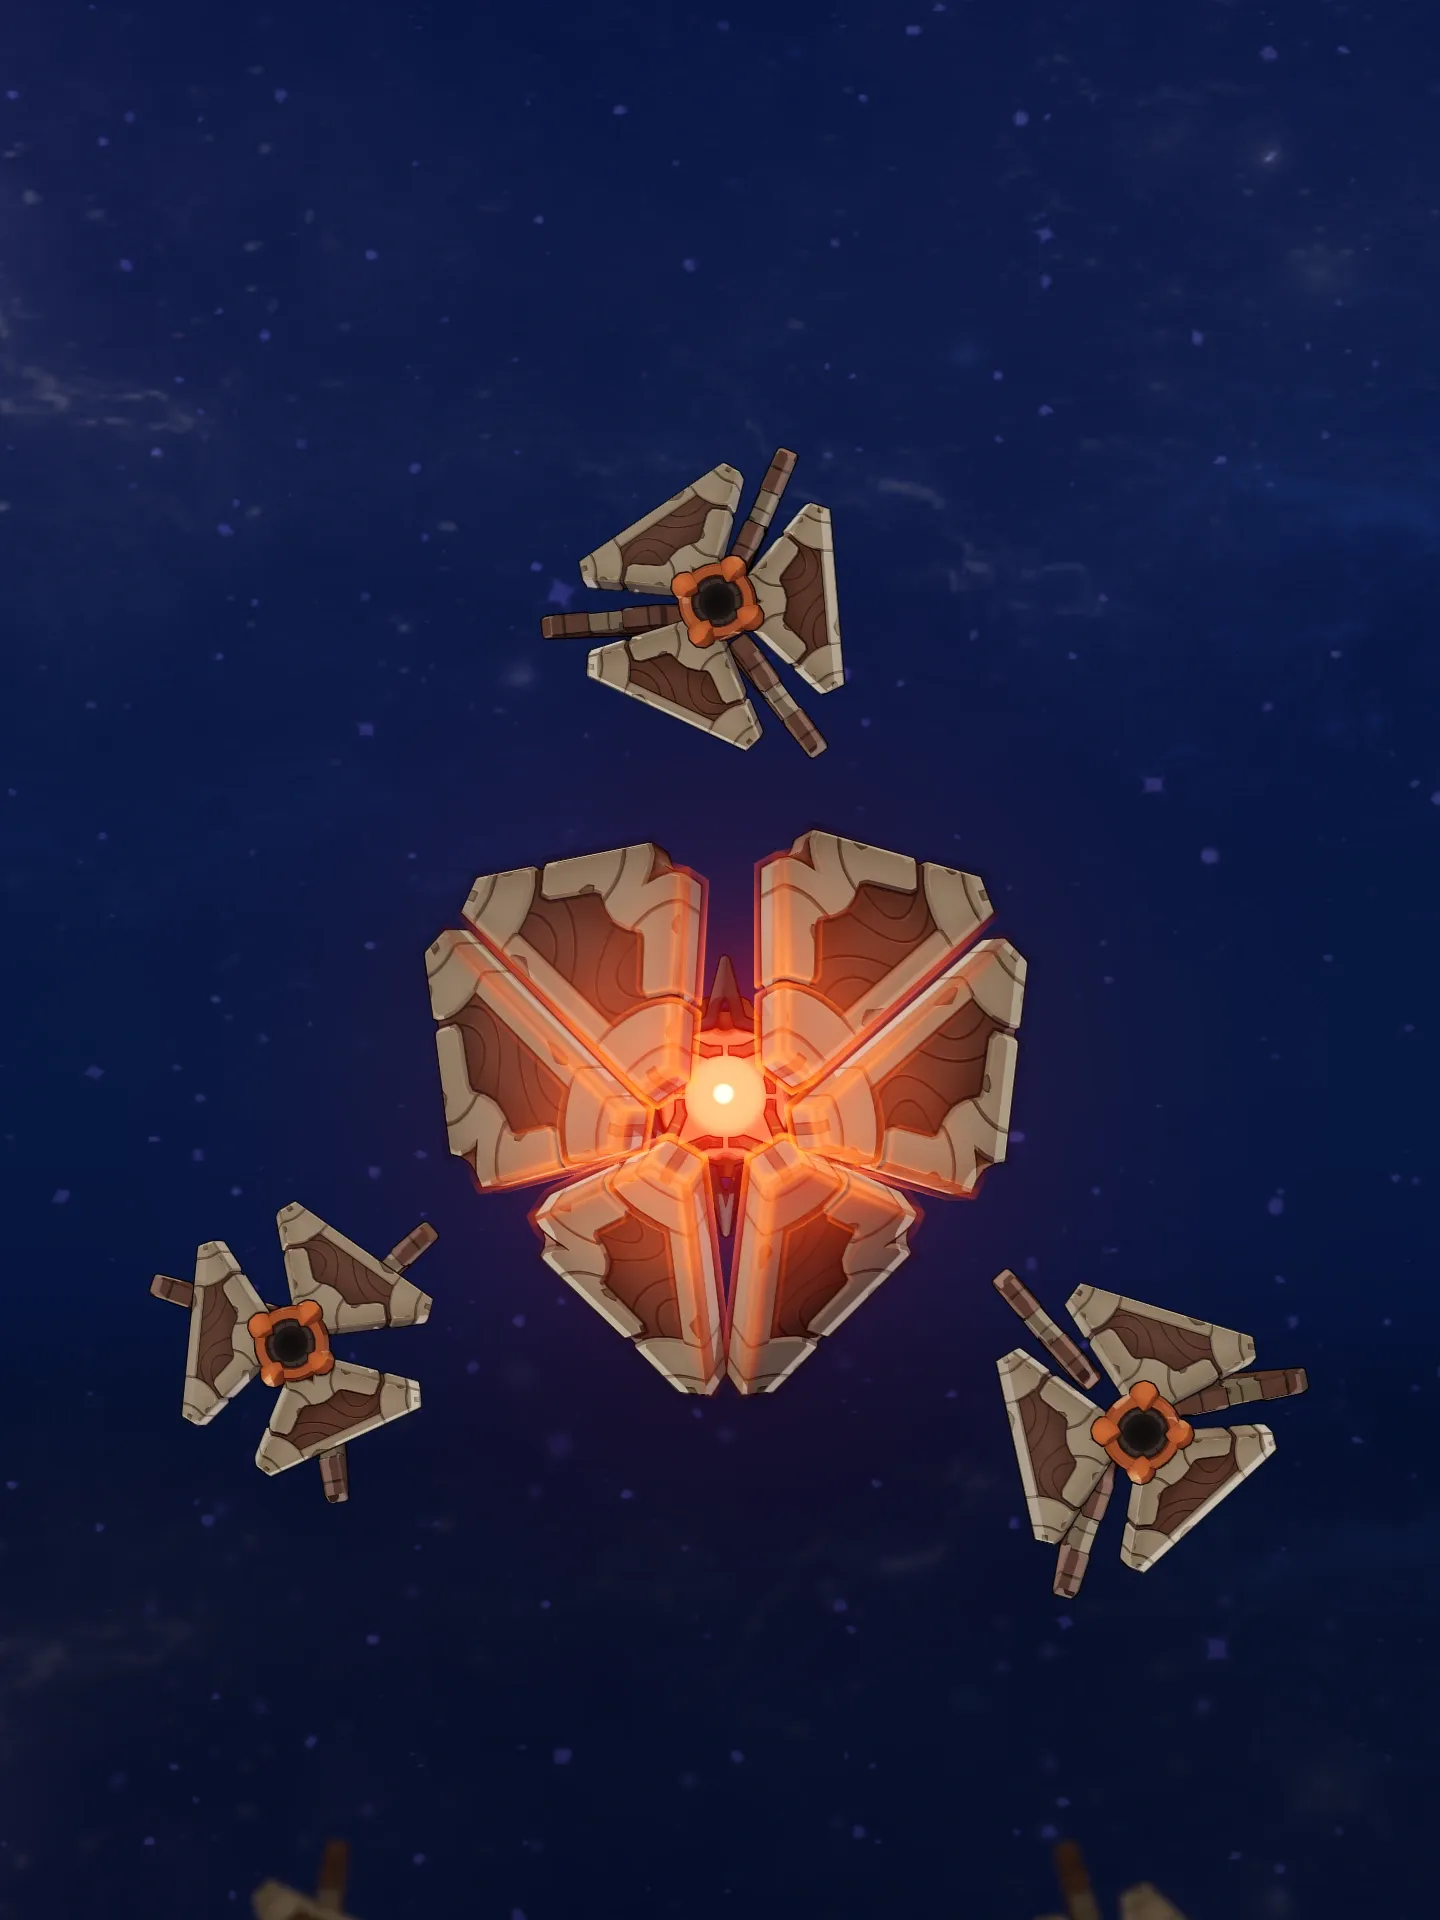
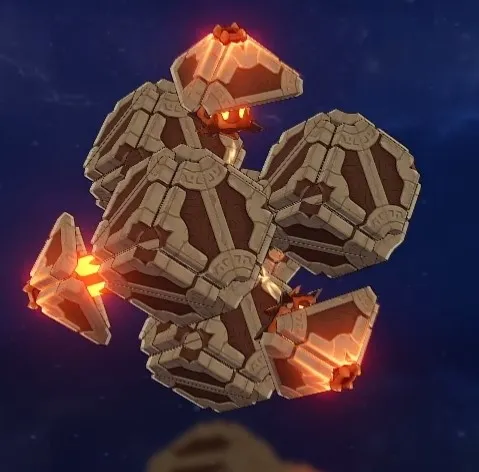
AoE damage is especially valuable because several Ruin enemies are active during the opening section.
You should also prepare your supports before the last few Ruin enemies disappear. This makes the transition into the Perpetual Mechanical Array smoother.
Perpetual Mechanical Array Mechanic
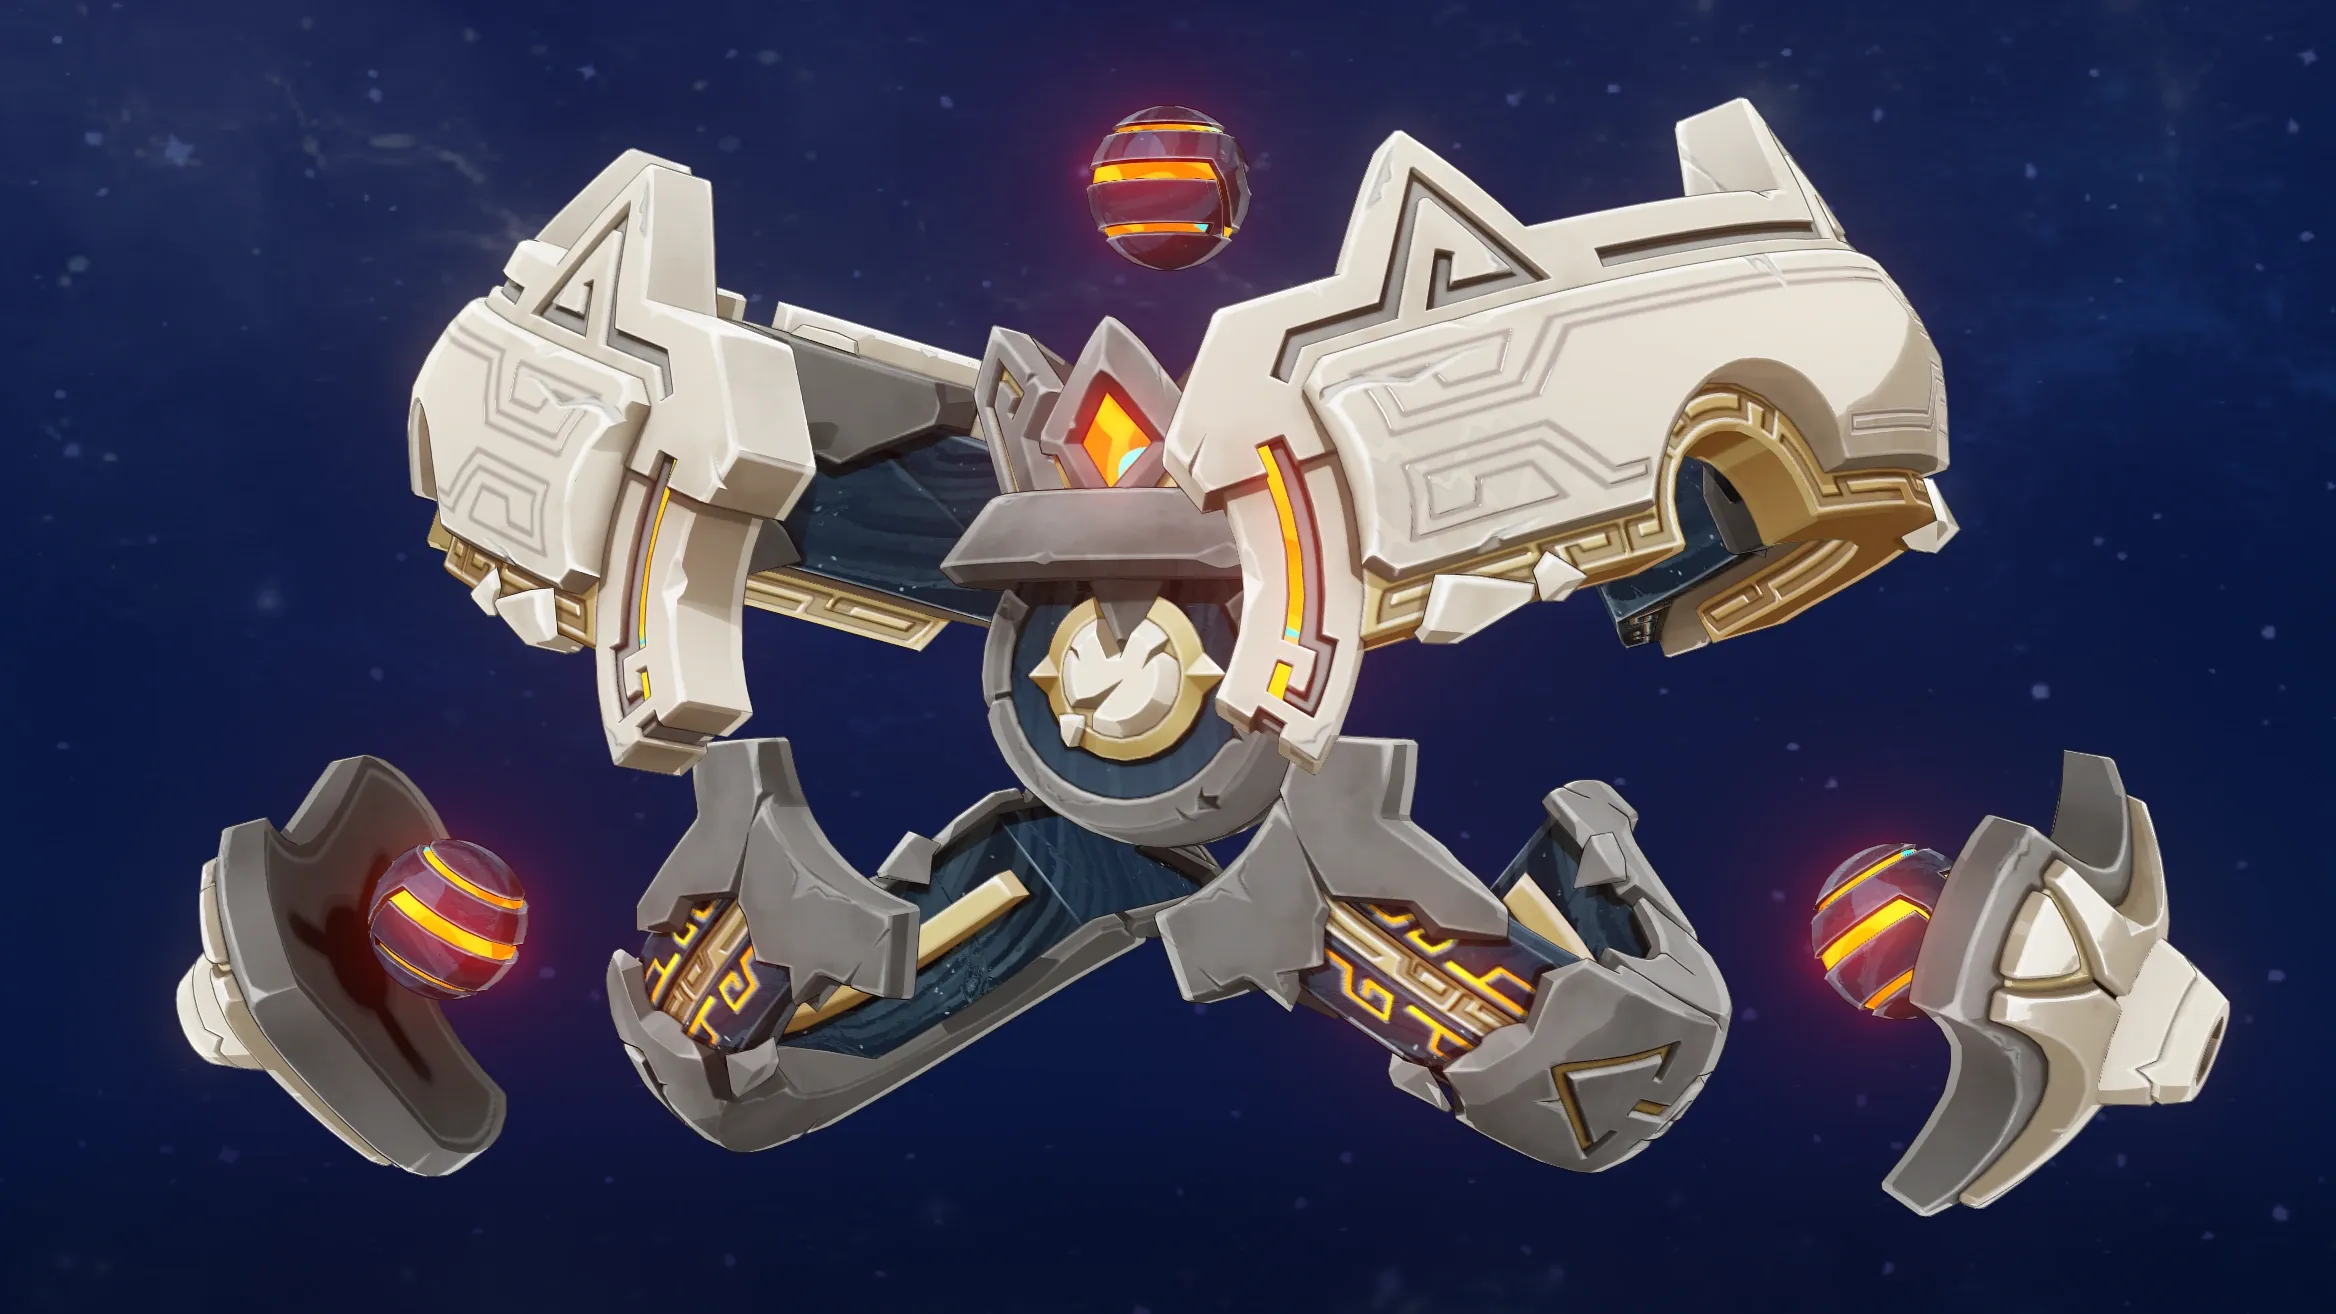
When the boss reaches around 30% to 35% HP, it begins its main mechanic and temporarily becomes immune to damage.
It splits into four Ruin Sentinels. One Sentinel has a glowing ring around its base. That is the target you need to defeat.
|
Step 1 |
Reduce the Perpetual Mechanical Array to its mechanic threshold |
|
Step 2 |
Wait for it to split into four Sentinels |
|
Step 3 |
Find the Sentinel with the glowing ring |
|
Step 4 |
Defeat that Sentinel |
|
Step 5 |
Return to the boss while it is vulnerable |
The positioning of the Sentinels matters. Try to keep the marked enemy close to the boss so you can return to attacking the core quickly.
After the correct Sentinel is defeated, the boss becomes vulnerable again and loses 50% of its resistances for around 15 seconds.
Second Half: Construction Specialist Mek + Icewind Suite
The Construction Specialist Mek appears first and is not the main problem. Icewind Suite is where most of the attention should go.
|
Enemy |
Main Mechanic |
Counter |
|
Construction Specialist Mek |
Pyro and Cryo attacks |
Avoid unnecessary damage and use your normal rotation |
|
Icewind Suite |
Cryo ward |
Pyro or Ousia attacks |
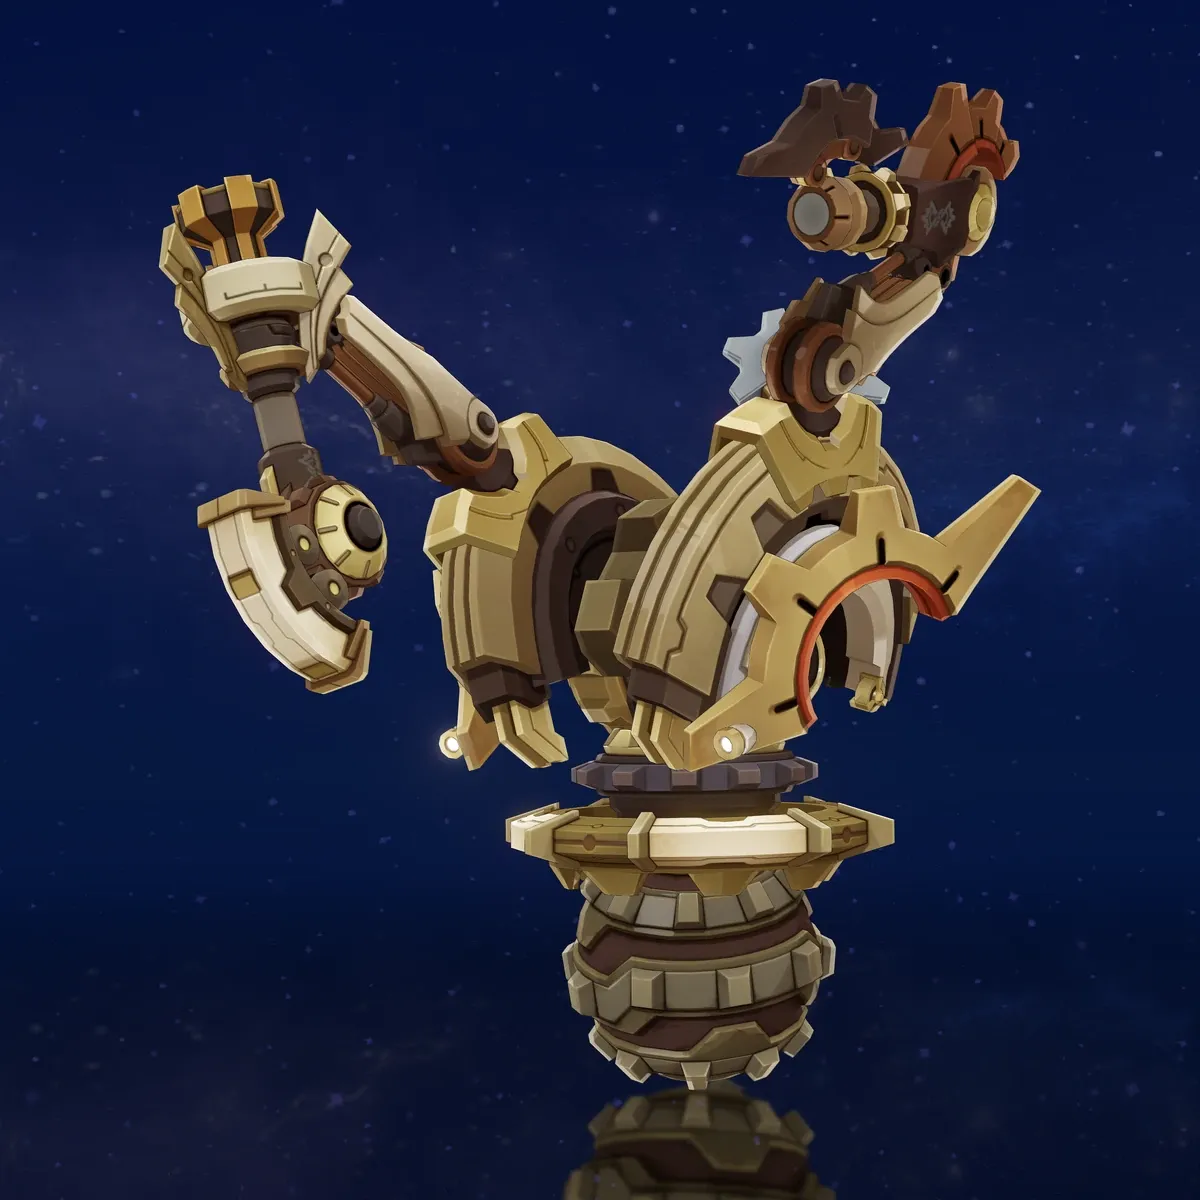
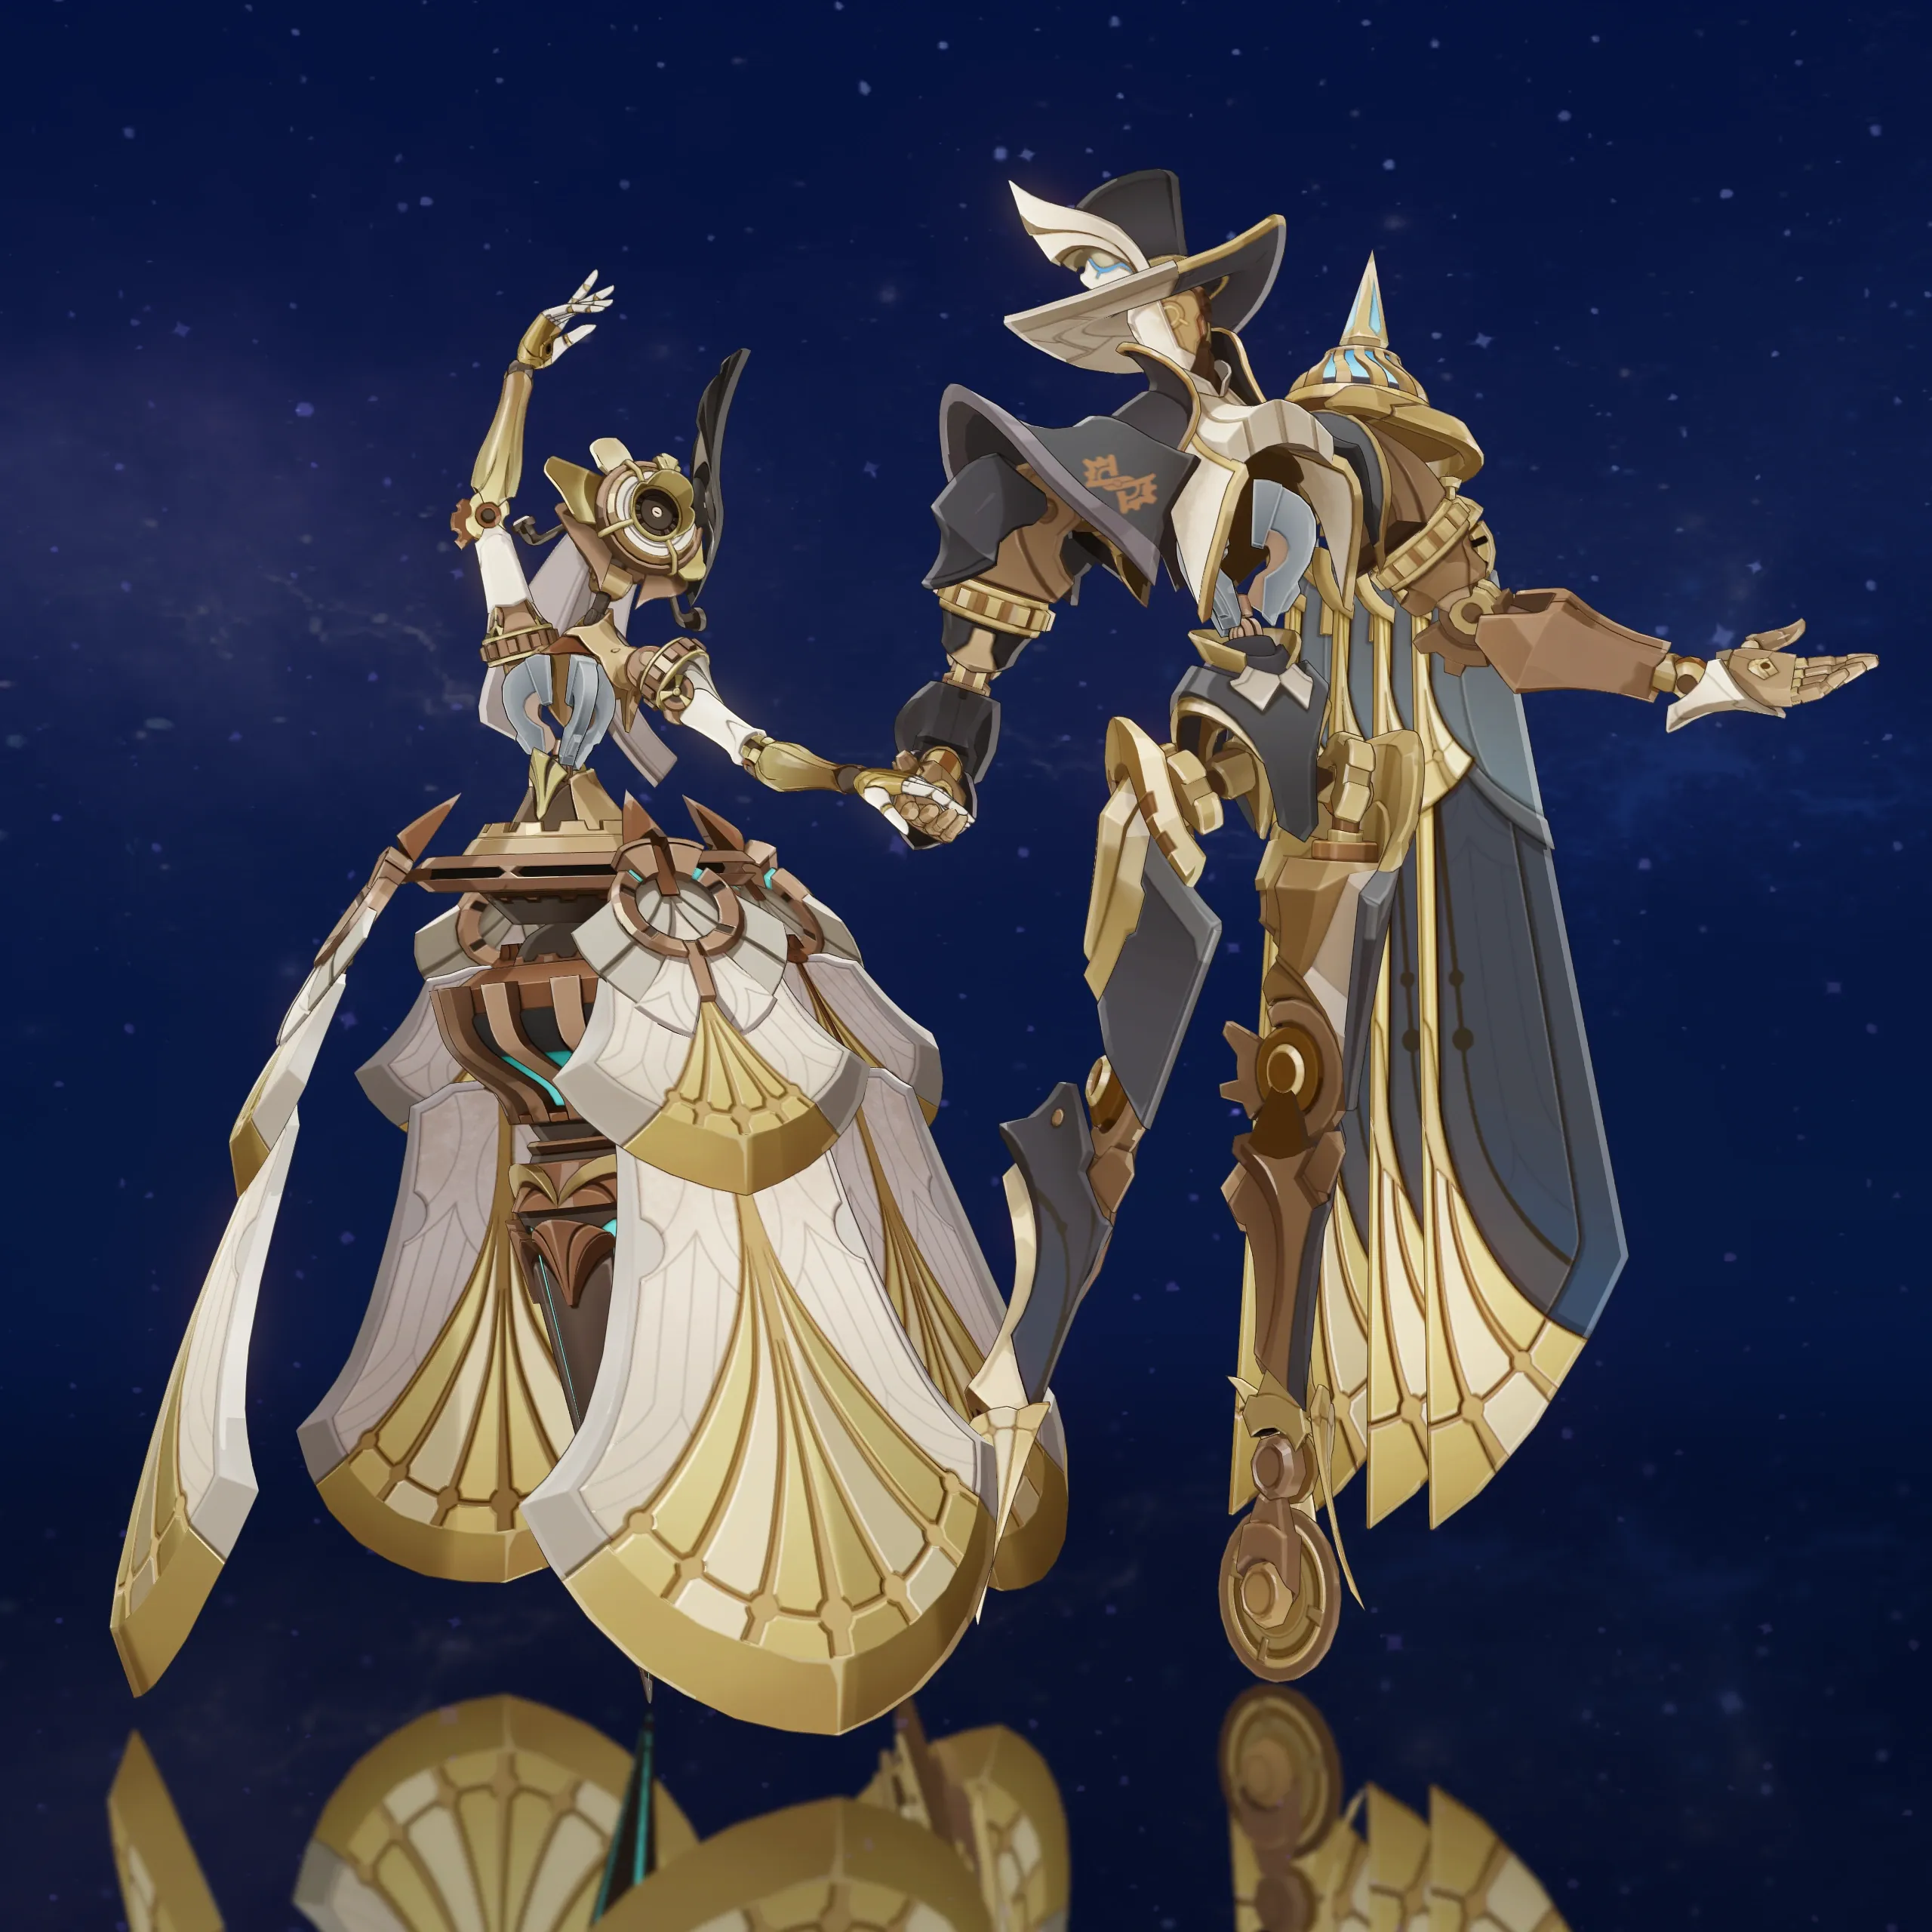
Icewind Suite can create a Cryo ward during the fight. Pyro can break it efficiently. Ousia attacks can also remove the ward. Using Ousia three times can interrupt the boss's current attack and temporarily paralyze it.
The boss can also create dangerous Anemo attacks when Coppelia moves toward the edge of the arena. Keep an eye on the dancers instead of tunnel visioning your DPS rotation.
Floor 12 Chamber 2 Guide
First Half: Chimeric Horned Bear + Chimeric Winged Lion
The Chimeric Horned Bear appears first, followed by the Chimeric Winged Lion.
|
Enemy |
Important Mechanic |
Recommended Response |
|
Chimeric Horned Bear |
Pyro resistance |
Stellar reactions are useful |
|
Chimeric Winged Lion |
Electro ward |
Stellar reactions, Cryo, or other suitable elements |
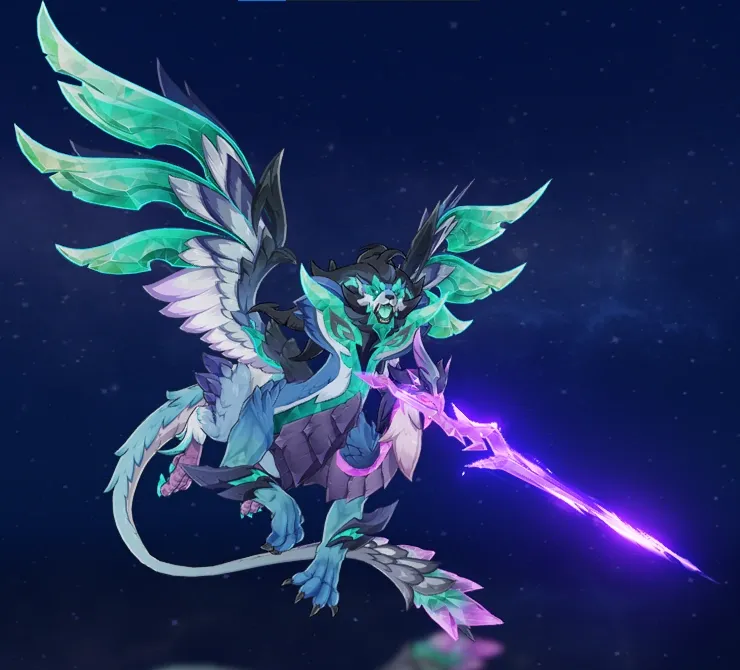
The Winged Lion's Electro ward is one of the main mechanics of this chamber.
Stellar reactions provide a particularly useful interaction. When the boss is affected by Stellar damage during certain attacks, the mechanic can backfire and damage its ward.
Chimeric Winged Lion Orb Mechanic
The Lion can also summon animal orbs around the arena.
These can be infused with:
|
Element |
Can Affect the Orbs? |
|
Pyro |
Yes |
|
Hydro |
Yes |
|
Electro |
Yes |
|
Cryo |
Yes |
You need to affect enough of the orbs to interrupt the mechanic.
Stellar reactions make this much easier. Triggering the reaction can immediately end the mechanic and deal damage based on the boss's HP.
Once the Lion becomes vulnerable, use your strongest attacks before it starts the next mechanic cycle.
Second Half: Iniquitous Baptist + Cryo Abyss Mage
The Iniquitous Baptist is the main opponent.
It uses three elemental shields in sequence.
|
Shield |
Useful Counter Elements |
|
Pyro |
Hydro or Electro |
|
Cryo |
Pyro |
|
Electro |
Pyro |
Because the Baptist uses three different shields, elemental coverage is more important than simply bringing one powerful DPS.
Overload teams are especially convenient because they can bring Pyro and Electro together. Vaporize and Melt teams can also work if they have enough elemental coverage.
Iniquitous Baptist Strategy
The basic sequence is straightforward.
- Identify the current elemental shield.
- Use the appropriate counter element.
- Remove the shield.
- Repeat for the next shield.
- Once all three are broken, use the vulnerability window to deal damage.
The Baptist also has Electro projectiles that can drain Energy.
If one hits your characters and deals damage, every character on the team loses 20 Energy. A shield can prevent this effect if it prevents the damage.
After the Baptist is defeated, a Cryo Abyss Mage appears. The Mage has a Cryo ward, so Pyro remains useful here.
Floor 12 Chamber 3 Guide
First Half: Furiosa
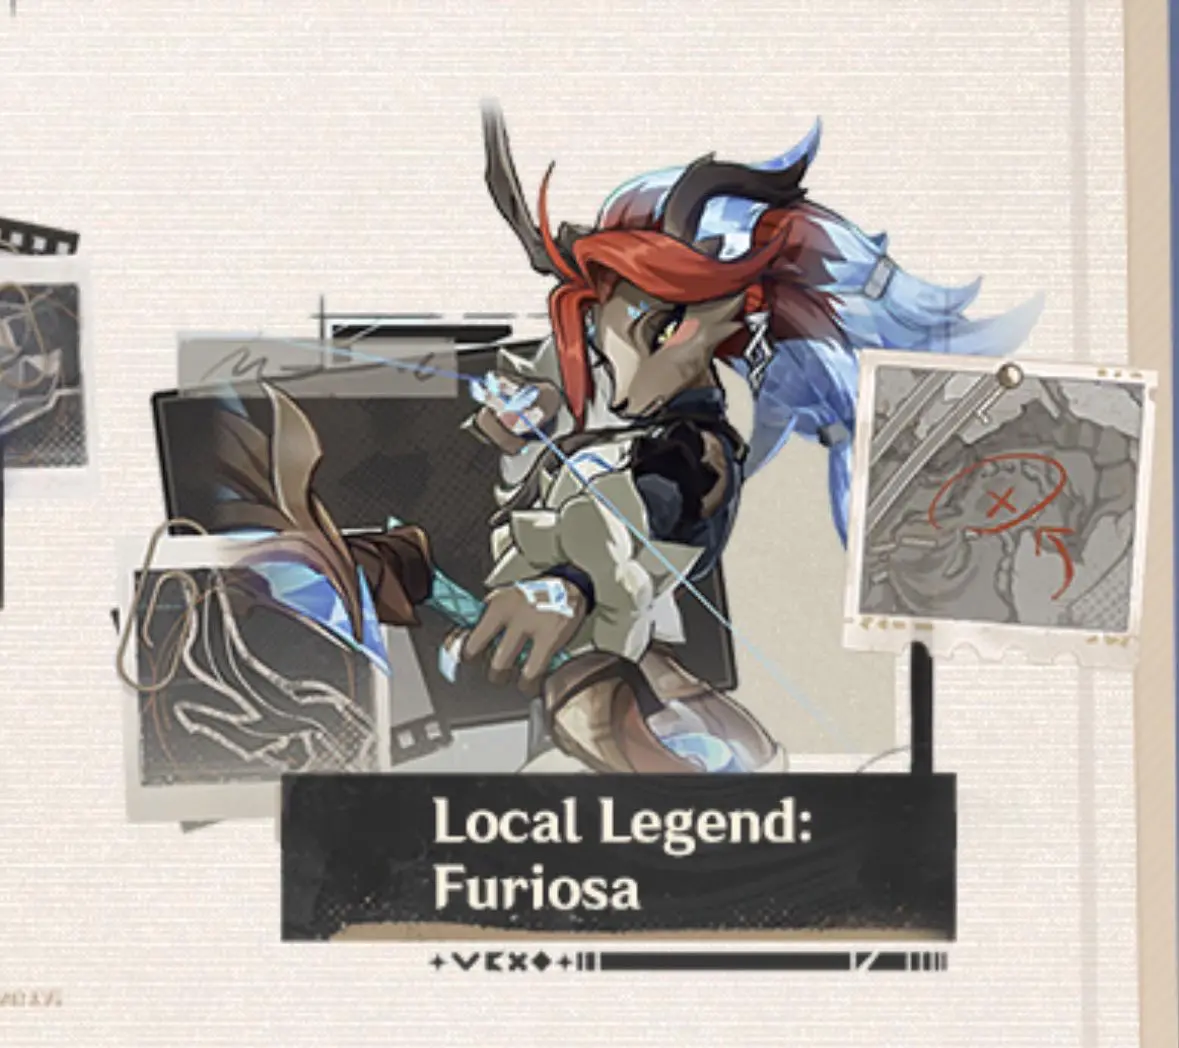
Furiosa is the new local legend encounter.
Unlike the previous chambers, there is only one enemy here, so single target damage is important. However, AoE is still useful because of the roots she creates.
Furiosa's Main Mechanics
|
Mechanic |
What Happens |
What You Should Do |
|
Cryo projectiles |
Fast and hard hitting attacks |
Dodge, use shields, or use defensive abilities |
|
Single branch |
Furiosa hides as a branch |
Manually attack the branch |
|
Two branches |
Furiosa gains very high resistance and fires arrows |
Destroy both branches |
|
Stellar reaction |
Can prevent certain dangerous attacks |
Use Stellar reactions when possible |
When Furiosa hides as a branch, passive attacks may continue targeting her previous position.
Manually attack the branch instead.
Destroying it can stun Furiosa and reduce her resistances.
When two branches appear, Furiosa gains 150% resistance for 8 seconds and starts firing a barrage of arrows.
Destroying both branches interrupts the attack and creates another stun window.
Stellar reactions can also provide an advantage against some of her attacks.
You do not necessarily have to destroy every branch to survive the fight, but doing so gives you much better opportunities to deal damage.
Second Half: Hunter Seeker + Gluttonous Yumkasaur Mountain King
The Secret Source Automaton: Hunter Seeker appears first. It has relatively high resistance, but it is mainly a health check. The Gluttonous Yumkasaur Mountain King is the main fight.
|
Enemy |
Important Detail |
Recommended Response |
|
Hunter Seeker |
High resistance |
Deal damage and move on |
|
Mountain King |
70% Dendro RES |
Avoid Dendro focused teams |
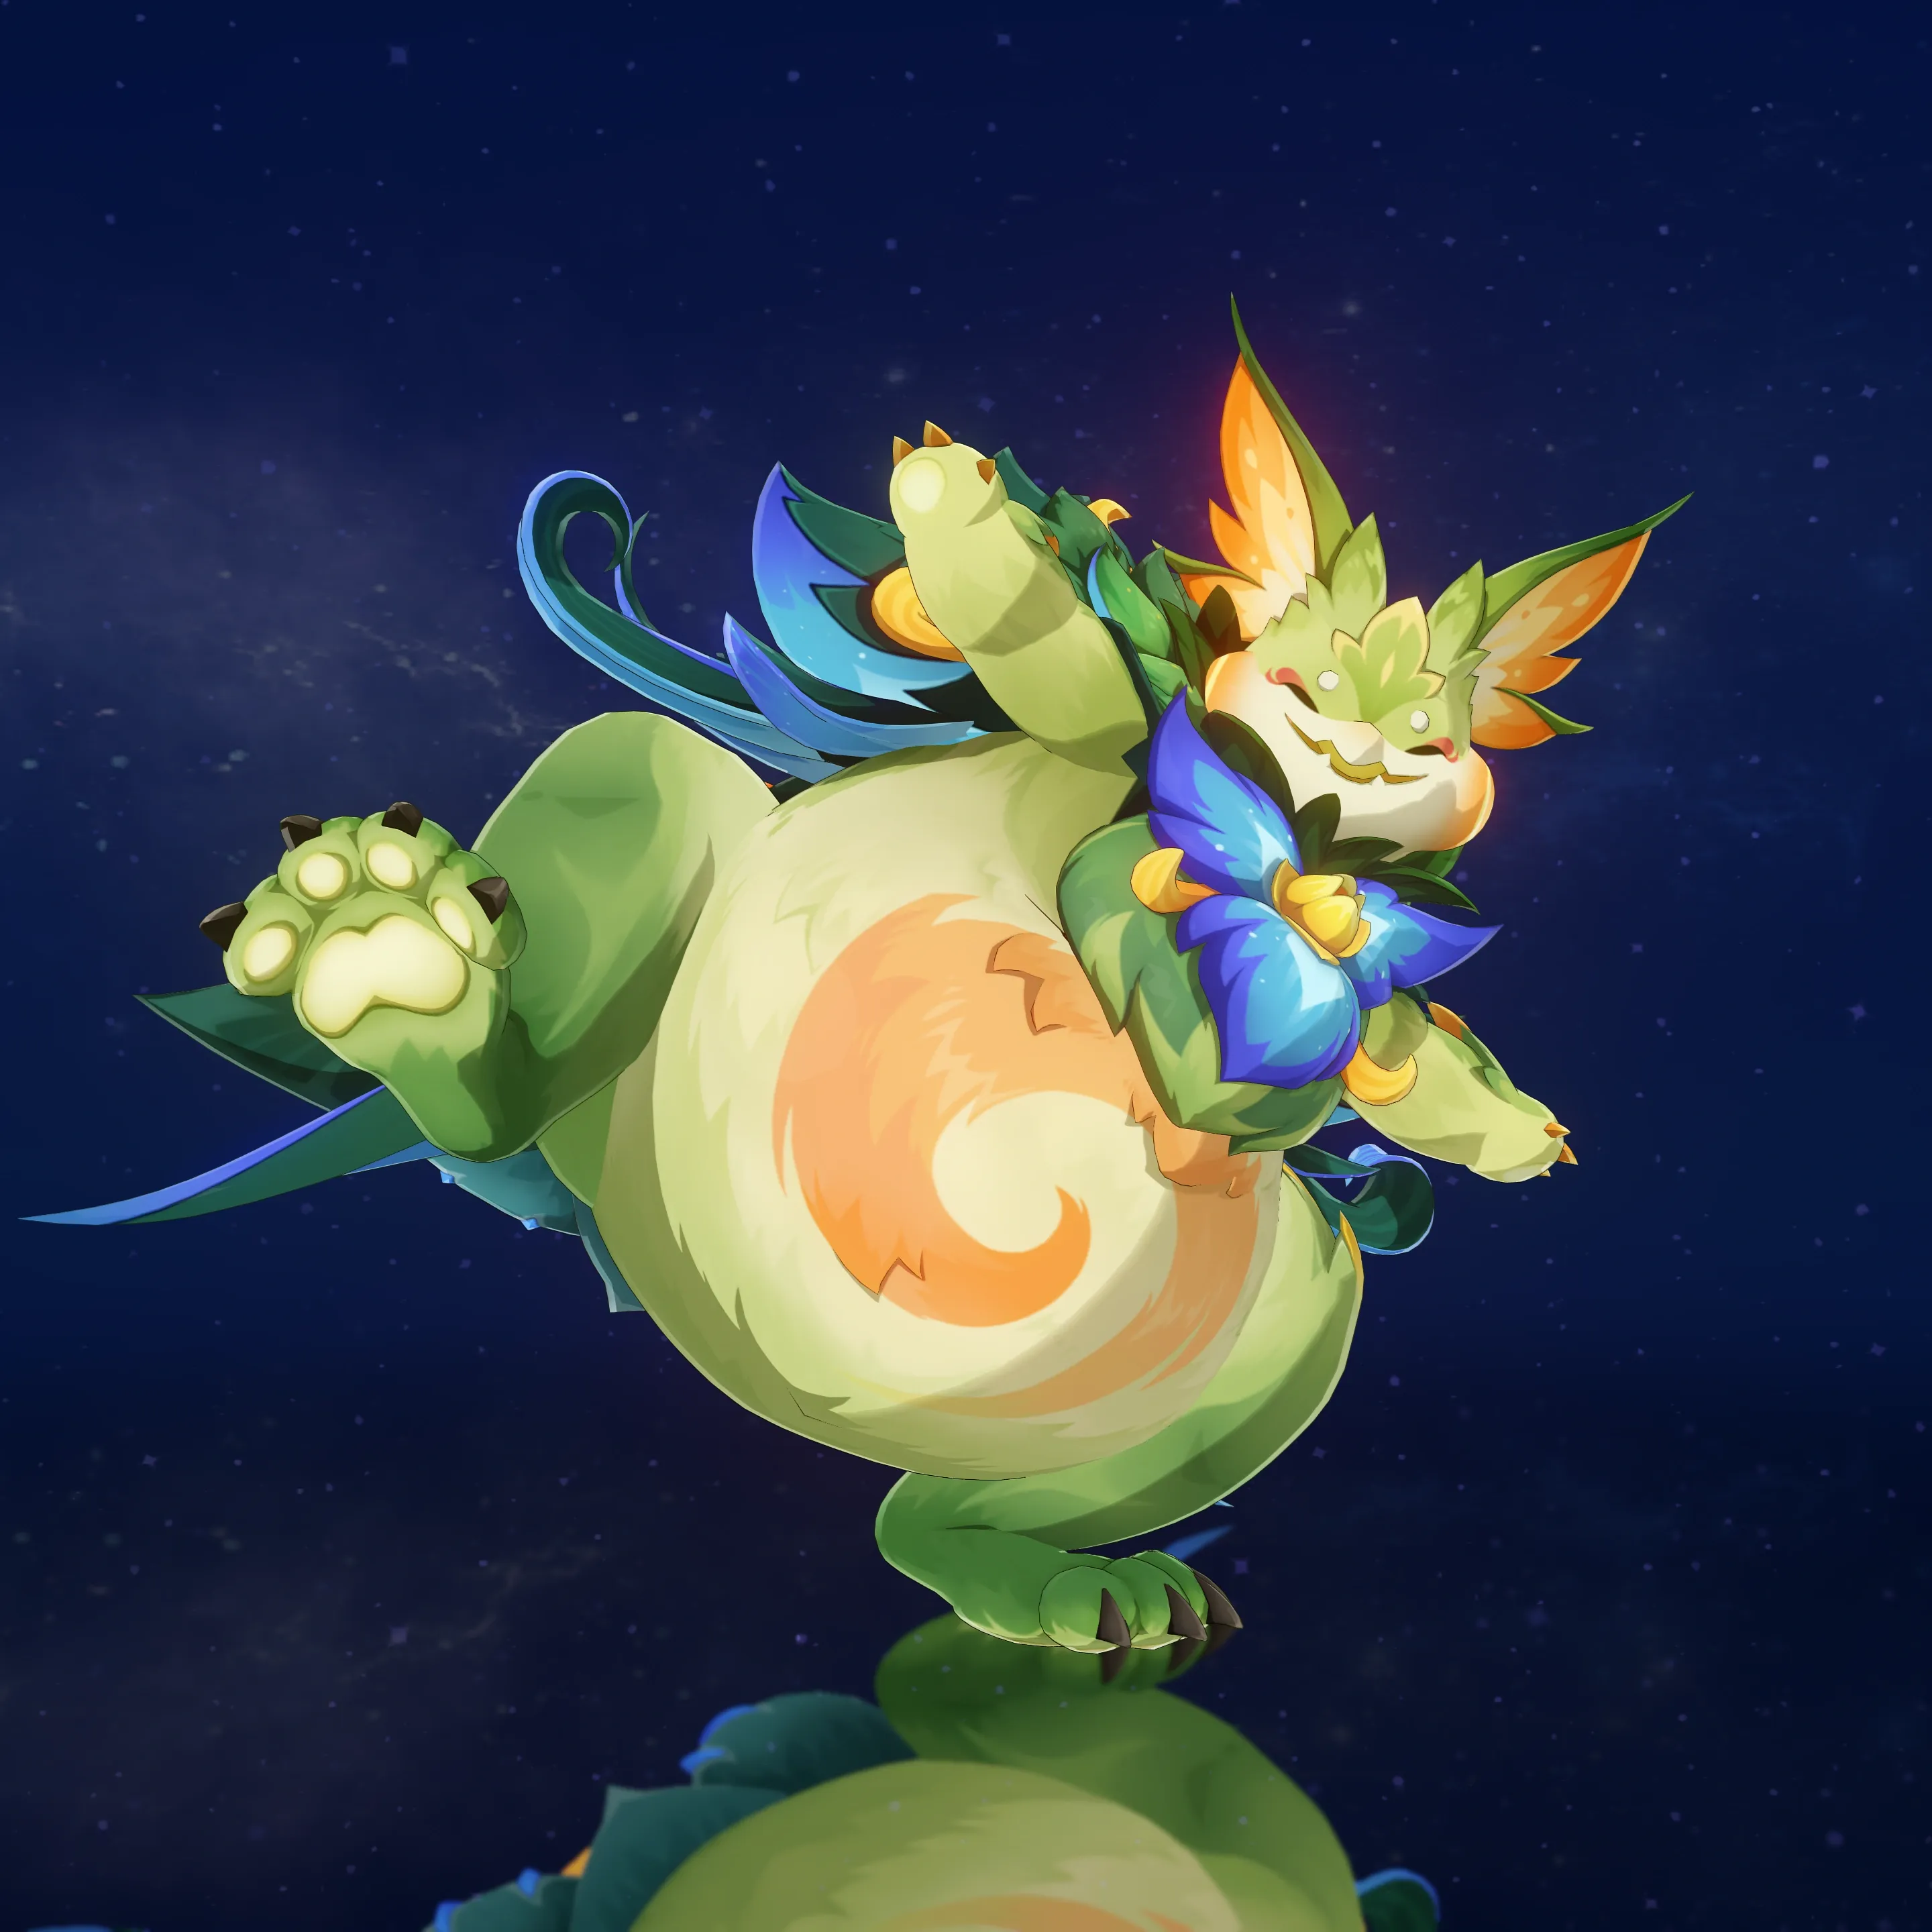
Mountain King's Flamegrantes
The Mountain King creates Flamegrantes during the fight.
Your priority is to apply Pyro to them before the boss consumes them.
|
Action |
Result |
|
Apply Pyro to Flamegrantes |
Deals damage to the boss and helps prevent its enhanced attack |
|
Fail to deal with them |
Boss can perform a dangerous attack again |
|
Continue attacking after the mechanic |
Take advantage of the resulting damage window |
The Mountain King also has a spinning attack that can knock melee characters away.
If you are using a ranged character, this is easier to deal with.
For melee teams, repositioning toward where the boss is moving can help reduce lost attack time.
Best Team for Spiral Abyss 7.0
First Half
Recommended Team
|
Main DPS |
Sub-DPS |
Support |
Support |
|
Sandrone |
Odette |
Yae Miko |
Alyosha |




Main DPS Recommendations
Listed from highest to lowest recommendation:
|
Odette > Mavuika > Arlecchino > Cyno > Wriothesley |
||||
|
|
|
|
|
|




Team Strategy
- Priority for breaking Electro Shields:
Stellar Conduct Reactions > Cryo > Pyro > Dendro - Priority for auto-targeting:
Summoned Auto-Targeting Units > AoE Main DPS > Bow Main DPS
Key Point: The main challenge in the First Half is dealing with Electro shields. Characters that can trigger Stellar Conduct reactions should be prioritized, followed by Cryo and Pyro characters. Since some enemies require reliable targeting, summoned units with automatic targeting are particularly effective.
Team Effect:
This is the strongest premium Stellar Conduct team for Spiral Abyss 7.0. Sandrone serves as the main on-field DPS, while Yae Miko provides strong off-field damage and benefits from the presence of two Stellar Cryo units. Odette supports the team by improving Stellar-related damage, while Alyosha further increases Stellar Conduct reaction damage.
All 5-star characters can perform well at C0. Alyosha is the main exception, with C6 being highly recommended to maximize the team's damage potential. Together, these four characters provide extremely high damage per rotation.


Second Half
Recommended Team
|
Main DPS |
Support |
Support |
Support |
|
Arlecchino |
Furina |
Xilonen |
Bennett |



Main DPS Recommendations
Listed from highest to lowest recommendation:
|
Arlecchino > Mavuika > Flins > Ineffa > Clorinde > Raiden Shogun |
|||||
|
|
|
|
|
|
|




Team Strategy
- Priority for breaking Cryo Shields:
Pyro > Electro - Priority for breaking Pyro Shields:
Hydro > Electro
Key Point: The main challenges in the Second Half are Cryo and Pyro shields. Use Pyro or Electro characters to break Cryo shields, while Hydro or Electro characters are preferred against Pyro shields.
Team Effect:
This team focuses on maximizing Arlecchino's Normal Attack damage rather than relying on Stellar reactions. Arlecchino serves as the Main DPS and benefits directly from the Floor 12 Normal Attack DMG modifier.
Furina provides off-field Hydro application and significantly boosts the team's overall damage through her Fanfare-based DMG Bonus. Xilonen provides strong team support, including RES Shred and additional buffs, helping Arlecchino deal more damage. Bennett further boosts Arlecchino's ATK and provides healing to help maintain the team's HP and support Furina's Fanfare generation.
Spiral Abyss 7.0 Tips
Prioritize AoE in 12-1 First Half
The opening Ruin enemies can consume a surprising amount of time.
Hitting multiple targets at once is much more efficient than focusing on one enemy.
Prepare Before the Perpetual Mechanical Array
When you are close to finishing the final Ruin enemies, prepare your supports.
This helps you start the boss phase with your rotation ready instead of spending precious seconds setting everything up.
Bring Elemental Coverage for the Baptist
The Iniquitous Baptist is one of the clearest examples of why mono element teams can be inconvenient in this Abyss.
Make sure you can answer all three shields.
Do Not Ignore Furiosa's Roots
The roots are not just decoration.
Destroying them can interrupt her dangerous attacks and create a useful damage window.
Deal With the Mountain King's Flamegrantes
Do not simply keep hitting the boss and ignore the objects on the field.
Apply Pyro to the Flamegrantes to trigger the mechanic and prevent the boss from performing its more dangerous attack.
Use Different Teams for Different Chambers
You do not need to get every star with the same team.
The game remembers your best Chamber result, so you can use one team to secure a Chamber and then switch to another composition for a different attempt.
This is one of the easiest ways to deal with awkward matchups.
Save Bursts When Possible
If you are already comfortably ahead of the timer, consider saving some Energy for the next Chamber.
There is no prize for using every Burst the instant it becomes available.
Spiral Abyss 7.0 Rewards
The provided Chamber reward information lists the following rewards for each Floor 12 Chamber:
|
Chamber |
Mora |
Adventurer's Experience |
Hero's Wit |
Mystic Enhancement Ore |
Domain Reliquary |
|
Chamber 1 |
25,000 |
3 |
2 |
6 |
Tier II ×1 |
|
Chamber 2 |
25,000 |
3 |
2 |
6 |
Tier II ×1 |
|
Chamber 3 |
25,000 |
3 |
2 |
6 |
Tier I ×1 |
These rewards are obtained for clearing each Chamber for the first time.
The Star's Bounty provides additional Mora and Primogems based on the number of stars earned.
- At 3 stars, you receive 15,000 Mora and 50 Primogems.
- At 6 stars, you receive 20,000 Mora and 50 Primogems.
- At 9 stars, you receive 25,000 Mora and 100 Primogems.
The rewards can only be claimed once.
Final Thoughts
Spiral Abyss 7.0 looks like it wants to turn your phone into a stress ball, but it is more manageable once you understand the mechanics. The First Half strongly favors Stellar reactions and Cryo, while the Second Half asks for Pyro and proper elemental coverage. The biggest thing is not blindly smashing buttons. Watch the shields, destroy the roots, ignite the Flamegrantes, and remember which Ruin Sentinel has the funny glowing circle.
If your characters are still getting folded by Floor 12, there is always the other classic Genshin strategy: build your account until the boss becomes the one having a bad day. When you need more resources for pulls and character upgrades, Mone can help with your Genshin Impact top up. Save your Primogems, strengthen your roster, and come back to the Abyss with enough damage to make all those complicated boss mechanics feel optional.