


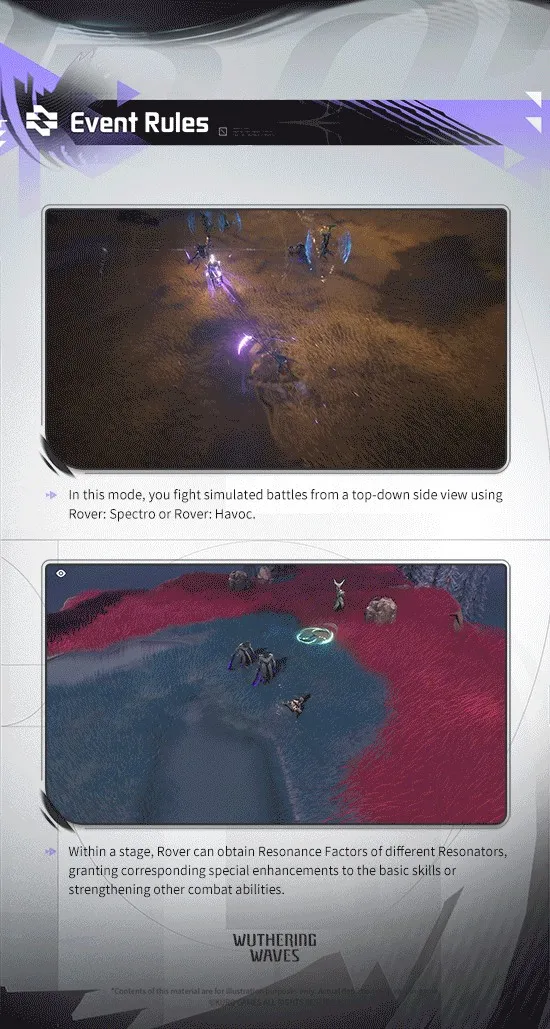
Resonance Sim Realm is not a standard combat event where you simply bring a regular team and clear a few battles. It is a run-based build mode centered on Rover. As the run progresses, Resonance Factors gradually reshape how Rover fights, turning a basic kit into a specialized setup.
What separates successful runs from failed ones is not the number of upgrades collected. It is whether the early choices establish a clear combat direction. Once several bonuses are already supporting one core action, switching directions carelessly can make the whole build less effective. This becomes far more important in the later scenarios.
What Is Resonance Sim Realm?
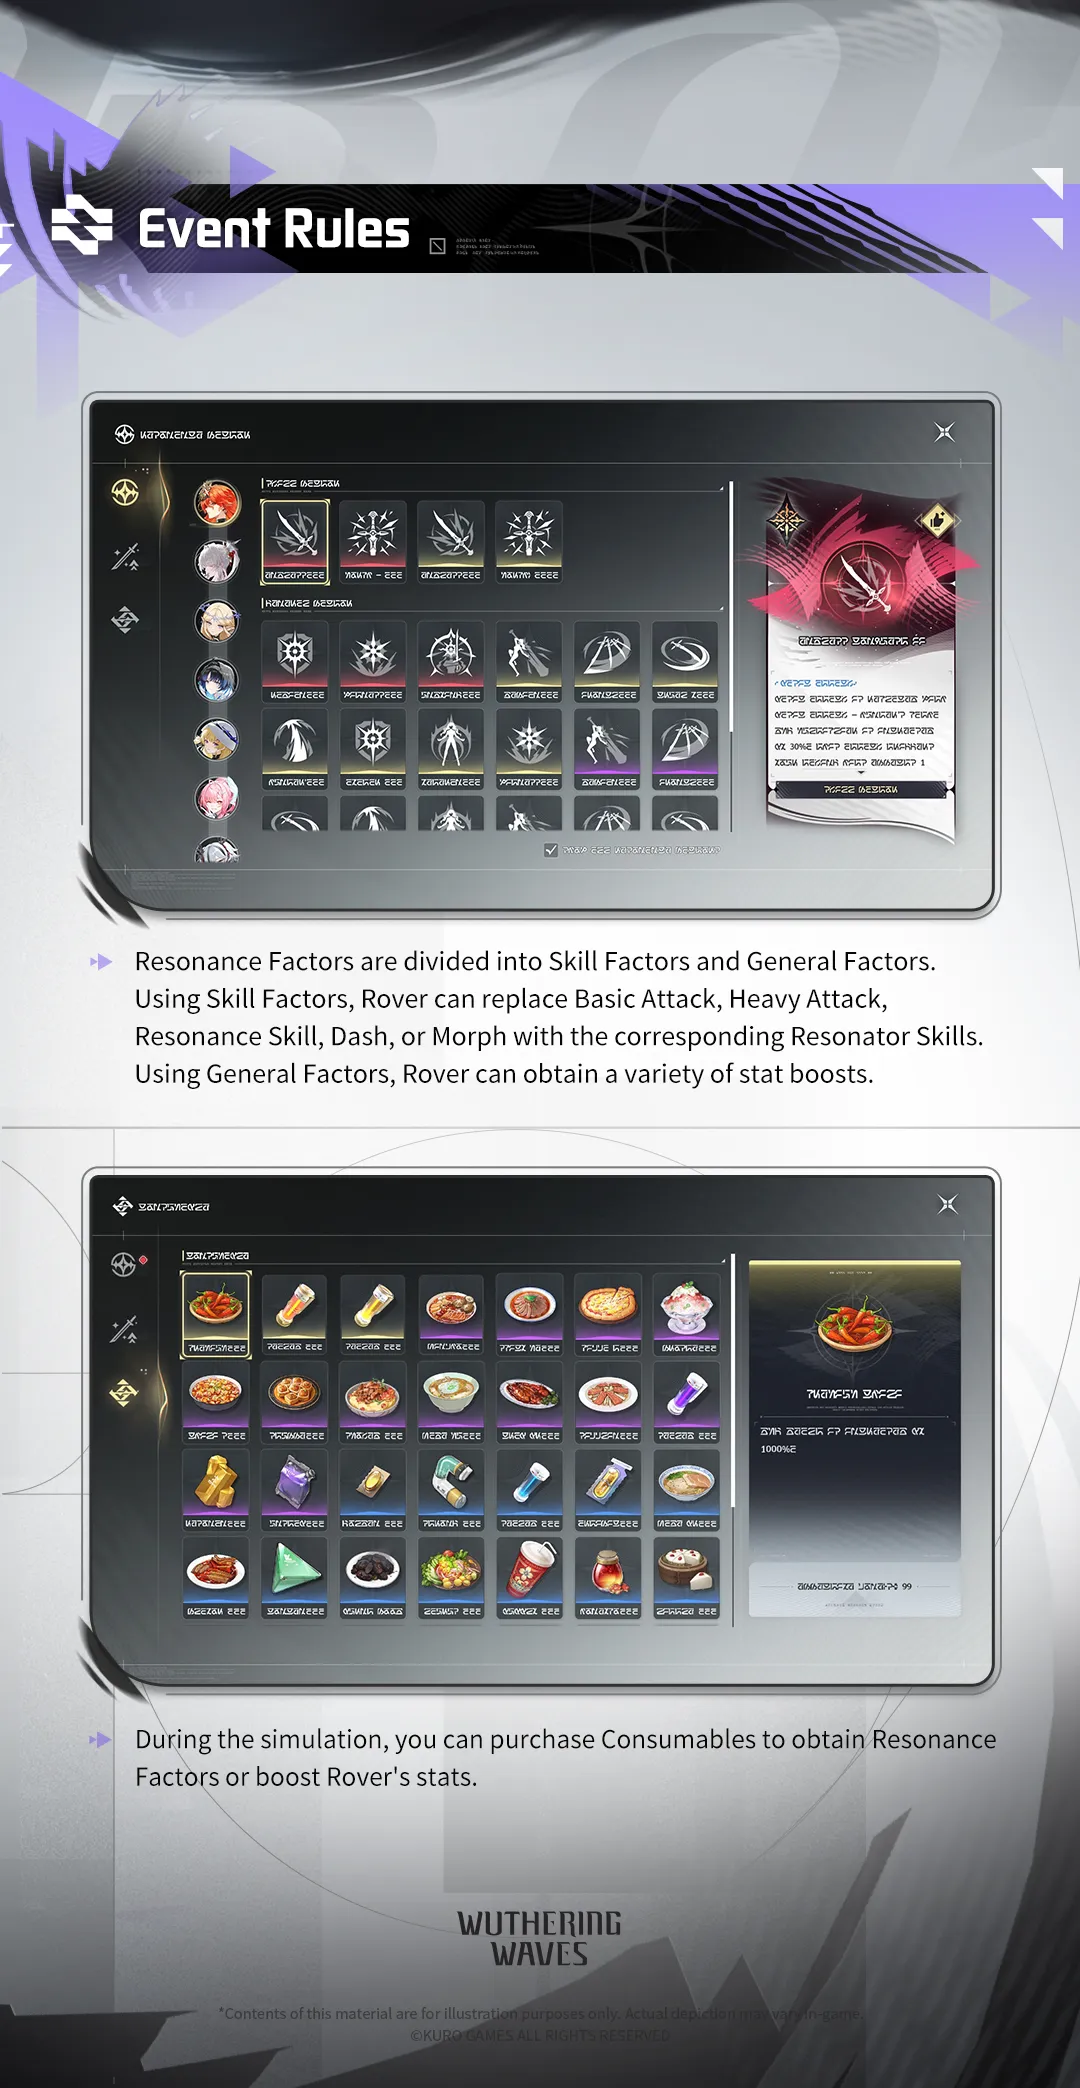
Hello Rovers! The structure of a run is simple on paper: fight enemies, obtain Resonance Factors, strengthen the build, and continue to the next Zone. In practice, the mode is much more strategic than that sounds. Skill Factors change one of Rover’s actions, such as Basic Attack, Heavy Attack, Resonance Skill, Dodge, or Morph Skill. General Factors do not replace those core actions, but continue amplifying the ones that already define your build. At the same time, the run introduces Keepsakes, Supply Domains, and Chaos Zones, all of which influence how stable or explosive your setup becomes.
That is why this mode is less about raw mechanical execution and more about decision-making. The real question is not whether a new Factor looks strong by itself. The real question is whether it improves the setup you already have, or destroys the structure that made the run work.
The Seven-Scenario Structure
Resonance Sim Realm contains seven scenarios. The early stages teach the system and let the player build momentum. The middle stages reward cleaner synergy and more focused Factor choices. The final stages sharply increase the importance of build commitment and combat discipline.
|
Scenario |
Zones |
Enemy Stats |
Core Lesson |
|
Scenario 1 |
8 |
75% |
Learn Morph timing and basic build logic |
|
Scenario 2 |
16 |
85% |
Establish a primary damage route |
|
Scenario 3 |
24 |
100% |
Support the opening core with long-run planning |
|
Scenario 4 |
24 |
100% |
Use grouping, AoE damage, and synergy |
|
Scenario 5 |
24 |
100% |
Rotation quality matters more than one burst hit |
|
Scenario 6 |
26 |
125% |
Commit early to one mature route |
|
Scenario 7 |
26 |
325% |
Safe output windows matter more than greed |
The most important thing to understand is that difficulty is not only about higher enemy durability. The longer the run goes, the more expensive it becomes to make poor upgrade decisions. The final scenario then adds a major survivability check on top of that.
Recommended Team
Resonance Sim Realm does not use a conventional three-Resonator party. In this guide, a recommended 'team' means the practical package built around Rover: one core Resonator Factor, a supporting Factor that fixes positioning or resource flow, and General Factors that reinforce the same damage loop. The goal is synergy, not collecting three names for the sake of filling slots.
For the early scenarios, a Cartethyia-centered Spectro setup is easy to build because the run is short and her factors can give Rover an immediately useful attack pattern. Scenario 3 rewards an Aemeath-centered Morph route more, but the regular combat loop still needs enough support to clear routine waves without spending Morph every time. From Scenario 4 onward, Havoc-oriented packages become especially attractive because Camellya, Suisui, Jingran, and Qingxiao can form clear roles instead of competing for the same job.
|
Recommended setup |
Core |
Support |
Best fit |
|
Spectro starter |
Cartethyia |
Flexible Morph / General Factors |
Scenarios 1-2 |
|
Morph burst |
Aemeath |
Regular-damage General Factors |
Scenario 3 |
|
AoE control |
Camellya |
Suisui - Enrichment |
Scenario 4 |
|
Late-game skill |
Jingran |
Suisui / Morph-energy utility |
Scenarios 5-7 |
|
Late-game basic attack |
Qingxiao |
Grouping or Morph utility |
Scenarios 6-7 |
The last two rows are alternatives rather than pieces that must be forced into the same build. If Jingran appears early and the Resonance Skill route is already supported, keep investing there. If Qingxiao's Basic Attack route reaches critical mass first, committing to that line is usually stronger than trying to build both at once.
Best Starting Core by Scenario
The opening choice matters most when it gives the run a direction that can still scale ten or twenty Zones later. Cartethyia is a natural early-stage core because Scenarios 1 and 2 are short enough that immediate value matters. Aemeath becomes more appealing when Scenario 3 introduces a longer runway for Morph investment, while Scenario 4's stronger grouping and AoE environment rewards a Camellya core supported by Suisui.
For Scenarios 5-7, the safest approach is to treat Jingran and Qingxiao as competing carry routes. Jingran favors a repeatable Resonance Skill cycle; Qingxiao favors a Basic Attack-centered loop. Pick the one that receives the stronger early Factor support, then let later General Factors deepen that same plan rather than chasing a second carry halfway through the run.
Scenario 1: Learn Not to Replace a Working Skill Too Early
The first scenario contains only eight Zones, with enemy stats at 75%. It is not meant to be a heavy damage check. Its real purpose is to teach how the system works. Cartethyia-related Factors are a comfortable starting point because they help illustrate the relationship between regular attacks and Morph-based offense.
The biggest mistake here is replacing skills too casually. Because the run is short, players often assume it does not matter. In reality, Scenario 1 introduces the habit that becomes essential later: once an action already works and the next bonuses are supporting it, switching away from it without a strong reason weakens the structure of the run.
Morph use is also easiest to understand here. If weak enemies can already be handled with regular attacks, Morph does not need to be used immediately. Saving it for denser groups or sturdier enemies usually provides more value.
Scenario 2: This Is Where Build Crafting Truly Starts
Scenario 2 expands the run to 16 Zones and raises enemy stats to 85%. At this point, Resonance Sim Realm begins to feel like an actual build mode rather than a guided introduction.
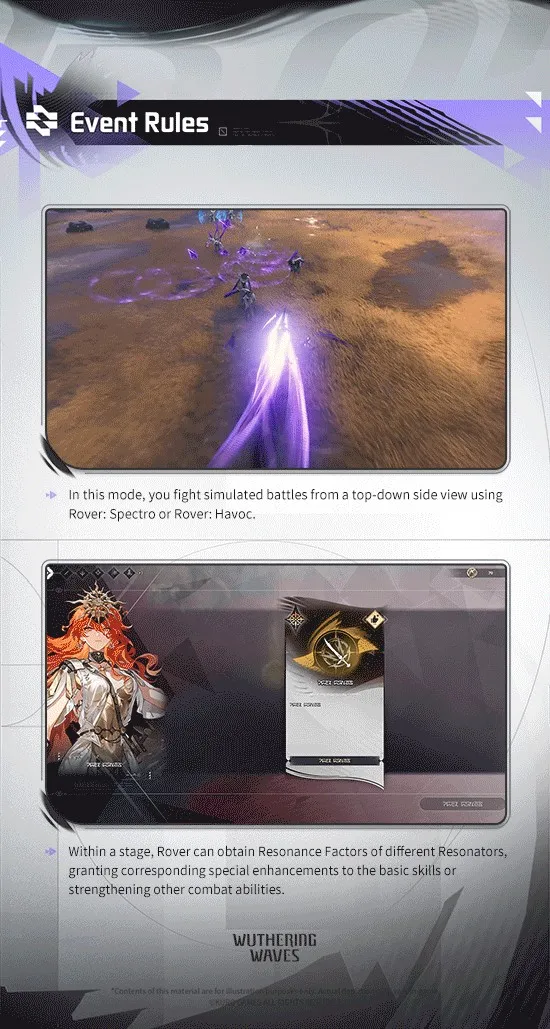
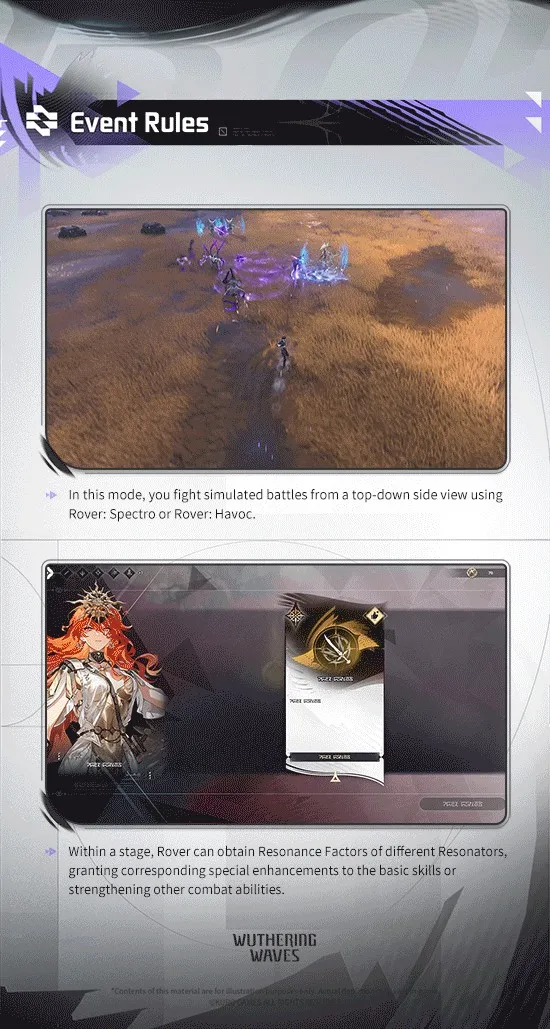
Cartethyia remains a reliable direction, especially because Heavy Attack, Resonance Skill, and Morph-related Factors can all connect to one coherent structure. The key lesson of this scenario is that a Factor should not be judged in isolation. It should be judged by whether it makes the current plan more complete.
If Heavy Attack has already become the main damage route, later choices should continue strengthening Heavy Attack rather than abruptly switching to another unrelated style. Scenario 2 therefore teaches a very important principle: first establish the damage engine, then support it with recovery, scaling, and interaction.
Scenario 3: Start Thinking About the Entire Run, Not Just the Next Fight
Scenario 3 stretches to 24 Zones and brings enemy stats to 100%. That shift changes the meaning of every upgrade. Factors are no longer being chosen only for the next encounter. They are being chosen for the next dozen encounters as well.
Aemeath is a stable opening direction here, especially through Morph-related value. However, the scenario also teaches an important correction: Morph is not supposed to replace your everyday combat. It is supposed to accelerate the highest-value parts of the run.
If normal enemy waves are already taking too long, then stacking even more burst into Morph may not solve the real problem. In that case, improving the regular combat loop creates more total value than overspending on a burst tool that was already strong enough.
The deeper lesson of Scenario 3 is to identify whether a new bonus strengthens the weak point of the build, or simply makes one already-successful part even more excessive.
Scenario 4: Efficiency Comes from Making Enemies Die Together
Scenario 4 keeps 24 Zones and 100% enemy stats, but its build environment changes significantly. Camellya, Luuk Herssen, and Suisui-related Factors become much more relevant here.
The strongest part of this stage is not just higher single-target damage. It is the way grouping tools and area coverage begin to define clear speed. Suisui’s grouping utility and Camellya-oriented area pressure work especially well because so much of the run’s time is spent not on one boss, but on multiple scattered enemies.
That means the best gains come from making enemy positioning work for you. A build that groups targets into one area can then exploit AoE damage, Affliction interaction, and Morph cleanup much more efficiently than a build that simply hits one target very hard while others remain spread out.
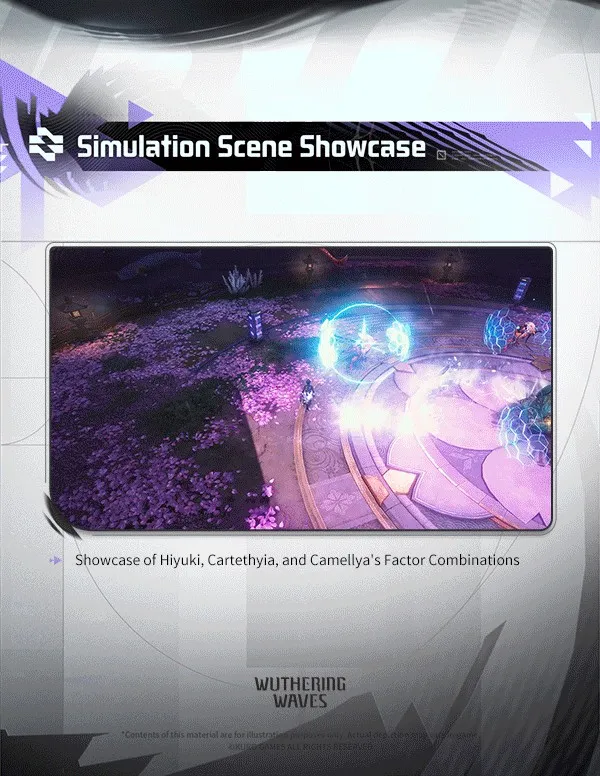
Scenario 5: Damage Becomes a Matter of Rotation Quality
Scenario 5 remains at 24 Zones with 100% enemy stats, but it more clearly pushes the player toward Jingran, Qingxiao, and Phrolova-related setups.
A very stable route here is a Jingran Resonance Skill build. What makes it good is not just one large number. Its real strength comes from how naturally setup and payoff can be linked together. When an activation helps establish a stronger damage window, later skill damage, Crit-related scaling, and rhythm-based General Factors all become more valuable.
That is what makes this stage different from earlier ones. The most important question is no longer, “What hits the hardest once?” It becomes, “Can this sequence be repeated reliably over an entire run?” A build that repeats a strong rotation throughout 24 Zones is generally better than a build that occasionally spikes higher but lacks consistency.
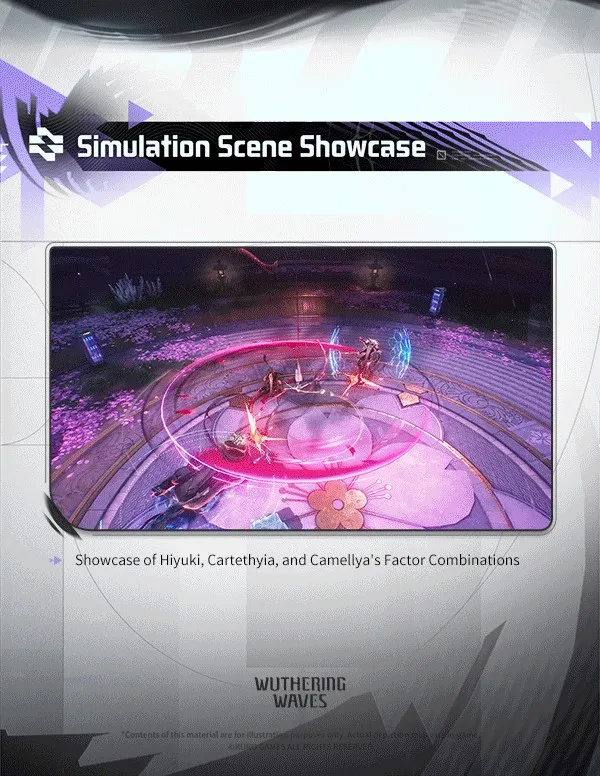
Scenario 6: Commit to One Route or the Run Starts Falling Apart
Scenario 6 expands to 26 Zones and raises enemy stats to 125%. At this point, build quality becomes much easier to feel in actual combat. Jingran and Qingxiao are both strong mature routes, but the crucial skill here is not choosing the universally best one. It is choosing one route early and refusing to split the run between two half-finished ideas.
If Jingran Resonance Skill becomes the core, later upgrades should continue serving that loop through better skill cycling, Crit value, and compatible triggers. If Qingxiao’s Basic Attack path forms first, then the rest of the build should keep pushing that direction.
This is where many runs fail quietly. The player sees strong upgrades from both sides and takes both, only to end up with a build that never crosses the real power threshold in either direction. Scenario 6 punishes that kind of indecision because 26 Zones and 125% enemy stats are enough to expose incomplete structures.
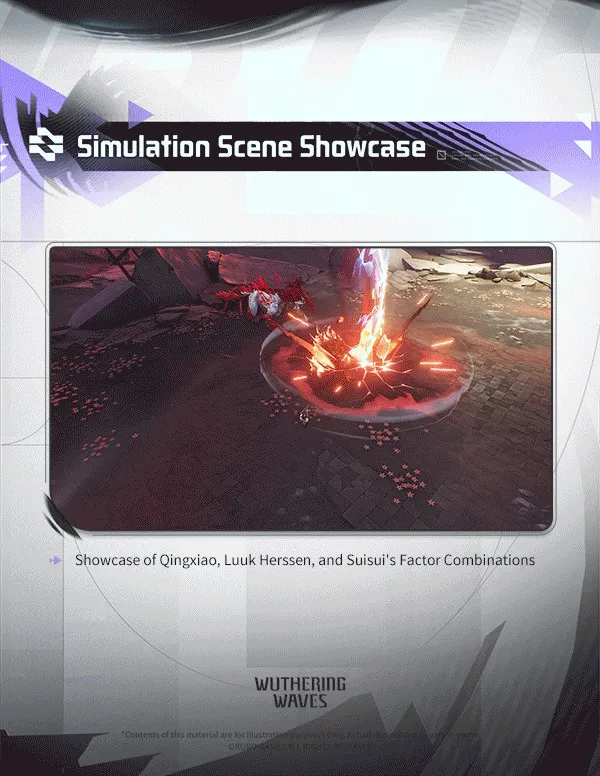
Scenario 7: The Final Test Is Safe Damage, Not Maximum Theory Damage
Scenario 7 also contains 26 Zones, but enemy stats jump to 325%. This is the point where the entire mode changes from a build test into a build-and-discipline test.
Jingran and Qingxiao can both still work here, but the final scenario does not reward mindless aggression. The most reliable strategy is to treat boss attacks as the center of the fight: dodge the dangerous sequence first, identify the recovery window, punish safely, and then use Morph to amplify that safe opening.
This changes the value of upgrades. In earlier stages, a pure damage increase might always look superior. In the final stage, if chasing that damage causes Rover to eat full boss strings, the practical value of that upgrade drops sharply. The run is won not by the highest theoretical number, but by how much of your damage you can deliver safely and repeatedly.
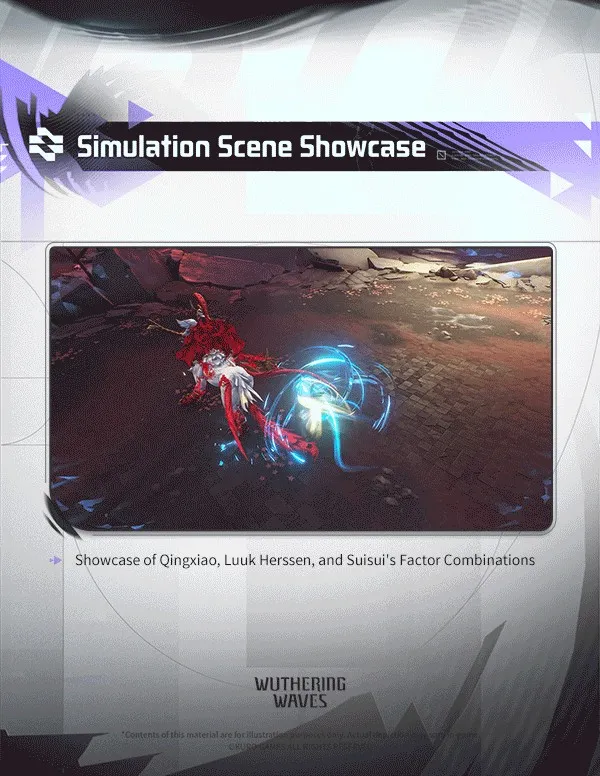
How to Choose Resonance Factors Correctly
Once the seven scenarios are understood, Factor selection becomes much more logical. A Skill Factor determines how Rover actually fights. A General Factor determines how strongly that combat loop scales.
That distinction matters because replacing a Skill Factor can invalidate several earlier choices at once. If your current core skill is already supported by multiple General Factors, a new skill must do more than merely look attractive. It must either preserve that value or solve a clear weakness in the run.
In practical terms, that means one question should always come first: is this new Factor helping my build, or asking me to abandon my build? If the answer is the second one, replacing your core may be more expensive than it appears.
When to Replace a Skill Factor
Replacing a Skill Factor is worth considering when the current core is failing at a specific job: it cannot clear groups fast enough, it has poor access to safe damage, or the new option preserves most of the General Factors already collected. If the replacement only offers a larger isolated number but breaks several existing interactions, the apparent upgrade can reduce total run damage.
A useful rule is to compare the whole rotation before and after the swap. The later the run, the higher the replacement cost, because more General Factors, Keepsake progress, and routing decisions have already been built around the current action.
What to Prioritize Once the Build Is Working
Once the core loop is stable, prioritize upgrades that remove friction rather than adding unrelated mechanics. That can mean better grouping for an AoE setup, faster Morph recovery for a burst setup, more reliable Crit value for a skill cycle, or enough survivability to keep attacking through later Zones. A finished build is usually improved by making its existing rotation easier to repeat, not by adding a second rotation.
Morph Skills Decide the Pace of the Entire Run
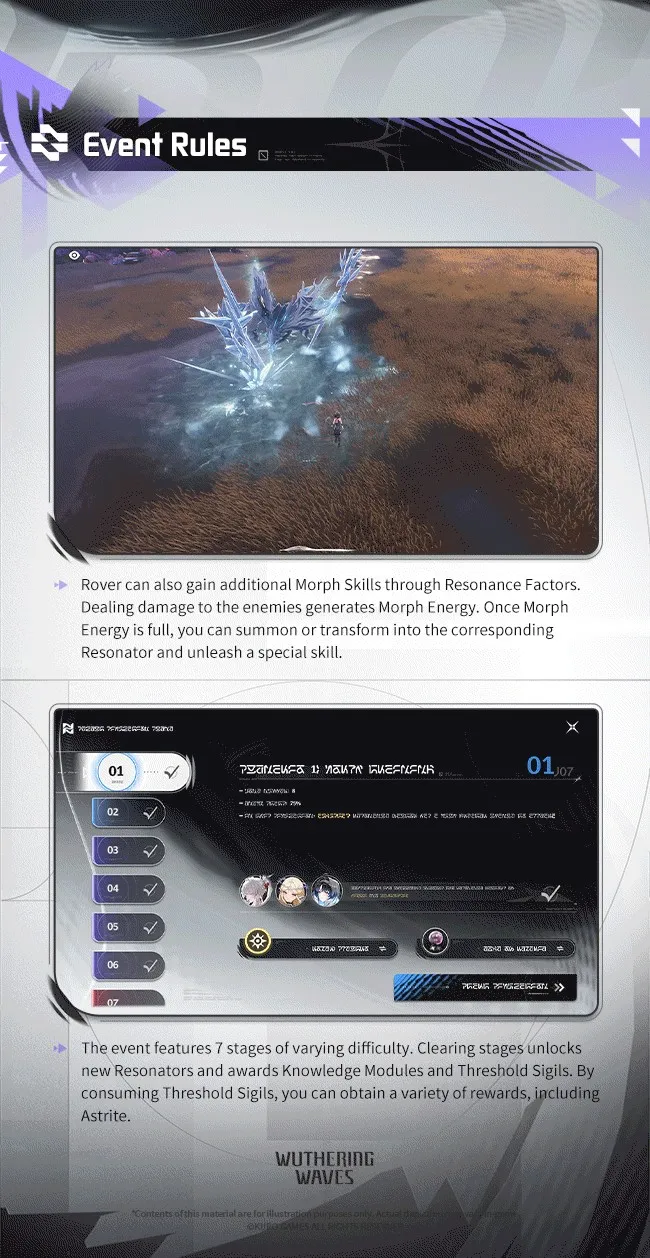
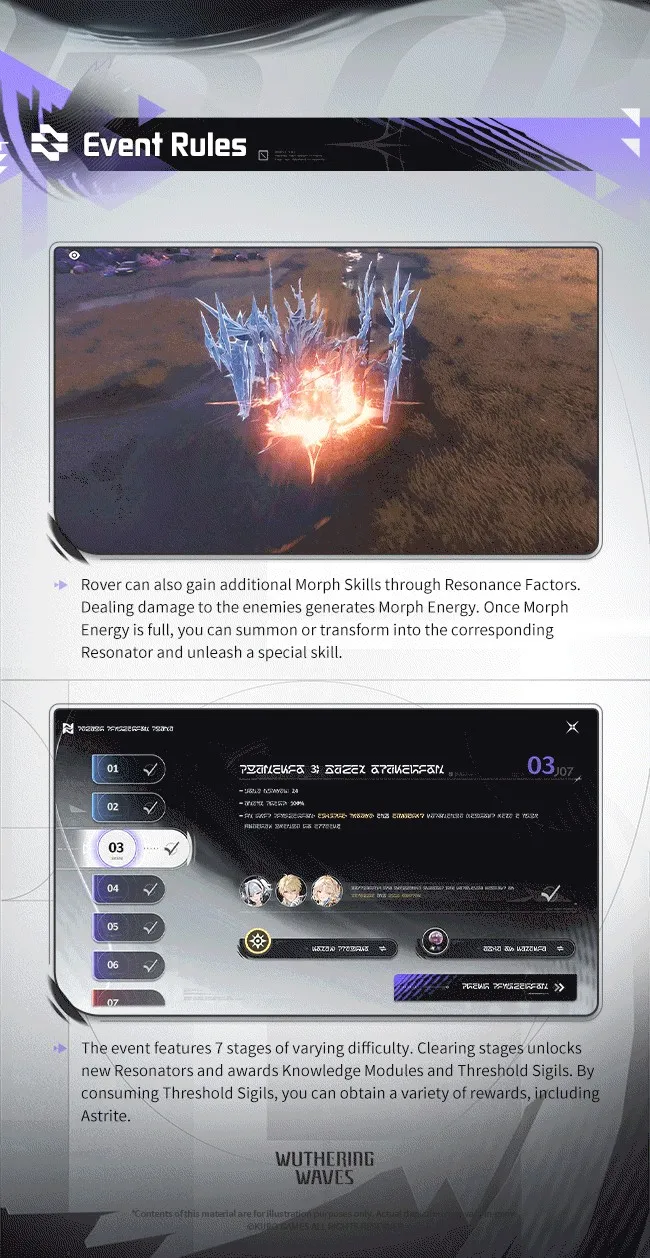
Dealing damage fills Morph Energy, which eventually allows Rover to activate a Morph Skill. Many players understand very quickly that Morph is powerful, but strong players separate themselves through timing rather than frequency.
If a regular enemy wave can already be removed quickly, spending Morph there may add very little. Against elites, high-HP enemies, or tightly grouped threats, the same Morph activation can save much more time and prevent much more pressure.
This becomes especially important in the final scenario. Morph should often be held until after a successful dodge or during a clearly safe damage window. In other words, Morph is best treated as a major burst resource, not a button that should be pressed the moment it becomes available.
Best Morph Windows
The best Morph window is one where the activation changes the pace of the fight. Grouped enemy waves, elites that would otherwise take a long time to finish, and boss recovery animations after a successful dodge are all high-value targets. By contrast, spending Morph on a wave that regular attacks already erase quickly adds little to the overall clear speed.
In Last Defender, this becomes a defensive decision as much as an offensive one. Holding Morph until a boss has committed to a punishable recovery window reduces the chance of losing the burst to movement, interruption, or a dangerous counterattack.

Keepsakes, Supply Domains, and Chaos Zones
The middle-of-run systems are just as important as Factors once the difficulty rises.
A Keepsake does not automatically become better simply because it is new. Since only one can be equipped at a time and each one has its own upgrade progression, the real question is whether a new Keepsake fits the build better than the partially developed one you already hold.
Supply Domains are easy to underestimate, but they are central to consistent clears. They are not merely emergency healing spots. They are preparation points, especially before later high-pressure encounters. A strong build should not be thrown away because the player entered a critical fight with poor health and no replenishment.
Chaos Zones are the opposite kind of decision. They offer stronger upside in exchange for meaningful downside. The correct choice depends entirely on whether the downside interferes with the structure of the build. A mature run does not need every possible high-risk bonus. Sometimes protecting stability is the strongest decision.
Fast Clear Priorities
For a fast reward-focused clear, consistency should come before ceiling. Take a strong early core, use Supply Domains before high-pressure fights instead of waiting until the run is already unstable, and only accept Chaos Zone drawbacks when they do not attack the build's main source of damage or survivability.
The most efficient runs are often the least dramatic ones: a clear damage loop, one useful Keepsake that is allowed to develop, Morph saved for expensive encounters, and very few late-game rebuilds. This approach becomes increasingly valuable in Scenarios 6 and 7, where one failed experiment can erase a long run.
Event Dates and Rewards
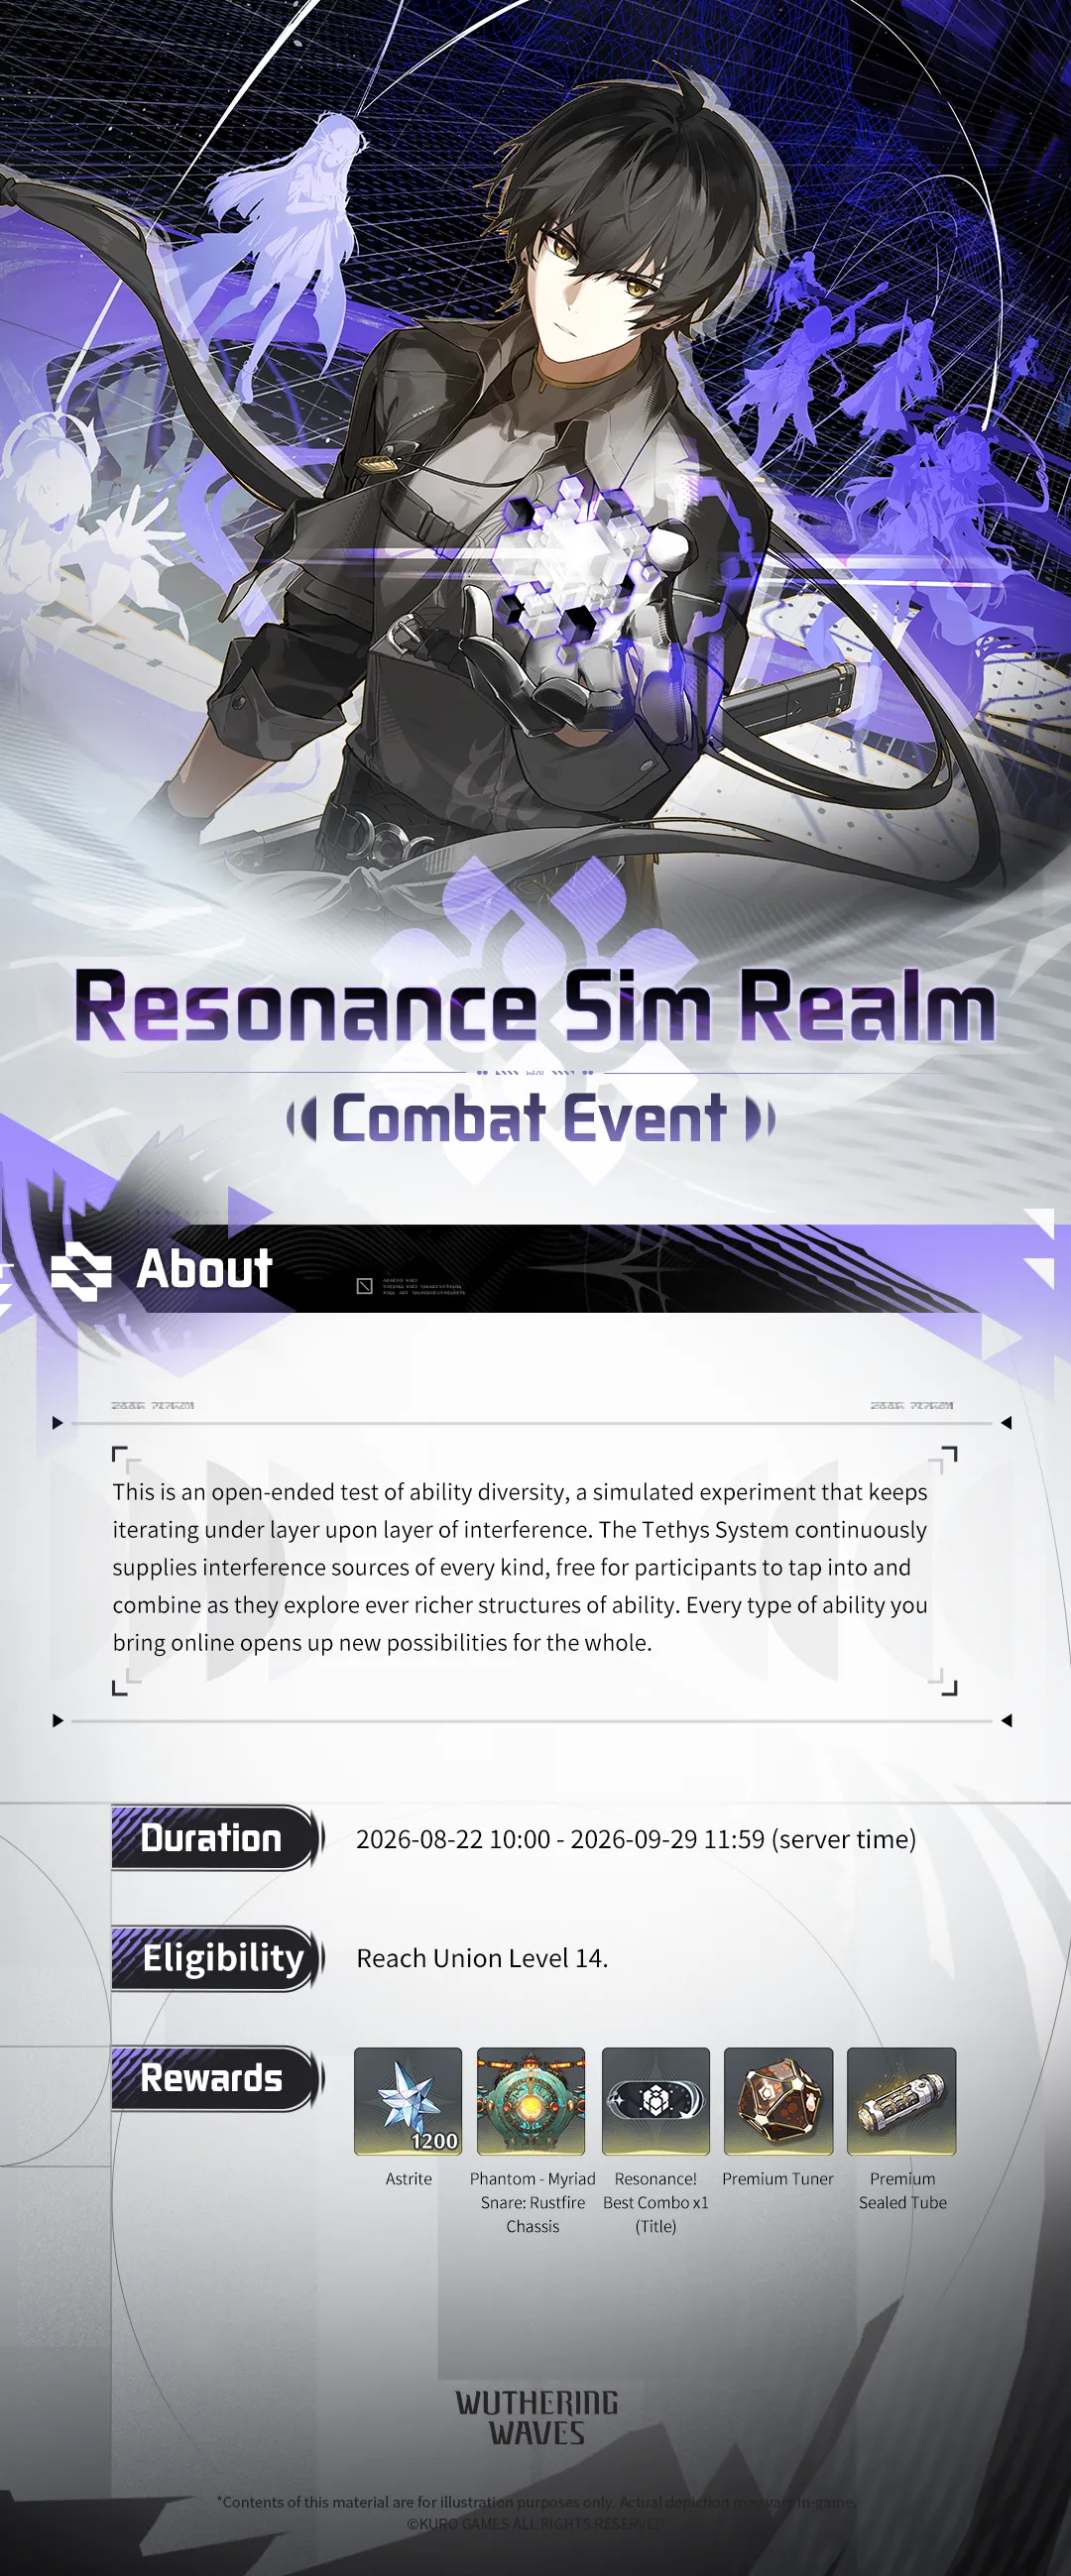
Resonance Sim Realm runs from August 22, 2026 to September 29, 2026 and requires Union Level 14. The main reward pool includes 1,200 Astrites, Phantom: Myriad Snare – Rustfire Chassis, the title Resonance! Best Combo, 150 Premium Tuners, 20 Premium Sealed Tubes, 20 Premium Resonance Potions, 20 Premium Energy Cores, six Premium Enclosure Tanks – Land of Xuanfang, 850,000 Shell Credits, and other upgrade resources.
Players who mainly want the rewards do not need to force every run into a high-risk ceiling chase. In the first six scenarios, a stable build that forms quickly is often more efficient than repeatedly gambling for perfect high-rolls. The final scenario is where defensive discipline and timing become especially important.
FAQ
Why does a higher-grade Skill Factor sometimes make my build weaker?
Because it may overwrite the action slot currently supported by several General Factors. A stronger skill in isolation can still lower the total strength of the build if it breaks those earlier connections.
Should Scenario 6 use Jingran or Qingxiao?
Both can clear the stage. Jingran is excellent for a Resonance Skill-centered route, while Qingxiao is better for deepening a Basic Attack structure. The important part is committing to one route early instead of dividing upgrades between both.
Why does Scenario 7 still feel difficult even when my damage looks good?
Because Scenario 7 is not only a damage check. At 325% enemy stats, taking unnecessary hits becomes extremely punishing. Safe output timing matters as much as raw build strength.
Is it always correct to use Morph as soon as it is ready?
No. Morph is usually most valuable against elites, high-HP enemies, grouped threats, or during long safe punish windows. Timing matters more than raw usage count.
Final Thoughts
Resonance Sim Realm may look like a mode about collecting as many abilities as possible, but the real skill lies in knowing which abilities to refuse.
Scenario 1 teaches basic build discipline. Scenario 2 establishes the importance of a main damage route. Scenario 3 introduces long-run scaling logic. Scenario 4 rewards grouping and area efficiency. Scenario 5 values complete rotations. Scenario 6 demands commitment. Scenario 7 finally turns the whole experience into a test of safe burst timing and controlled execution.
A complete build should have a clear division of labor: one core action for stable damage, General Factors that amplify it, Morph that solves the highest-value moments, a Keepsake that supports the same plan, and player decisions that make sure all of that damage is delivered safely. That is the most reliable way to clear all seven scenarios and secure the full reward track.