


This guide will walk you through exactly how to approach ToA — from understanding the Vigor system to building your teams efficiently, all the way to executing clean runs. Whether you’re a fresh Rover who just hit Union Level 15 or a veteran struggling to break past 24 stars, there’s something here for you.
What Exactly Is the Tower of Adversity?
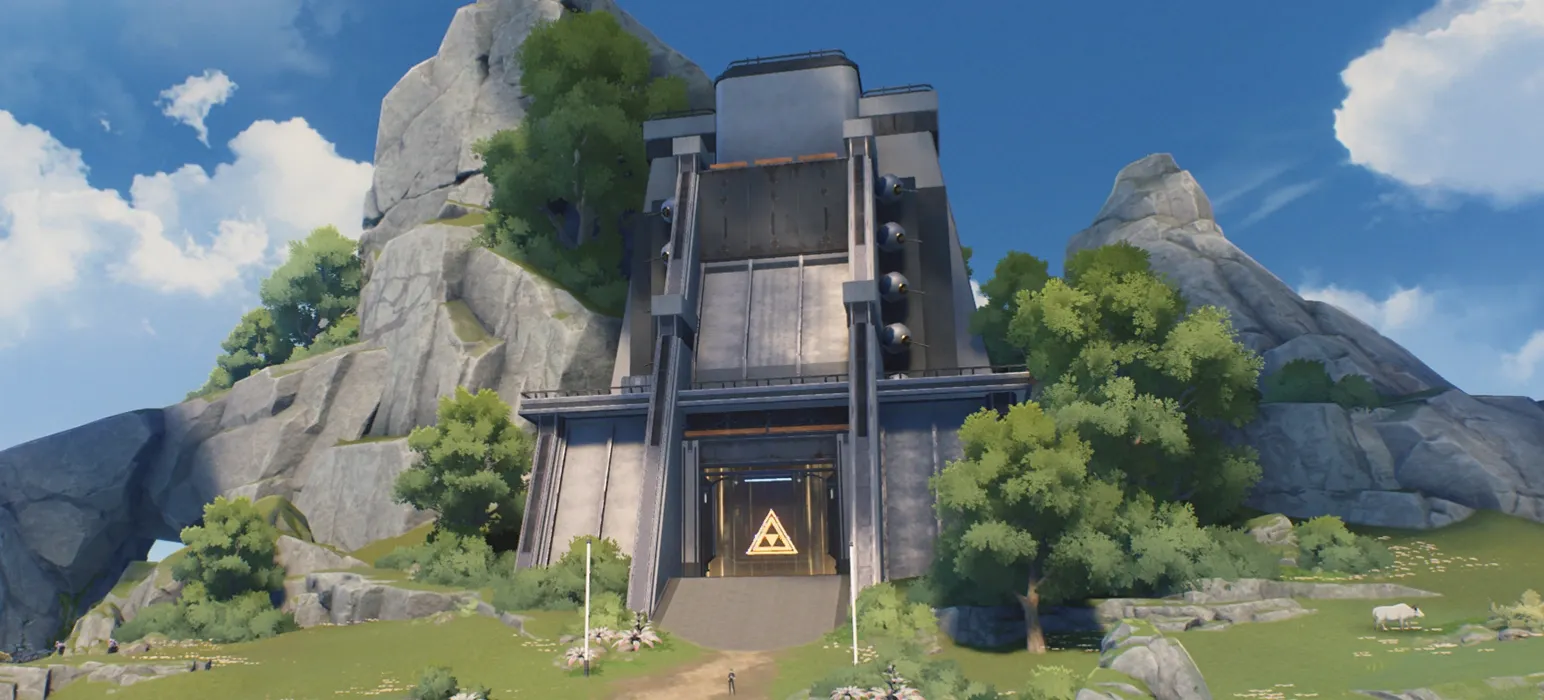
Think of To A as Wuthering Waves' answer to endgame gauntlets — similar to Genshin Impact's Spiral Abyss or Honkai: Star Rail's Memory of Chaos. It’s a multi-tiered challenge mode where you fight increasingly difficult enemy waves under strict time limits, earning stars based on how quickly you clear each floor.
The Tower is divided into four distinct zones:
|
Zone |
Type |
What It Is |
|
Stable Zone |
One-time clear |
Entry-level endgame; clearing all floors rewards you with the 4-star character Yuanwu for free |
|
Experimental Zone |
One-time clear |
Mid-tier challenge with two towers, four floors each |
|
Hazard Zone |
Rotating (28-day cycle) |
The main event — three towers with escalating difficulty; this is where the real Astrite rewards live |
|
Overdrive Zone |
One-time clear |
Added in Version 1.3; permanent challenge with Level 100 enemies, no timer |
The Hazard Zone is what most players mean when they talk about “clearing ToA.” It refreshes every 28 days, bringing new enemy lineups, Interference effects, and Area Buffs that completely change which teams are optimal.
The Vigor System: Your Most Important Resource
Here’s where ToA separates itself from other gacha endgame modes. Every character starts with 10 Vigor per zone. Every time you use a character to clear a floor, their Vigor decreases. Run out of Vigor, and that character is locked out of that zone until the next reset.
The Vigor costs break down like this:
·Left and Right Towers (Resonant/Echoing): Floors cost 1, 2, 3, and 4 Vigor respectively (total: 10 Vigor if you use the same team for all four floors)
·Middle Tower (Hazard): Each floor costs 5 Vigor (total: 10 Vigor for two floors)
Critical detail: Vigor is tracked separately for each zone. Using a character in the Stable Zone doesn't affect their Vigor in the Hazard Zone. And here's another blessing —Echoes and weapons are NOT locked when you clear a stage. You can freely swap gear between characters, which is a massive quality-of-life feature compared to similar modes in other games.
The Two Strategies That Actually Work
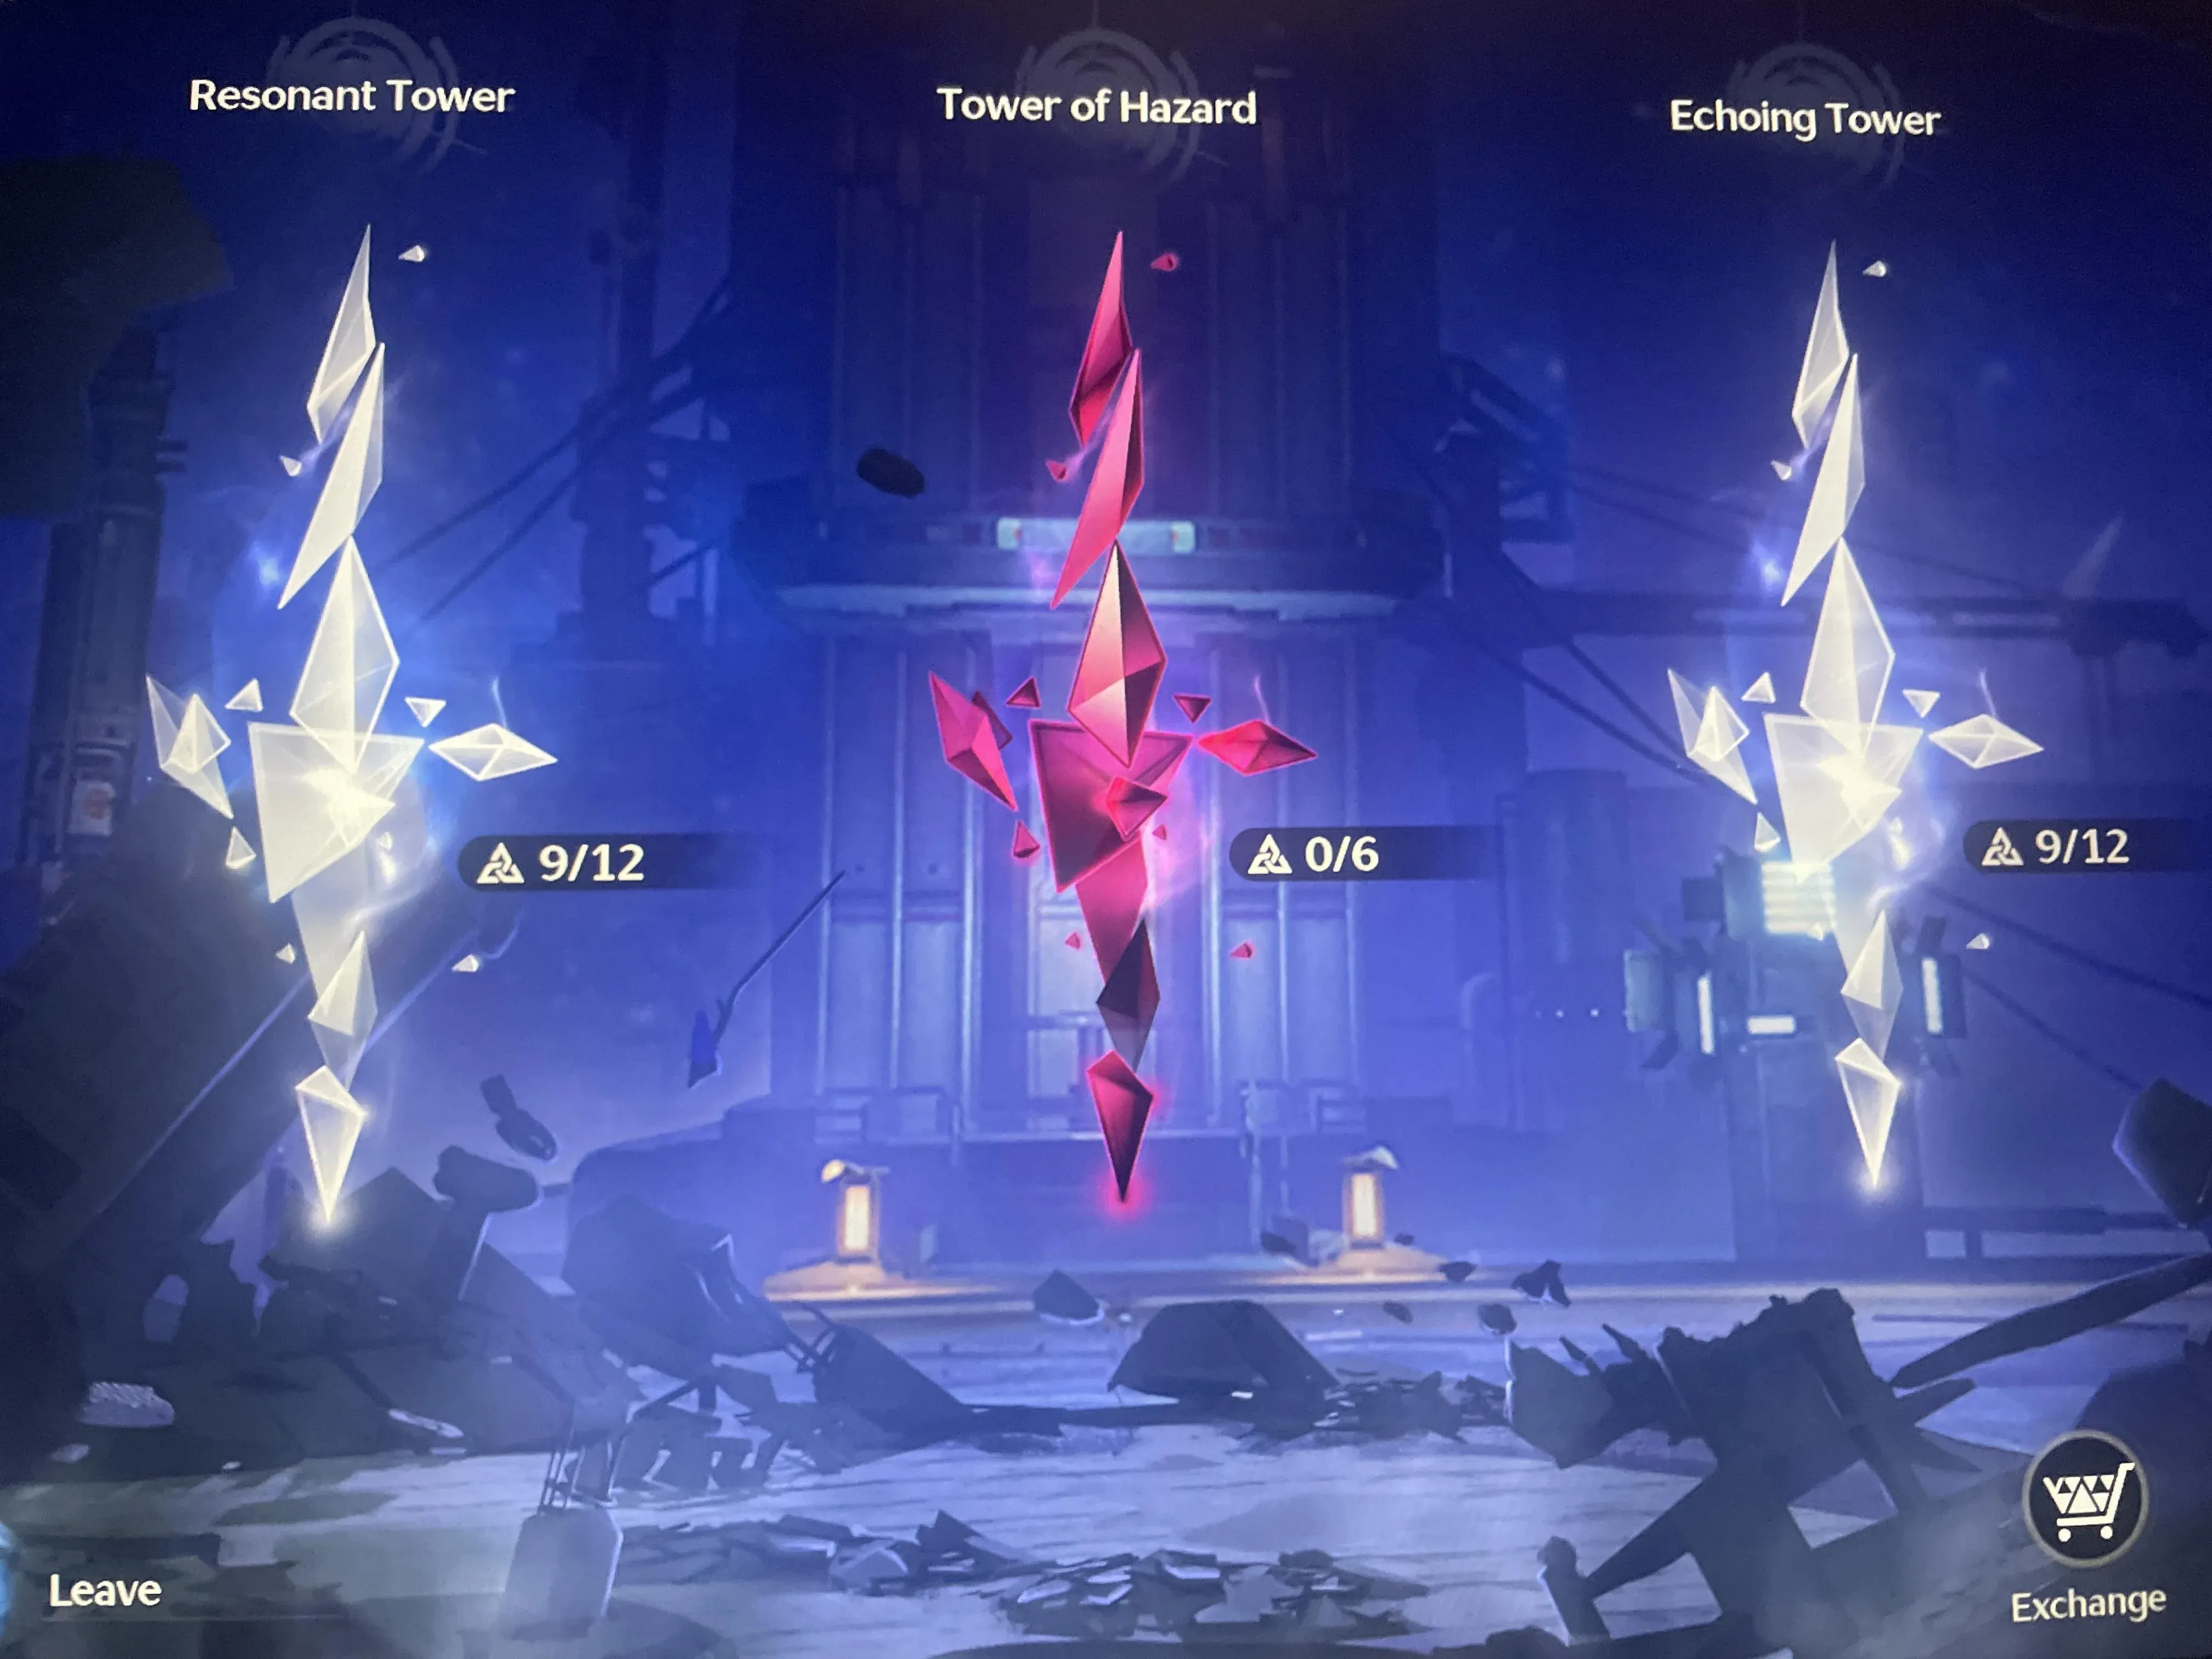
You don’t need three fully-invested teams to clear ToA. I repeat: you do not need three fully-invested teams. This is the single biggest misconception holding players back.
Here are the two proven strategies:
Strategy 1: The "Two Heavy Hitters" Approach
This is what most successful F2P and low-spender players use:
·Middle Tower: Use your absolute best team for both floors (costs 10 Vigor total)
·Floor 4 of Left & Right Towers: Use your second-best team for both (costs 8 Vigor total — 4 per tower)
·Leftover Vigor (2 points): Use it on a Floor 1 or Floor 2 on either side
·Everything else: Your "floater" team handles Floors 1-3 on both sides
The floater team doesn’t need to be fully built — they just need to be functional. Characters like Rover paired with Jianxin or Yangyang can group enemies and clear mid-tier floors with minimal investment.
Strategy 2: The "Split the Middle" Approach
·Middle Tower: Use two different teams, one for each floor (costs 5 Vigor each, leaving 5 Vigor per team)
·Floor 4 of Left & Right: Use those same two teams (costs 4 Vigor each, leaving 1 Vigor per team)
·Floor 1 of Left & Right: Use the same two teams with their remaining 1 Vigor
·Floors 2-3: Floater team handles everything else
Both strategies work. Strategy 1 is simpler to execute; Strategy 2 gives you more flexibility if your top two teams are both exceptionally strong.
Resonant Tower (Left Side)
Buffs & Interference
|
Category |
Detail |
|
Enemy RES |
Havoc -10% |
|
Core Buff |
Basic Attack hits grant a stacking 5% All-Attribute DMG Bonus for 6s, stacking up to 8 times. Retriggering refreshes the duration; effect removed when the Resonator leaves the field |
Enemy Lineup (Floor 4)
·Wave 1: Chop Chop ×2
·Wave 2: Dragon of Dirge ×1 (Fusion)
The enemies throughout this tower are Fusion-resistant, so avoid bringing Fusion DPS here. The Dragon has nasty attacks including spikes emerging from beneath you and fire DoT effects on the ground that eat away at your HP.
Best Teams
|
Main DPS |
Sub-DPS |
Support |
Why This Works |
|
Camellya |
Sanhua |
Verina |
Camellya's Basic Attack-focused kit double-dips both buffs. Her aerial playstyle keeps her off the ground, avoiding the Dragon's ground-based fire DoT. |
|
Phrolova |
Roccia |
Shorekeeper |
Strong Havoc option that benefits from the -10% Havoc RES |
|
Augusta |
Luno |
Shorekeeper |
Solid fallback, but saving her for Hazard Tower is unnecessary as she doesn't have a specific advantage there this cycle |








Why Camellya is the MVP:The Resonant Tower's buff explicitly rewards Basic Attack spam — exactly what Camellya does best. Each Basic Attack gives 5% All-Attribute DMG Bonus stacking up to 8 times (40% total), and this resets on swap, so maintaining field time with Camellya maximizes the buff.


Echoing Tower (Right Side)
Buffs & Interference
|
Category |
Detail |
|
Enemy RES |
Aero -10% |
|
Core Buff |
Intro Skill grants +20% Crit DMG and +40% Basic ATK DMG bonus for 20 seconds to the character swapping in |
Enemy Lineup (Floor 4)
·Boss:Lampylumen Myriad (Ice mosquito type — flighty, evasive)
The Echoing Tower has anoverall Glacio-resistant theme; even the fourth floor boss is the Ice-type Lampylumen. The boss creates pools of Ice that continuously stack the Glacio status on characters standing in them. If these stacks reach 10, the character gets frozen.
Best Teams
|
Main DPS |
Sub-DPS |
Support |
Why This Works |
|
Cartethyia |
Zhezhi |
Shorekeeper |
Cartethyia's Fleurdelis phase runs roughly 15 seconds on field, fitting perfectly into the 20-second Intro buff window. Her Aero damage avoids the Glacio resistance entirely. |
|
Augusta |
Luno |
Shorekeeper |
Serviceable option if you don't have Cartethyia |


Avoid Glacio DPS here— not because they can't punch through the resistance, but because you'll need them for Hazard Tower floors 3-4 where Glacio is heavily favored.
Why Cartethyia is the MVP:The Echoing Tower's buff is tailor-made for her — Intro Skill → 20% Crit DMG + 40% Basic ATK DMG for 20 seconds transforms her already strong Basic Attack rotations into something devastating. And since the boss is Glacio-resistant, Cartethyia's Aero damage faces no resistance penalty.
Hazard Tower (Middle) — The Main Event
The Hazard Tower is the hardest of the three towers and is split intotwo distinct sections: Floors 1-2 and Floors 3-4.
Hazard Tower — Floors 1 & 2
Buffs & Interference
|
Category |
Detail |
|
Enemy RES |
Fusion -10%, Spectro -10%, Aero +10%, Electro +10% |
|
Core Buffs |
Crit DMG +25%. Intro Skill grants +40% Heavy and Basic ATK DMG for 20s |
|
Extra Buff |
Fusion and Spectro DMG increased by 30%. Triggering Echoing Affinity - Offset increases ATK by 30% for 30s |
Enemy Lineup
|
Floor |
Enemies |
|
Floor 1 |
Feilian Beringal ×1 (Aero) — Aggressive Aero ape that stays in melee range; stagger bar fills predictably around the 15-second mark |
|
Floor 2 |
Purple-feather Heron ×2 (Electro) + Glacio Blade Performer ×1 (Electro) + Nameless Explorer ×1 (Aero) — Two Electro mobs alongside a high-HP center unit; burn the adds first |
Critical Note:Aero teams are hard-countered here by the RES penalty combined with Electro-heavy enemies. Bench Aero and Electro entirely for these two floors— the +10% RES penalty makes them significantly less effective.
Best Teams
|
Main DPS |
Sub-DPS |
Support |
Why This Works |
|
Luuk Herssen |
Aemeath |
Mornye |
Luuk Herssen's Spectro damage benefits from the -10% Spectro RES and +25% Crit DMG |
|
Aemeath |
Lynae |
Mornye |
Strong Fusion option; benefits from 30% Fusion DMG bonus |
|
Phoebe |
Zani |
Shorekeeper |
Spectro DPS that benefits from the -10% Spectro RES |
|
Lucy |
Rebecca |
Mornye |
Fusion comp that exploits the 30% Fusion DMG bonus |










Why Fusion and Spectro dominate:The -10% RES for both elements is a direct damage increase that no other element gets on these floors. Combined with +25% Crit DMG and 30% elemental DMG bonus, Fusion and Spectro characters have a significant advantage.
Hazard Tower — Floors 3 & 4
Buffs & Interference
|
Category |
Detail |
|
Enemy Type |
All enemies are Electro |
|
Enemy RES |
Electro RES is high across both floors |
|
Core Buffs |
Havoc negative status effects and Tune Break access are heavily favored |
|
Time-based Buff |
60s after battle starts, Resonators gain 5% Total DMG Bonus, increasing by 5% every 5s up to 60% |
|
Resonance Break |
After casting Resonance Break Skills, team gains 10% Total DMG Bonus, triggered once every 15s, stacking up to 3 times |
|
Negative Status |
After applying Void Affliction (Havoc Bane) effects, Resonators deal 45% more damage for 30s |
|
Enemy Penalty |
Enemies gain 15% All-Attribute RES |
Enemy Lineup
|
Floor |
Enemies |
|
Floor 3 |
Four enemy waves ending with Tempest Mephis — Multi-target coverage is essential |
|
Floor 4 |
Mech Abomination (tanky, telegraphed) into Thundering Mephis — Charged AoE with ~1.5-second windup that one-shots squishy supports |
Critical Note:Bringing anElectro carry is self-sabotagehere due to the high Electro RES across both floors. The15% All-Attribute RESon enemies must be removed — this is whereHavoc negative status effects(Void Affliction / Havoc Bane) come into play.
Best Teams
|
Main DPS |
Sub-DPS |
Support |
Why This Works |
|
Yangyang: Xuanling |
Chisa (must-have) |
Suisui |
Yangyang SP's Havoc kit applies Void Affliction (Havoc Bane), triggering the 45% damage bonus. Chisa ismandatoryas she applies the Negative Status effect needed to remove enemy RES and unlock Yangyang SP's full damage potential |
|
Hiyuki |
Luno |
Shorekeeper |
Strong Havoc DPS that applies Negative Status effects; benefits from the 45% Havoc Bane damage bonus |





Why Yangyang: Xuanling is the star:The Hazard Tower floors 3-4 are designed around Havoc negative status effects. Yangyang SP is the new Havoc DPS introduced in Version 3.5, and her kit revolves around applying Void Affliction (Havoc Bane), which directly triggers the 45% damage bonus. Chisa is essential— she provides the Negative Status application needed to remove the 15% All-Attribute RES from enemies. The premium team is Yangyang: Xuanling + Chisa + Suisui(the new healer debuting in Phase 2). If you don't have Suisui, any healer works, but Suisui provides additional Void Affliction layer bonuses.
Rewards: Why Bother?
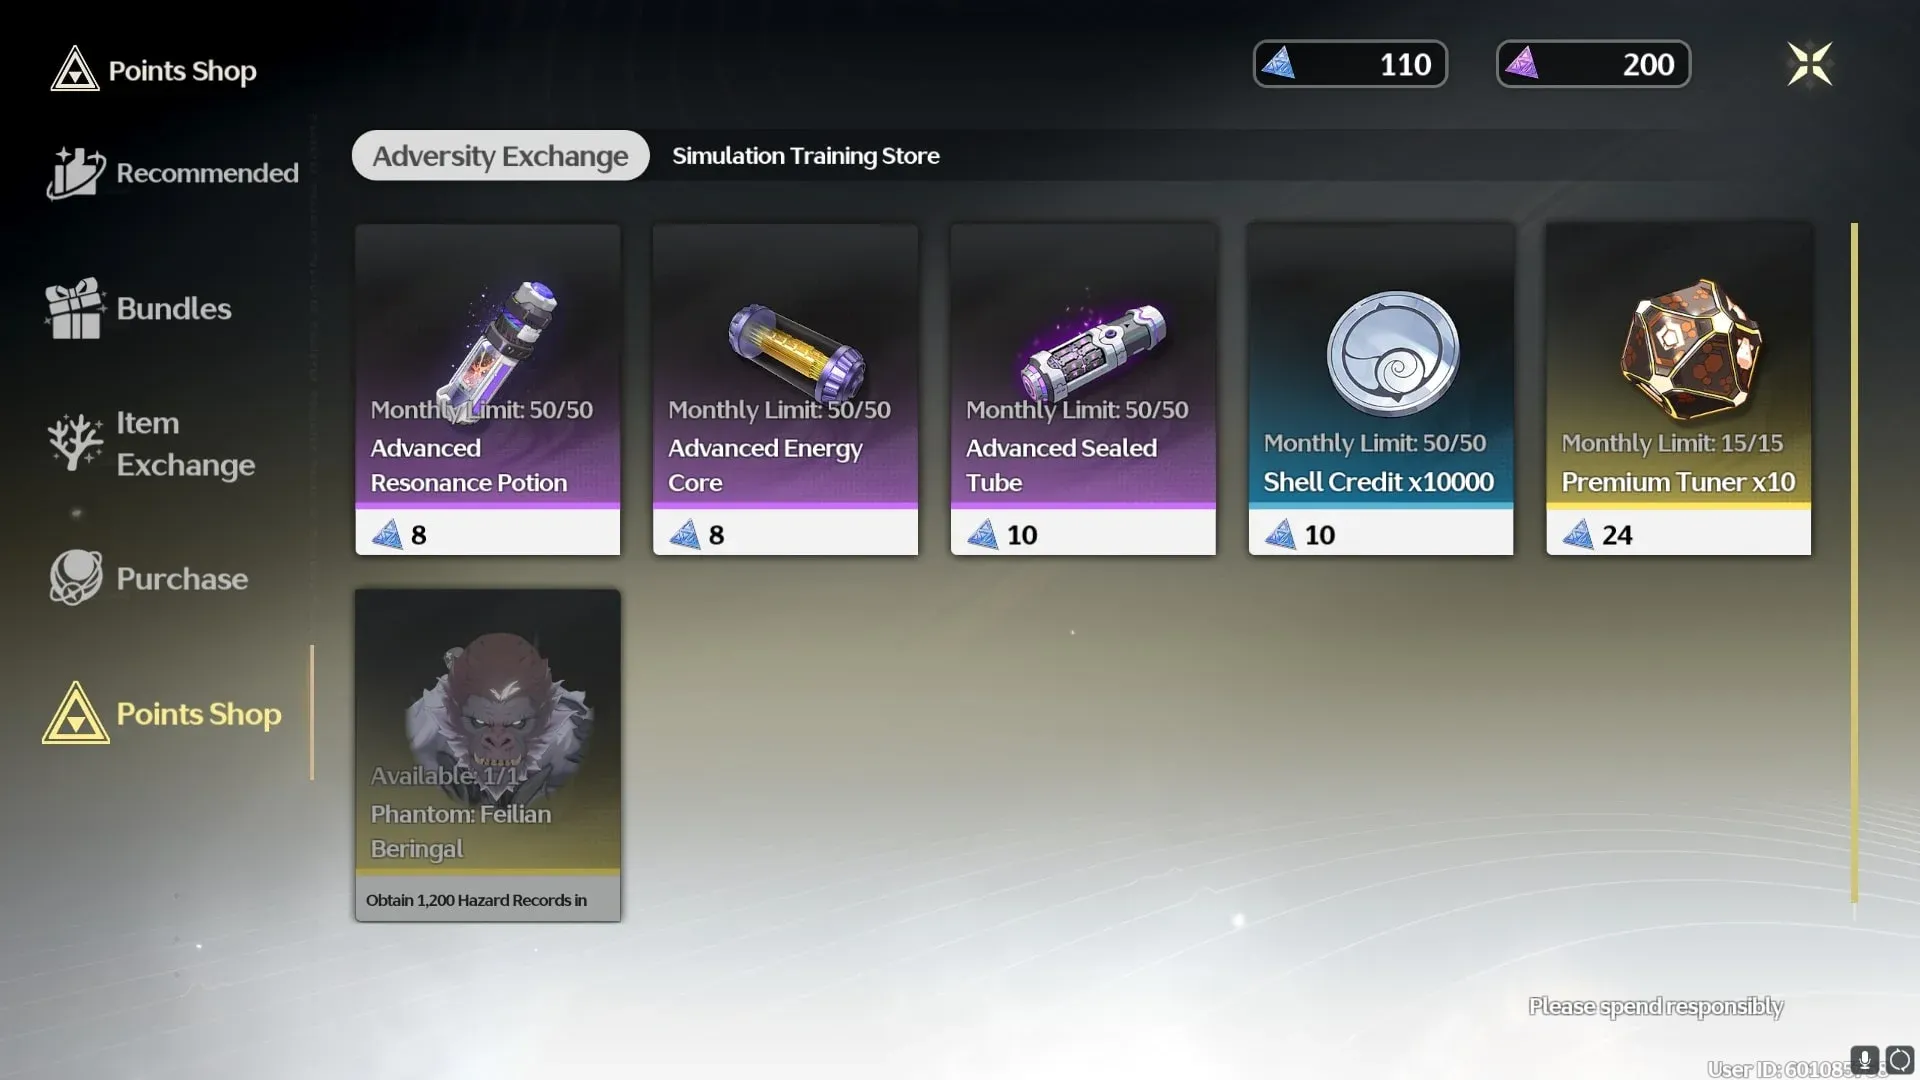
The Astrite adds up fast. A full clear nets you significant premium currency per reset, plus materials like Advanced Resonance Potions, Energy Cores, and Sealed Tubes.
You also earn Hazard Records from clearing floors, which you can spend in the Adversity Exchange shop. And here’s the best part — Hazard Records carry over between resets. Save them up and splurge all at once.
Final Words
The Tower of Adversity isn’t a whale check. It’s a planning check. The players who clear it consistently aren’t the ones with the most 5-stars — they’re the ones who understand Vigor management, build efficiently, and adapt to each rotation’s buffs.
Start with your two strongest DPS. Build around their elements. Keep your healers lean but functional. Use floaters for the easy floors. Save your heavy hitters for Floor 4 and the Middle Tower. And most importantly —don’t let perfect be the enemy of good. A level 20 Echo with decent substats beats a level 25 Echo with garbage substats every single time.
If you’re still struggling after hitting these benchmarks, it’s probably execution, not investment. Watch some rotation guides, practice your quick-swaps, and learn the bosses. The stars will come.
Now get out there, Rover.