


Are you ready to conquer the 999 Nights event on the Warren Continent in Neverness to Everness? Mone gives you guide to help you covered from your very first run all the way to full-auto farming in Nightmare mode. The real grind kicks in on your second and third playthroughs, but with the right route and gear, you’ll hit level 100 and start raking in event currency in no time.
First Playthrough Story Mode: The Easy Scenic Route
Think of your first run as a guided tour. The enemies are weak, and your main job is to follow the main quest markers and enjoy the narrative. You don’t need to min-max anything here, but a few small decisions will save you a lot of hassle later.

Key tips for Story Mode
Follow the markers through the four regions: Chocolate Volcano → Milk Ice Mountain → Amber Sugar Lake → Crimson Castle. Each area ends with a boss fight; just push through.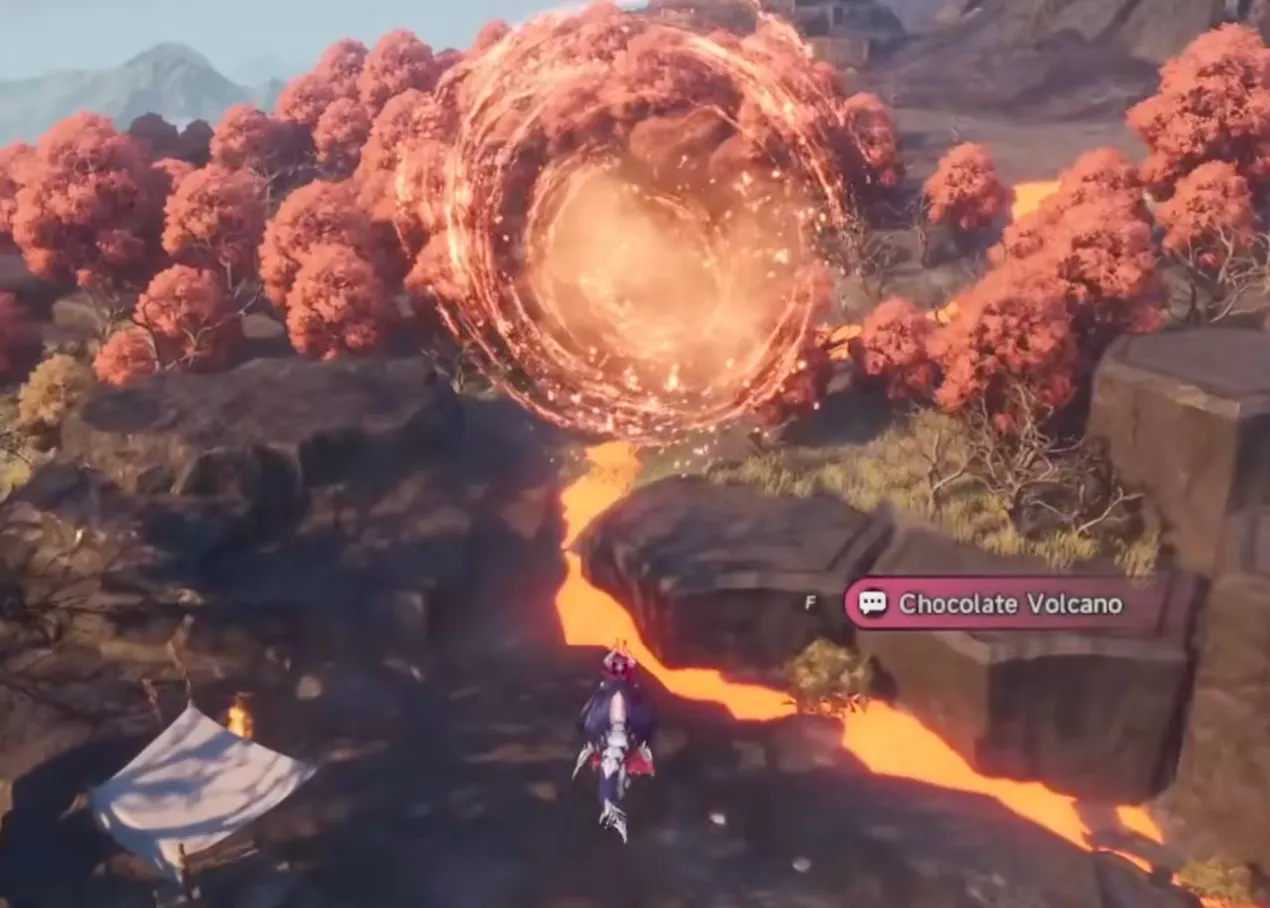
Ignore chests and campfires that are out of the way. Chests only give event currency (“Mysterious Buttons”), and campfires reset in Challenge mode anyway. You’ll farm currency much faster later, so don’t waste time exploring every corner.
Set up your auto-pickup wisely. Open your inventory and turn off auto-pickup for normal and later rare gear. In the early game, you can keep rare and epic on, but once your bags start filling up, limit it to legendary and above. Each gear slot can only hold 100 items, so cleaning up regularly is a must.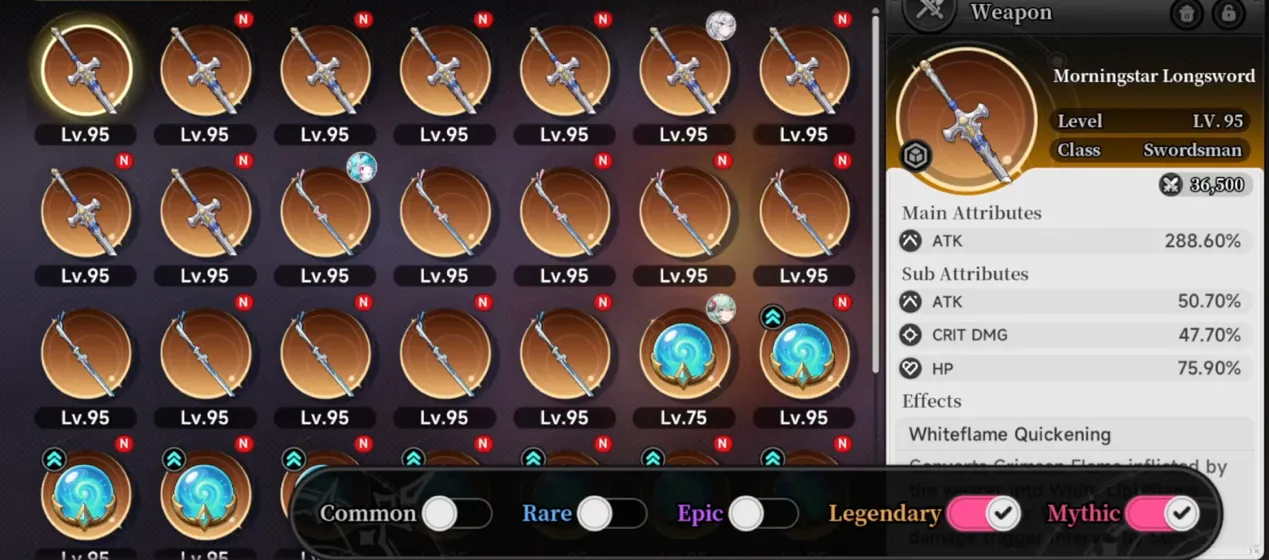
Use Iroi as your main damage dealer. She is far stronger than Shinku at low levels. Press her skill button short to summon spirits that deal solid AoE damage. Avoid the long-press during combat — it turns your whole party into sheep and locks you out of switching characters until you leave combat.
Equip the “Secret Syrup” accessory on Iroi as soon as you get it from the story. It adds splash damage to her attacks, turning her into an early-game powerhouse.
Don’t worry about perfect gear. Just slap on whatever has the highest rating and keeps moving. You’ll finish Story Mode around level 35–40.
Once the final dragon falls, you’ll unlock Challenge Mode and this is where the real game begins.
Second Playthrough Challenge Mode: The Power-Leveling Highway
Challenge Mode spikes the enemy stats considerably. At level 40, you’ll feel weak, but a specific route and one incredibly overpowered gear synergy will carry you to level 100 and the clear.
The core of the entire speedrun strategy revolves around the WhiteFlame damage-over-time effect and gear sets that spread it automatically. When built correctly, your party will burn entire packs of mobs just by standing near them, even characters who aren’t actively on the field will apply the DoT.
Challenge Mode target gear sets
|
Character |
Weapon |
Armor (4-piece) |
Accessories |
|---|---|---|---|
|
Esper Zero |
Morning Star Longsword |
WhiteFlame Ballad |
Fuzzy Charm + Secret Syrup |
|
Mint |
Sunsinge Twinblades |
Sunseeker Light |
Family Portrait + Secret Syrup |
|
Iroi |
FlameCrown Codex |
Shared Emberdream |
Tempering Stone + Secret Syrup |
|
Shinku |
Dark Scale |
Blessed Nightfall |
Cloudrider Charm + Swiftfeather Charm |
Esper Zero’s weapon converts Crimson Flame into Whiteflame, drastically increasing burn damage.
Esper Zero’s armor set applies Whiteflame in a large AoE every 3 seconds, even when he is off-field.
Mint’s set makes Whiteflame spread to nearby enemies on any ally’s attack, and her weapon massively amps damage per stack.
Iroi’s set prevents Crimson Flame from expiring and provides team-wide healing, ensuring sustain.
Shinku’s set grants enormous defense and damage reduction, letting her facetank everything while the burns do the work. Give her movement speed accessories because you’ll use her to sprint between packs.
Step-by-Step Leveling Route
Start Challenge Mode at level 40 with whatever random gear you carried over. Immediately head to the farming spots below. If a map isn’t open yet, you can travel there directly via the overworld map, no need to walk.
1. Chocolate Volcano (Level 40 → 50–55)
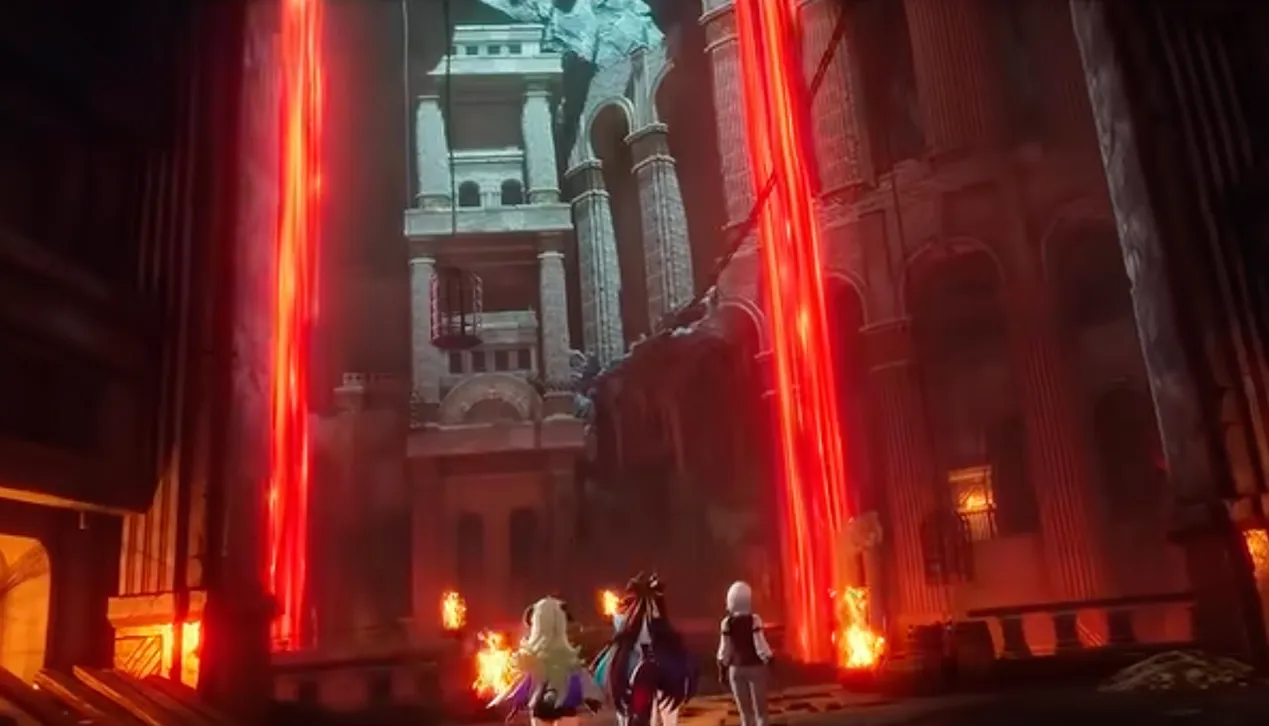
Farm: Enter the nearby room, aggro all the mobs, and kill them. Once cleared, rest at the campfire and click “Refresh Monsters” (top-left of screen). Repeat.
Goal: Hit level 50 and collect your first pieces of the Whiteflame sets. Even a partial set will make a huge difference.
2. Milk Ice Mountain (Level 55 → 60–65)
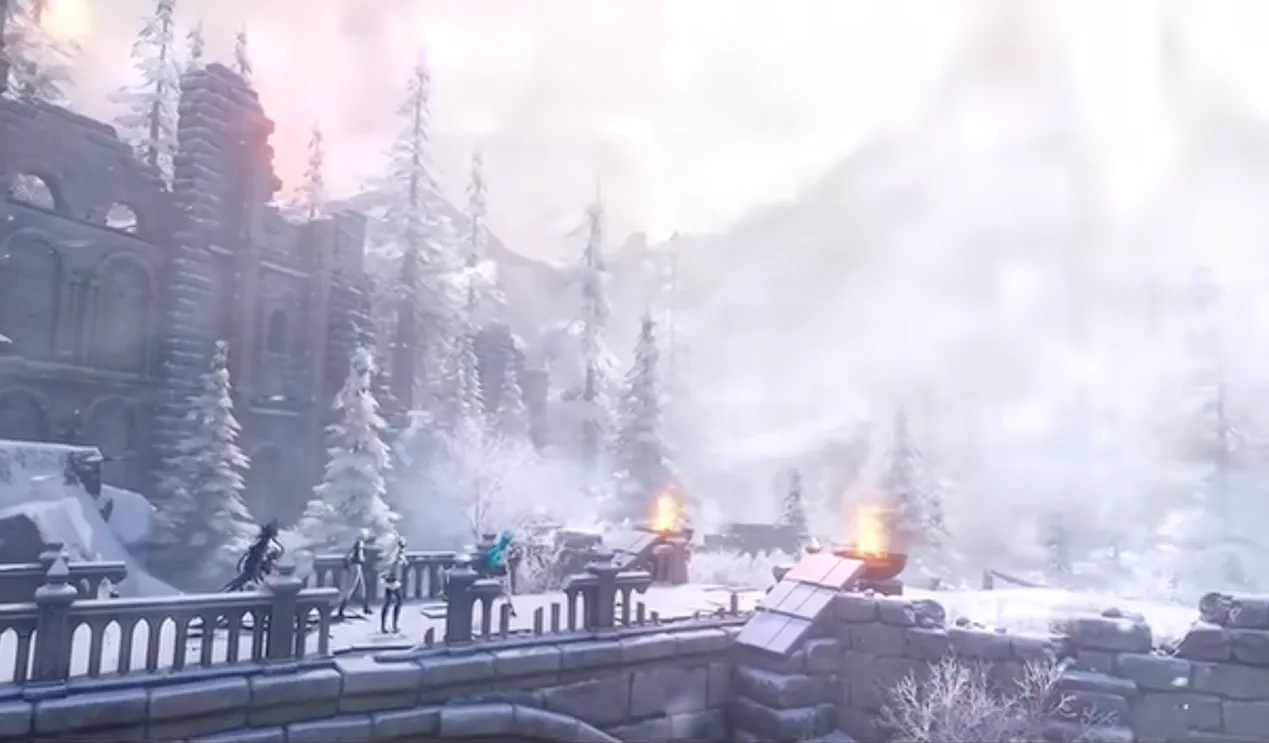
Farm: Run outside to aggro the ice tigers and surrounding mobs. Loop back to the campfire to reset. Use Shinku’s sprint to pull groups efficiently. The elite here gives extra experience, prioritize it when your kill streak buff is active.
Goal: Reach level 60–65, equipping any higher-level Whiteflame pieces you find.
3. Amber Sugar Lake (Level 65 → 80–85)
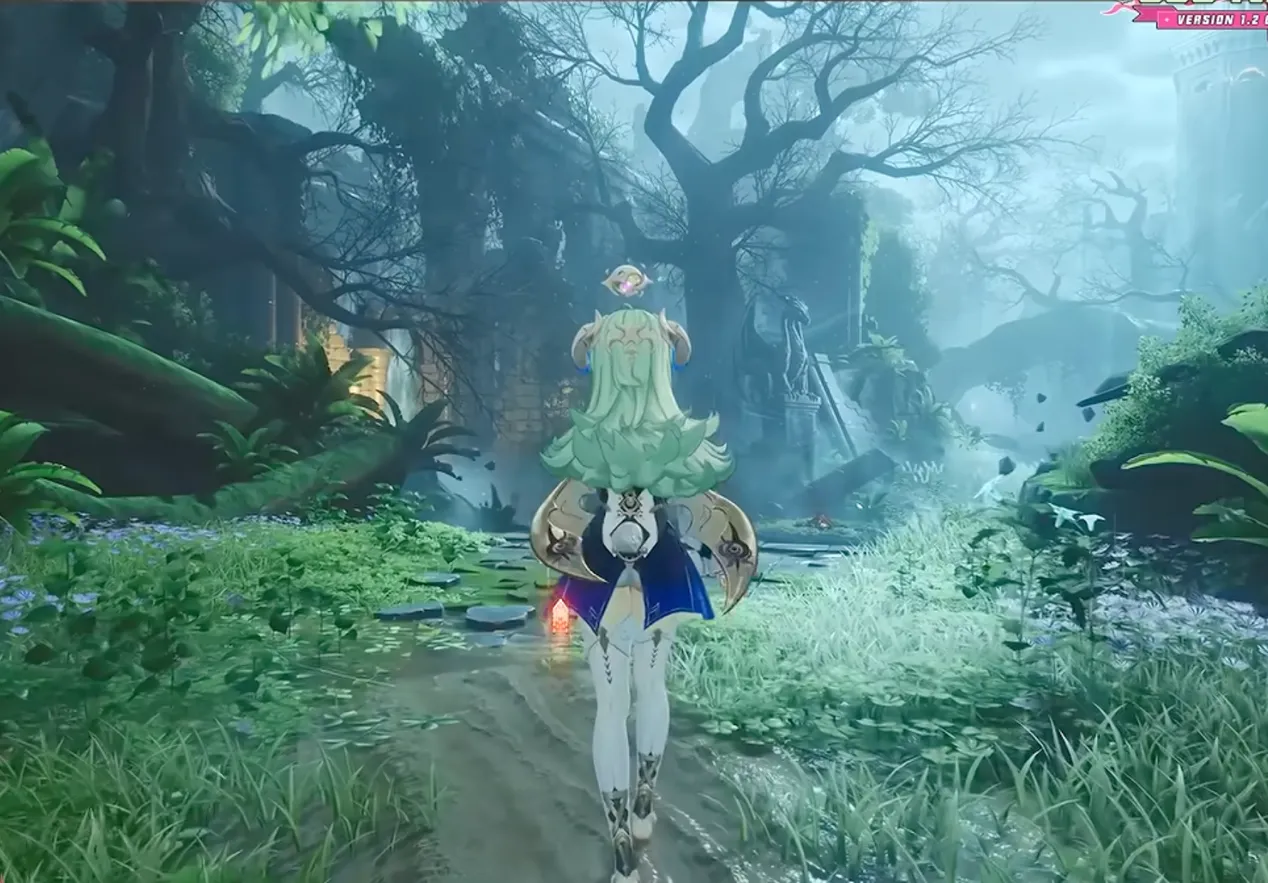
Farm: There are three dense monster clusters around this area. Run a circuit: aggro the group near the campfire, then dash toward the tower to pull more, and finally loop back. Always keep moving so the Whiteflame burn ticks on everything. Focus the higher-level enemies manually to speed things up.
Goal: Hit level 75 to equip the level 75 versions of your sets, then push to 80–85 for extra stats.
4. Crimson Castle (Level 85 → 100)
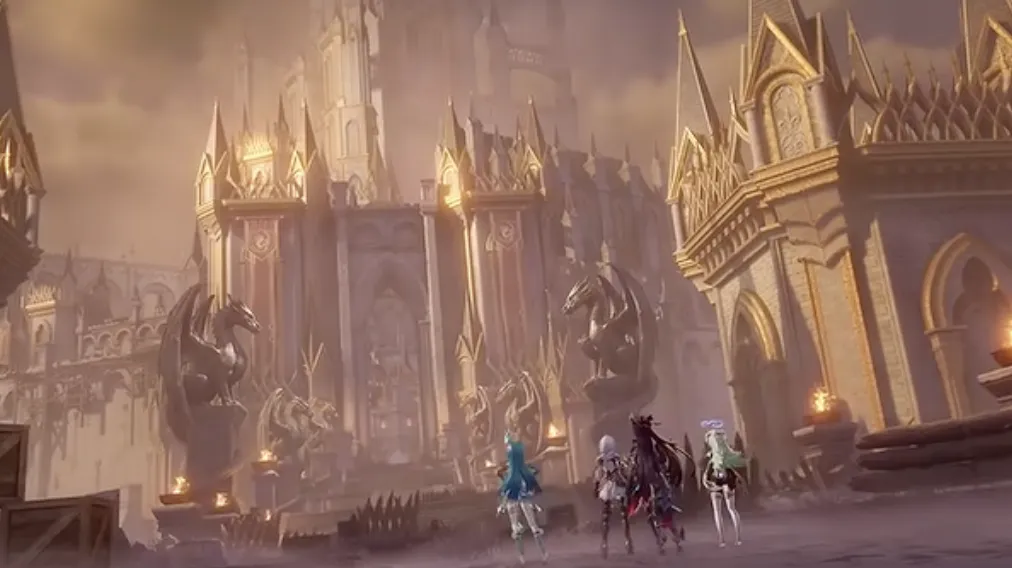
Farm: Jump down to aggro all the spiders and armored knights. The Whiteflame will melt them. If you are playing manually, use Iroi’s or Mint’s AoE skills to clear even faster. This spot gives massive experience and will be your home until level 100.
Defeating the Crimson Dragon in Challenge Mode
Once you hit level 100 and have full 95+ gear sets, the final boss is trivial. The dragon deals heavy fire damage, but Shinku with the Cloud Piercer set is nearly unkillable. Swap her accessories to double Fuzzy Charm for even more defense, then simply auto-attack the boss down. It will take a while, but you are in no danger. Once defeated, Nightmare Mode unlocks.
Third Playthrough Nightmare Mode: The Full-Auto Currency Farm
Nightmare is where you’ll spend most of your time. Enemies have millions of HP, and a damage cap limits your burst, so the name of the game is AFK burning with your Whiteflame setup.
Final Endgame Gear
|
Character |
Weapon |
Armor (4-piece) |
Accessories |
|---|---|---|---|
|
Esper Zero |
Morning Star Longsword |
WhiteFlame Ballad |
Fuzzy Charm + Secret Syrup |
|
Mint |
Lightdance Twinblades |
Sunseeker Light |
Tempering Stone + Secret Syrup |
|
Iroi |
Dayrite Codex |
Shared Emberdream |
Tempering Stone + Secret Syrup |
|
Shinku |
Solar Rift |
Blessed Nightfall |
Unstable Charge + Tempering Stone |
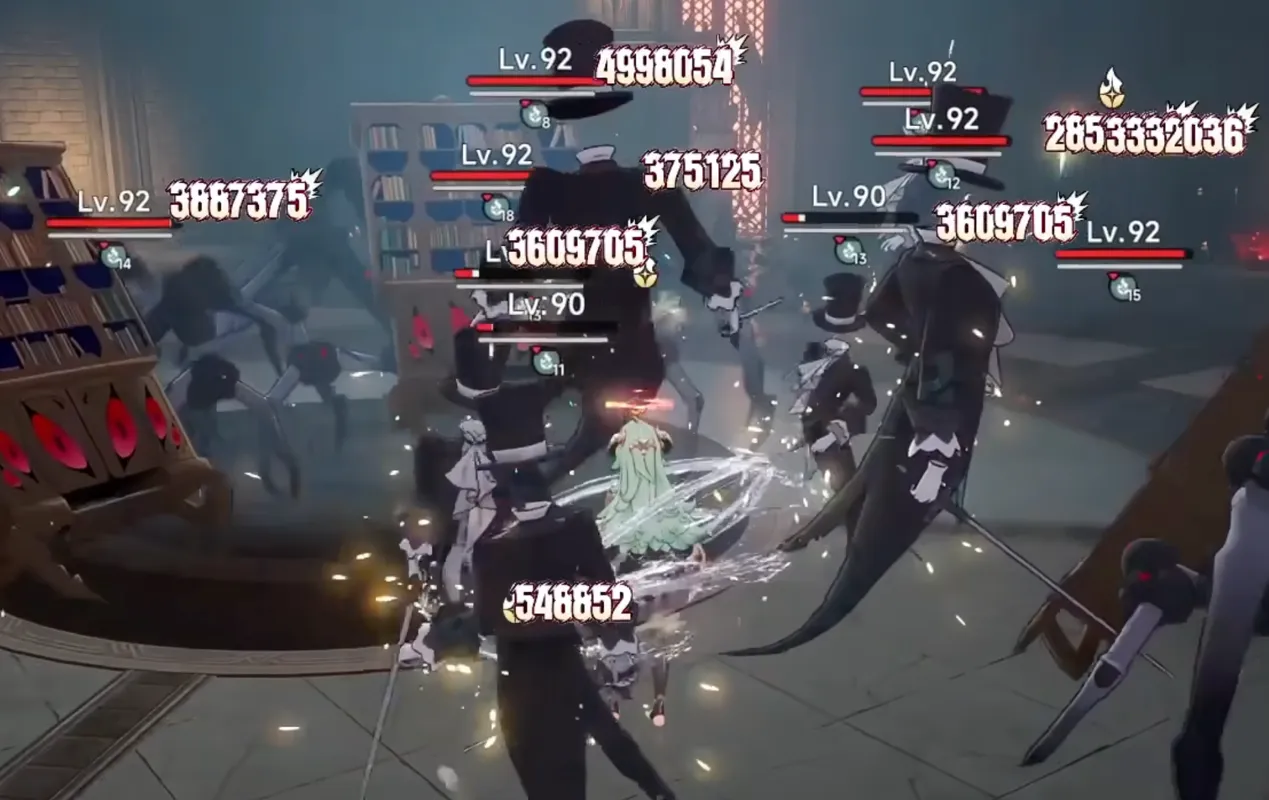
With this gear, Shinku can stand in the middle of the Crimson Castle spider room and simply let the Whiteflame kill everything. The burn aura alone will clear waves while you are alt-tabbed. Check back every few minutes, hit the campfire to reset, and continue. This generates about 900 Mysterious Buttons per full clear of the room.
Shop Clearing Priority
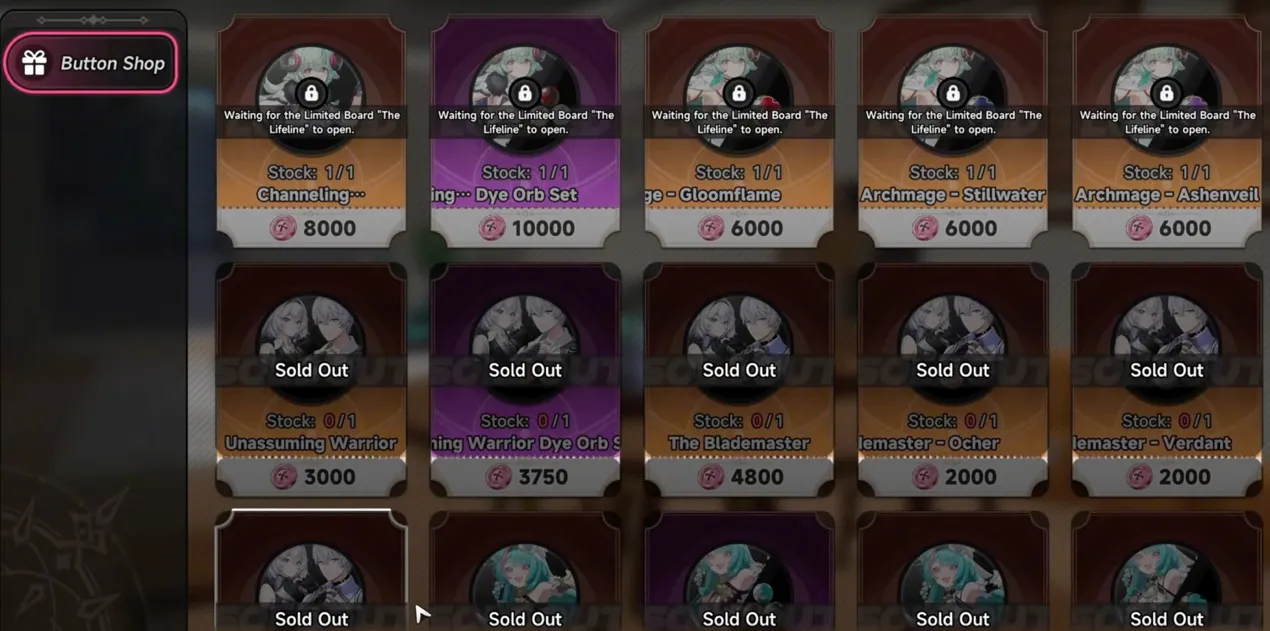
You need roughly 160,000 buttons to buy out the entire event shop, including Iroi’s exclusive costume. A full auto-farming day can net you most of that. I recommend prioritizing:
1. Iroi’s skin (if you want it)
2. Mythic gear upgrade materials
3. Gacha resources and limited resources
4. Cosmetic odds and ends
Don’t bother with the “open chests” or “activate all campfires” challenges unless you’re a completionist — pure mob grinding gives far more currency per hour.
Conclusion
The guide is designed to get you the rewards you want with minimal time. Follow the route, assemble the Whiteflame engine, and you’ll hit level 100 in around 5 hours, then fully clear the shop within a day or two. And if you have favorite characters or skins, Mone can support secure and fast NTE top-up with discounts. Mone can help you build your best team and get better game experience.