


Facilities are the buildings your alliance fights over every single day, not just during a scheduled event. Once you understand how occupation and protection actually work, deciding which facility to contest next stops being a guess and starts being a plan.


Applicable Buff List
Not every buff that works in your city or on the world map carries over into a Facility fight. The table below breaks down which buff categories are active once the battle for a facility begins, based on the game's own buff reference chart.
|
Buff Category |
Applies in Facility Battle? |
Notes |
|
City Bonus / Hero Buffs |
Yes |
Full effect |
|
City Bonus / Hero Deployment Capacity |
Yes |
Full effect |
|
Pet Skills |
Yes |
Full effect |
|
Daybreak Island Buffs |
Yes |
Full effect |
|
President Skills |
Yes |
Full effect |
|
Mecha Buff |
Yes |
Full effect |
|
Territory Bonuses |
No |
Only active when the fight is happening inside your own Alliance Territory |
|
Facility Buff |
Yes |
Full effect |
|
March Accelerator |
Partial |
Works for solo marches, but does not speed up rallies |
|
Frostdragon Tyrant Trials Buffs |
Yes |
Full effect |
|
Frostsphere Domain Bonus |
No |
Not active during Facility Battle |
A couple of these are easy to misjudge. Territory Bonuses only kick in if the facility you're attacking sits inside land your alliance already controls, so pushing for one just outside your banner line means that bonus simply isn't there yet. March Accelerator is the other trap — it only shaves time off individual marches, so burning one right before a rally does nothing for the rally's travel or formation timer.
Compare regular in-game prices with current Mone prices to find the right WOS pack for your budget. The popular $4.99 pack currently offers the largest discount. Prices and discounts may change. The current price is always shown on the product page and again before payment.
What Facilities Actually Are
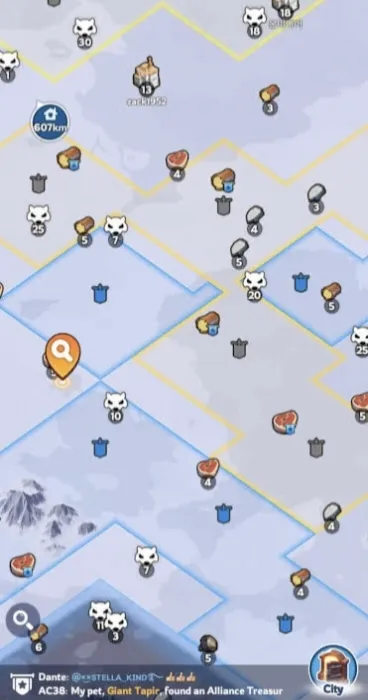
Facilities are small buildings scattered around Sunfire Castle and across the wider state map. Whichever alliance controls a facility gets a passive, alliance-wide buff from it — things like construction speed, research speed, troop attack, or troop defense, depending on the facility's type. Because the bonus applies to every member at once, facilities are one of the highest-value objectives an alliance can fight for outside of scheduled events.
You can't attack a facility at random. Your alliance's territory, built out through banners or the Alliance HQ, has to actually reach the facility first. That's what turns banner placement into a strategic decision rather than just a defensive one — where you extend your territory determines which facilities are even in reach.
The 8 Facility Types
Each facility on the map belongs to one of eight types, and each type grants a different bonus.
|
Type |
Bonus |
What It Does |
|
Construction |
Construction Speed |
Speeds up building upgrades alliance-wide |
|
Tech |
Research Speed |
Accelerates Research Center and War Academy research |
|
Defense |
Troop Defense |
Passive defense boost in battle |
|
Weapon |
Troop Attack |
Passive attack boost in battle |
|
Gathering |
Gathering Speed |
Reduces time spent gathering resource tiles |
|
Production |
RSS Production Speed |
Boosts city resource-building output |
|
Training |
Training Speed |
Reduces troop training time |
|
Expedition |
March Speed |
Speeds up marches, reinforcements, and rally travel |
Facility bonuses stack across different levels of the same type, but two facilities of the same type and the same level don't stack with each other. In practice, that means holding a Level 1 and a Level 3 Construction facility both help you, while two Level 3 Construction facilities give no extra benefit over just one.
How to Claim and Hold a Facility
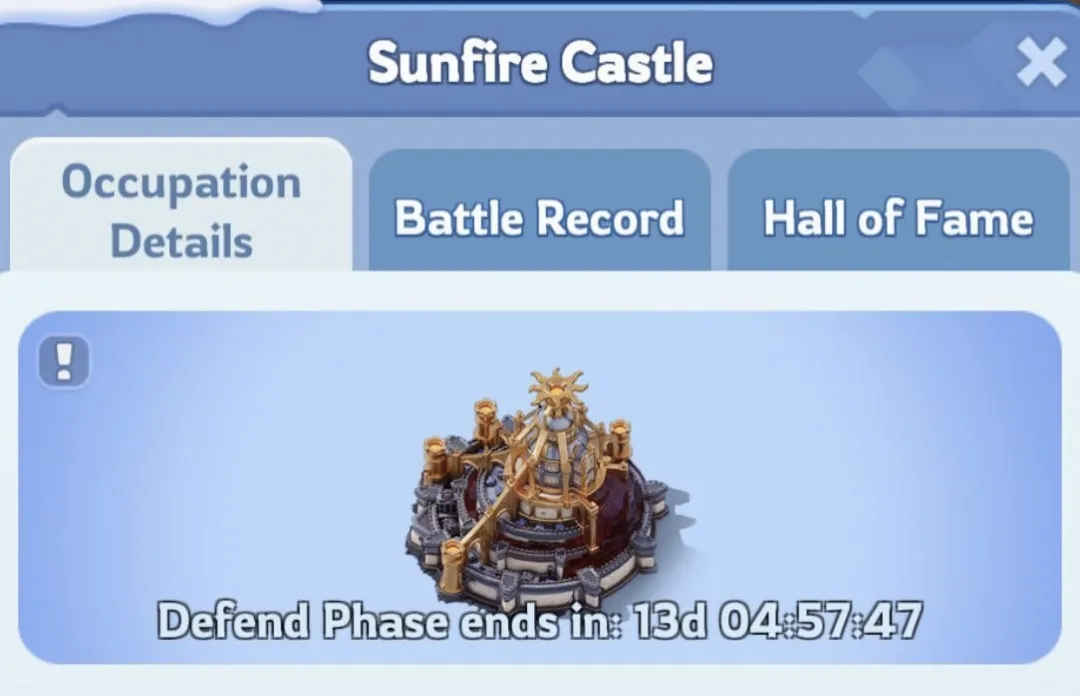
Taking a facility comes down to occupation, not kills. Your alliance needs to hold the building continuously for 30 minutes to claim it, and that clock resets to zero if the opposing alliance manages to break your hold before it finishes. This is why solo marches rarely secure anything valuable — a rally that can absorb a counterattack is what actually locks in control.
Once your alliance takes a facility, it's protected for 3 days before anyone can contest it. After that window closes, the previous owner gets a 24-hour head start to defend it. If they hold it through that period, they keep control. If a challenging alliance completes a fresh 30-minute occupation before then, ownership switches over, and if the original owner takes it back afterward, they only need another 30-minute hold to reset the protection clock in their favor.
One detail worth flagging: if a facility is in a vulnerable state, its bonuses stop applying even while you technically control it, so don't assume a captured facility is contributing to your stats without checking its status.
Rewards
Facilities pay out a reward the first time they become available for contention, on top of the ongoing passive buff you get just from holding one. The buff itself is usually the bigger prize long-term, since it applies to every member of your alliance for as long as you keep control, but the initial contention reward is worth factoring into which facility your alliance prioritizes first.
Practical Tips
Chain your banners toward facility types your alliance actually needs before worrying about the ones that look flashy on the map. An alliance heavy on gatherers benefits more from securing Gathering and Production facilities early than from chasing a Weapon facility it isn't ready to fight for.
Coordinate the 30-minute hold before you start it, not during. Scattering marches piecemeal invites a counter that resets your timer, while a pre-arranged rally with backup ready to reinforce is far more likely to finish the clock in one attempt. It's also worth timing your pushes around the 24-hour re-contest window — attacking right as an owner's protection expires catches them before they've had time to reinforce.
FAQ
Do facility buffs apply to the whole alliance or just the members who fought for it?
The whole alliance. Once your alliance controls a facility, every member gets the passive buff regardless of whether they took part in the capture.
Can I attack a facility that isn't touching my alliance's territory?
No. Your banners or Alliance HQ need to reach the facility first, so extending territory is a prerequisite for contesting anything beyond your current borders.
Do two facilities of the same type always stack?
Only if they're different levels. Two facilities of the same type and the same level don't add extra benefit beyond the first one.
What happens if my alliance loses a facility mid-occupation?
The 30-minute timer resets. Whoever holds the facility continuously from that point has to complete the full 30 minutes again.
Is it worth fighting for a facility far from my alliance's main territory?
Usually not, unless your alliance has banners already routed that direction. A distant facility is harder to defend once you take it, since reinforcing it takes longer than reinforcing one inside your core territory.
Facilities reward planning as much as raw troop numbers, and knowing which buffs are actually live during a fight keeps you from wasting accelerators or overestimating your odds. If your alliance is gearing up for a round of facility pushes, Mone has resource and speedup options worth checking before you commit to a target.
Conclusion
Facilities are more than just map objectives in Whiteout Survival — they are long-term strategic advantages that can shape the strength of your entire alliance. Understanding which buffs apply, how different facility types support your goals, and when to commit resources for an occupation can make the difference between a temporary capture and lasting control.
A successful alliance does not simply chase every available facility. Instead, it plans territory expansion carefully, prioritizes the bonuses that provide the most value, and coordinates rallies to secure the full 30-minute occupation window. By mastering facility mechanics and avoiding common mistakes like wasting accelerators or overextending territory, your alliance can build a stronger foundation and maintain an advantage throughout the season.